2491557 Search Results
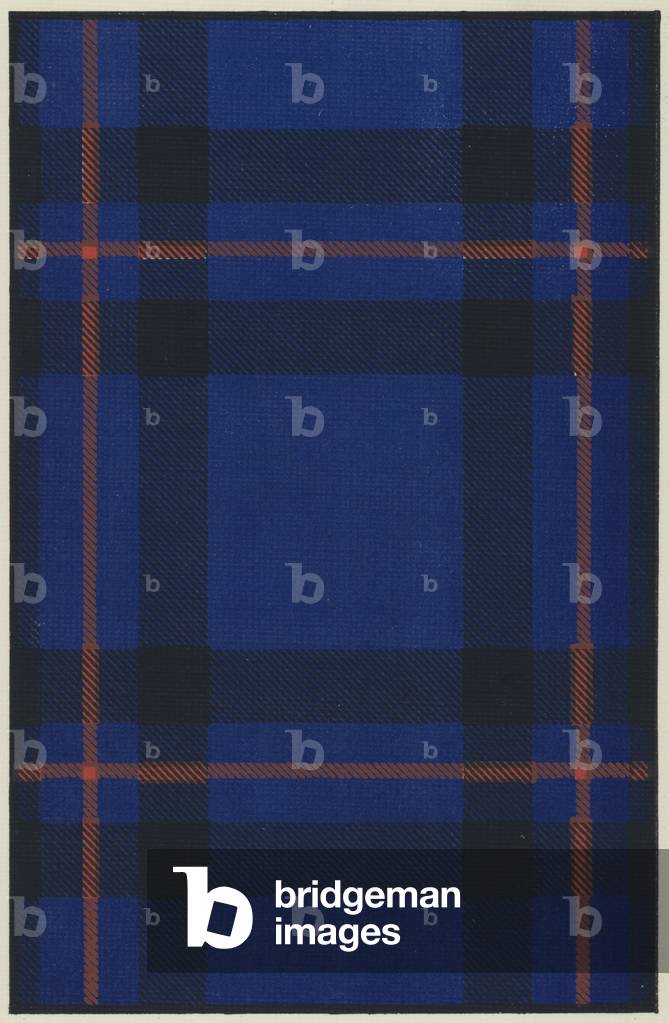
LLM5203978: Clan and Tartan: Elliot (colour litho), English School, (20th century) / Bridgeman Images

LLM5204053: Clan and Tartan: Stewart, Dress (colour litho), English School, (20th century) / Bridgeman Images

LLM5204063: Advertisement for John Wight tartans (litho), English School, (20th century) / Bridgeman Images

LLM5204064: Advertisement for John Wight tartans (colour litho), English School, (20th century) / Bridgeman Images

LLM5204075: Scotland: Newhaven Harbour (b/w photo), English Photographer, (19th century) / Bridgeman Images

LLM5204088: Scotland: The Nave, Glasgow Cathedral (b/w photo), English Photographer, (19th century) / Bridgeman Images

LLM5204099: Scotland: The Bonnie Doon, the New and Auld Brigs (b/w photo), English Photographer, (19th century) / Bridgeman Images

LLM5204128: Scotland: The Kyles of Bute (b/w photo), English Photographer, (19th century) / Bridgeman Images
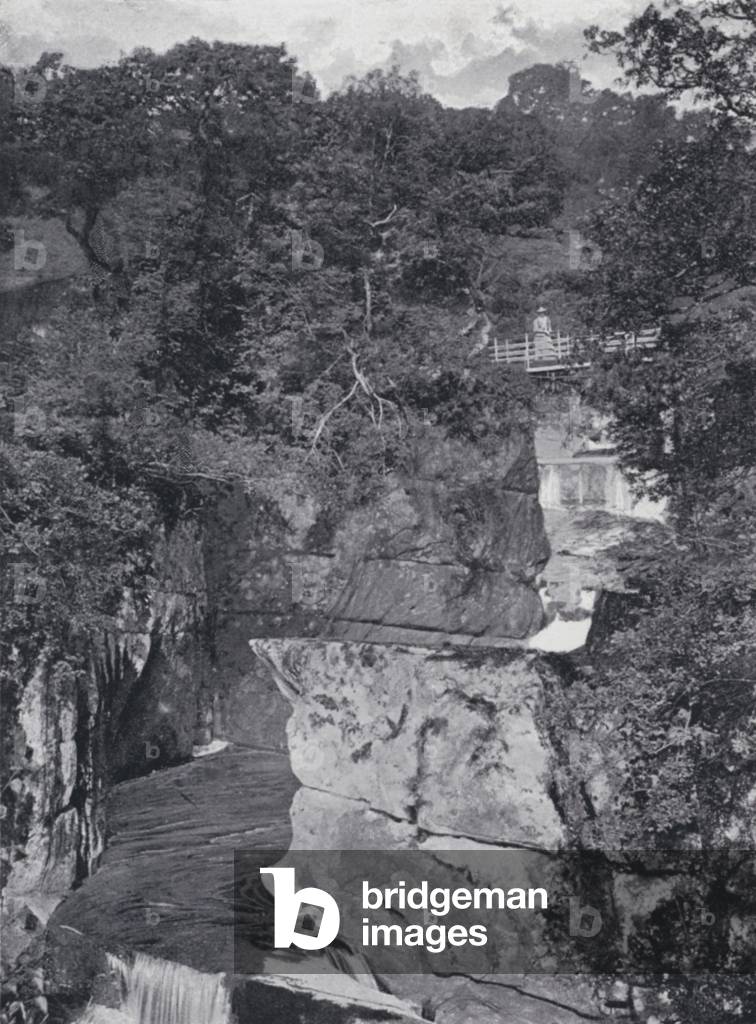
LLM5204145: Scotland: Bracklinn Bridge and Falls (b/w photo), English Photographer, (19th century) / Bridgeman Images
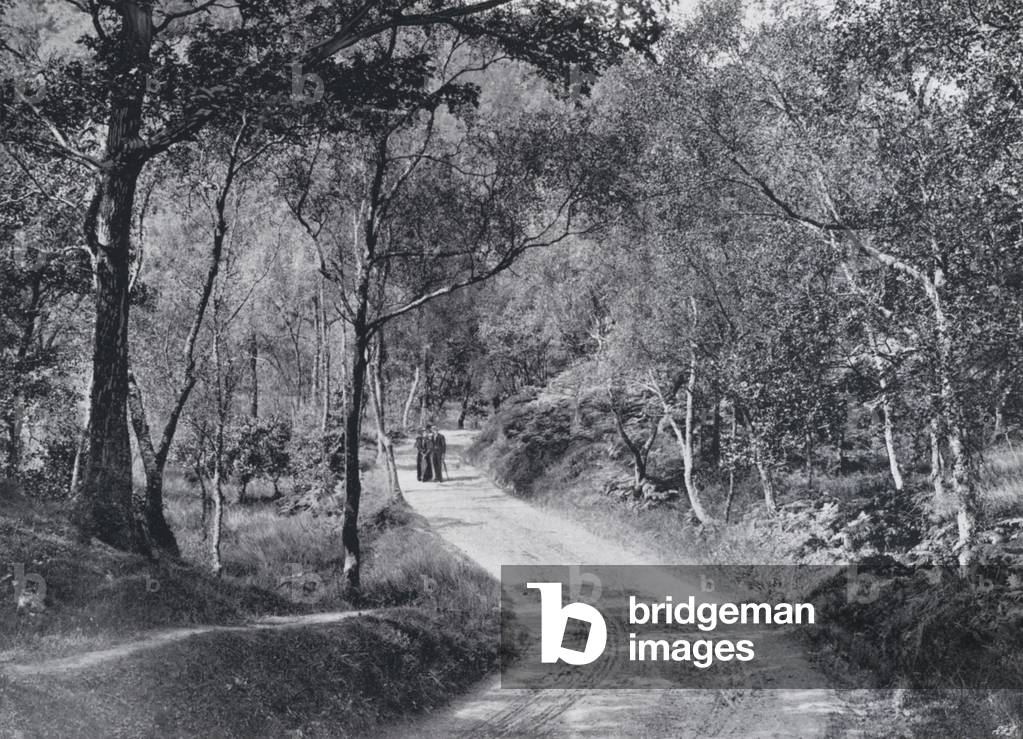
LLM5204147: Scotland: "Where Twined the Path", the Trossachs (b/w photo), English Photographer, (19th century) / Bridgeman Images
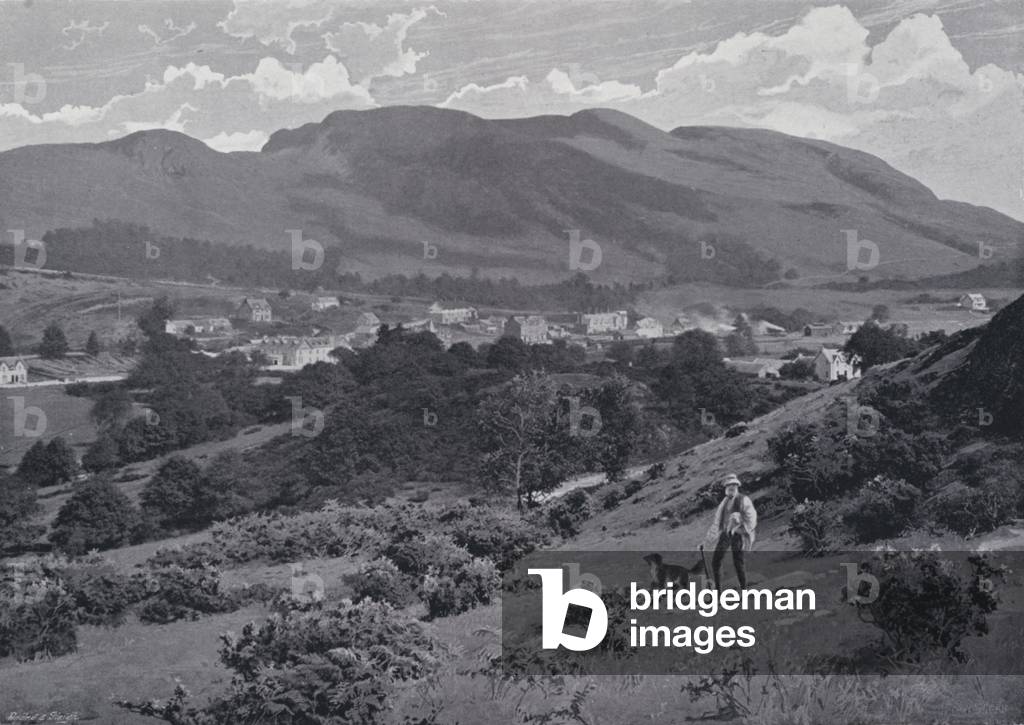
LLM5204151: Scotland: Aberfoyle (b/w photo), English Photographer, (19th century) / Bridgeman Images
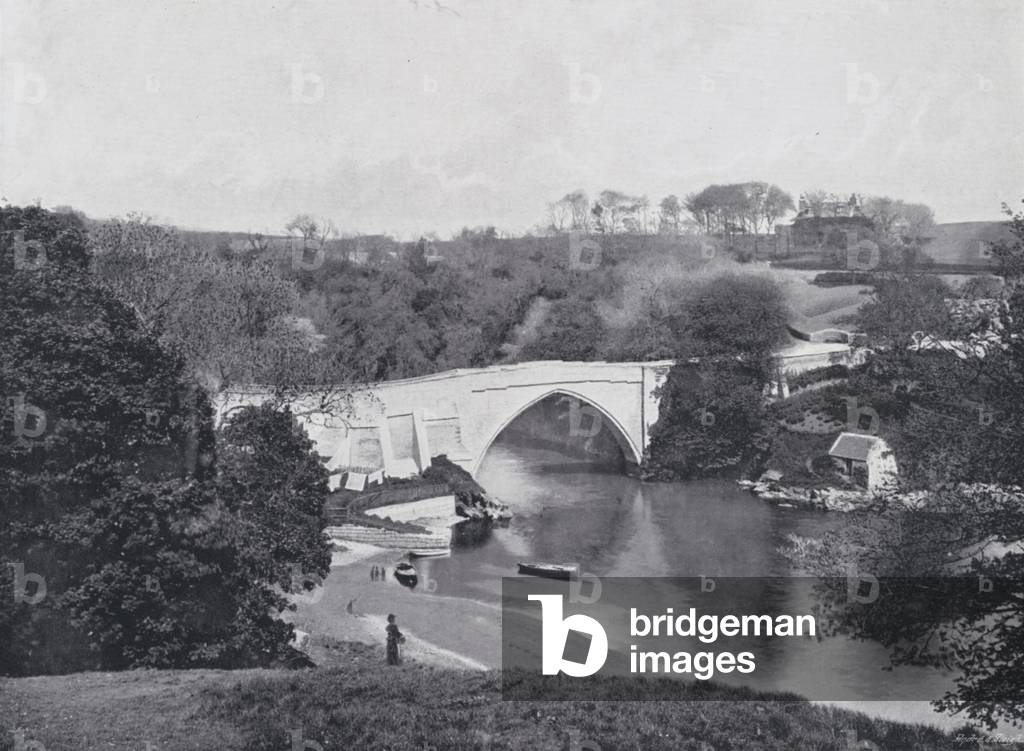
LLM5204200: Scotland: Brig o' Balgownie, Aberdeen (b/w photo), English Photographer, (19th century) / Bridgeman Images
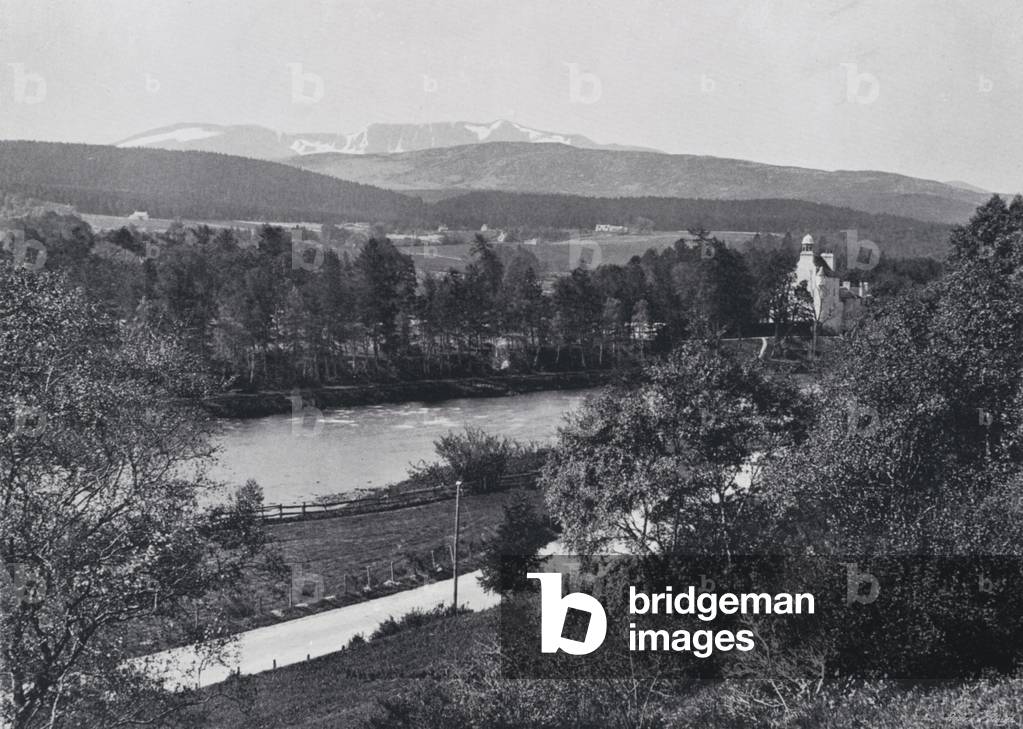
LLM5204204: Scotland: Abergeldie and Lochnagar (b/w photo), English Photographer, (19th century) / Bridgeman Images
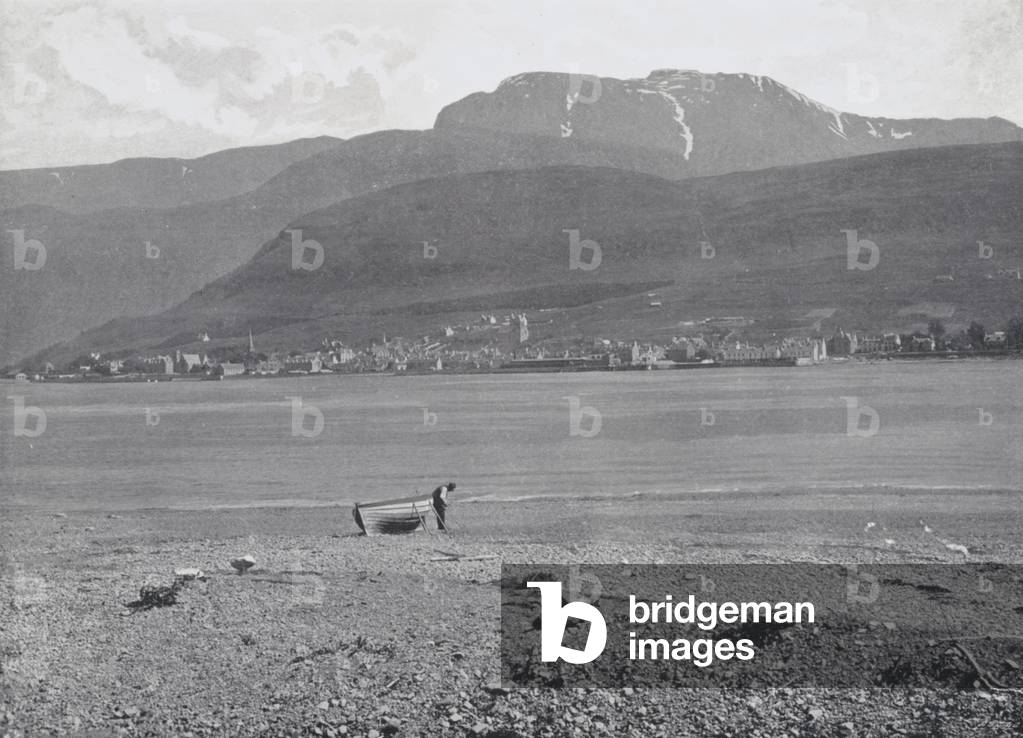
LLM5204210: Scotland: Fort William and Ben Nevis (b/w photo), English Photographer, (19th century) / Bridgeman Images
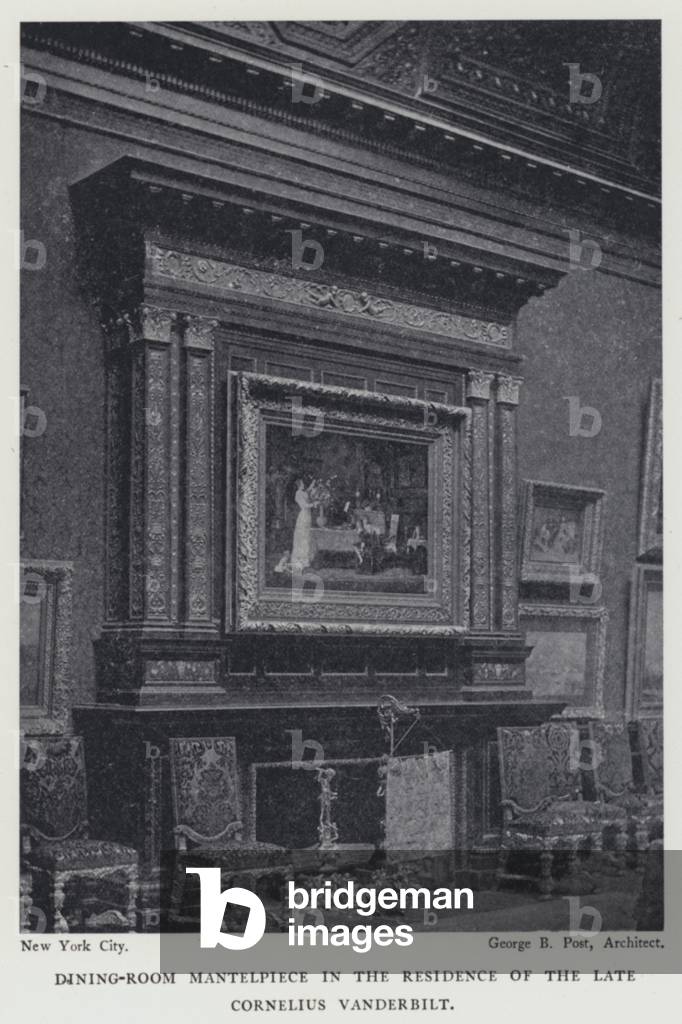
LLM5204239: Dining-Room Mantelpiece in the Residence of the Late Cornelius Vanderbilt (b/w photo), American Photographer, (20th century) / Bridgeman Images
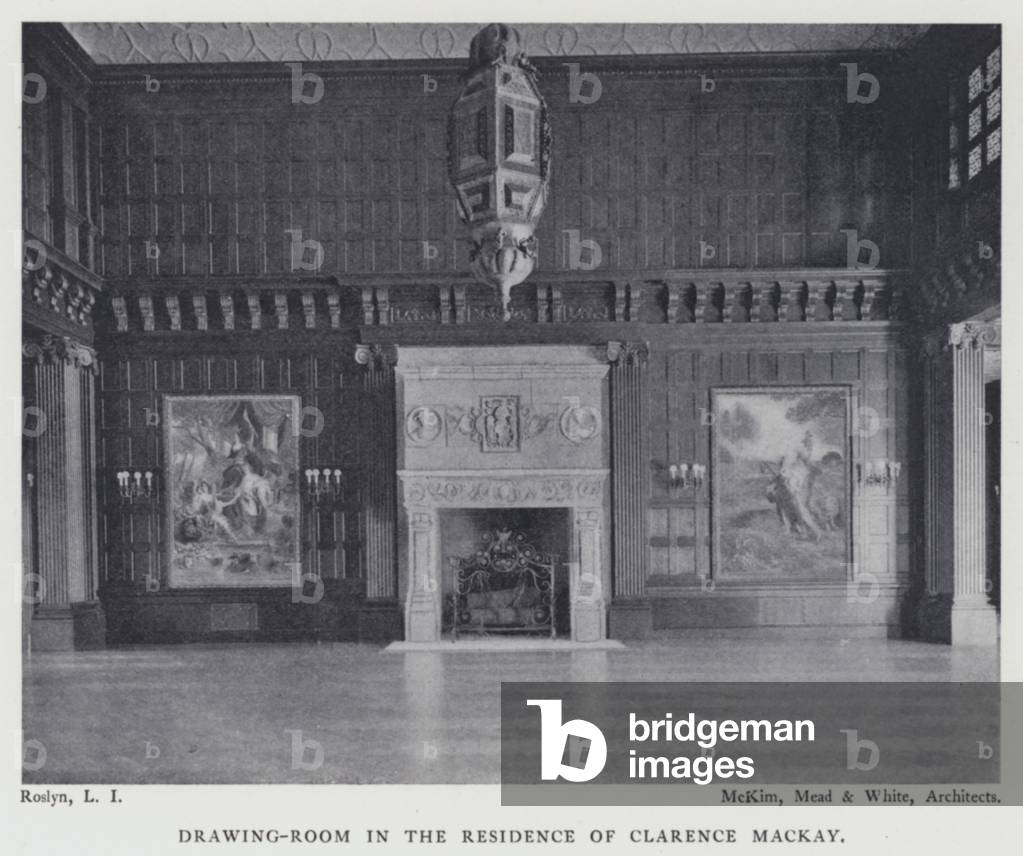
LLM5204254: Drawing-Room in the Residence of Clarence Mackay (b/w photo), American Photographer, (20th century) / Bridgeman Images

LLM5204261: Dining-Room in the Tiffany House (b/w photo), American Photographer, (20th century) / Bridgeman Images
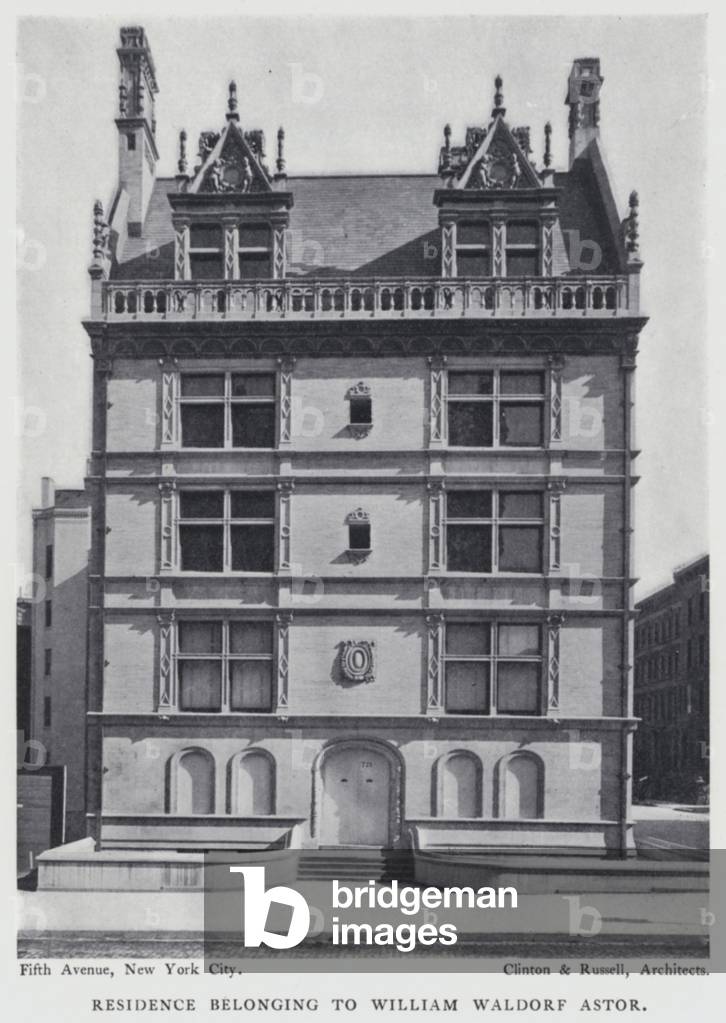
LLM5204263: Residence Belonging to William Waldorf Astor (b/w photo), American Photographer, (20th century) / Bridgeman Images
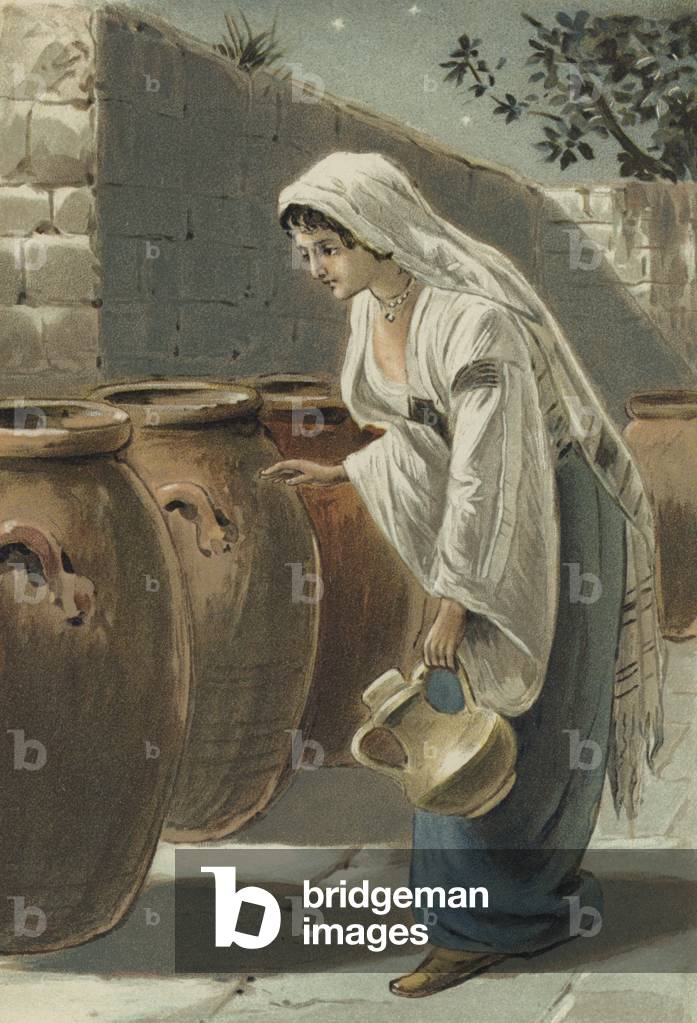
LLM5217905: Arabian Nights: The History Of Ali Baba And The Forty Robbers (chromolitho), Cooper, Alfred W. (fl.1850-1901) / Bridgeman Images

LLM5217917: Illustration for Shakespeare's As You Like It (colour litho), Thomson, Hugh (1860-1920) / Bridgeman Images

LLM5217943: Illustration for Shakespeare's As You Like It (colour litho), Thomson, Hugh (1860-1920) / Bridgeman Images
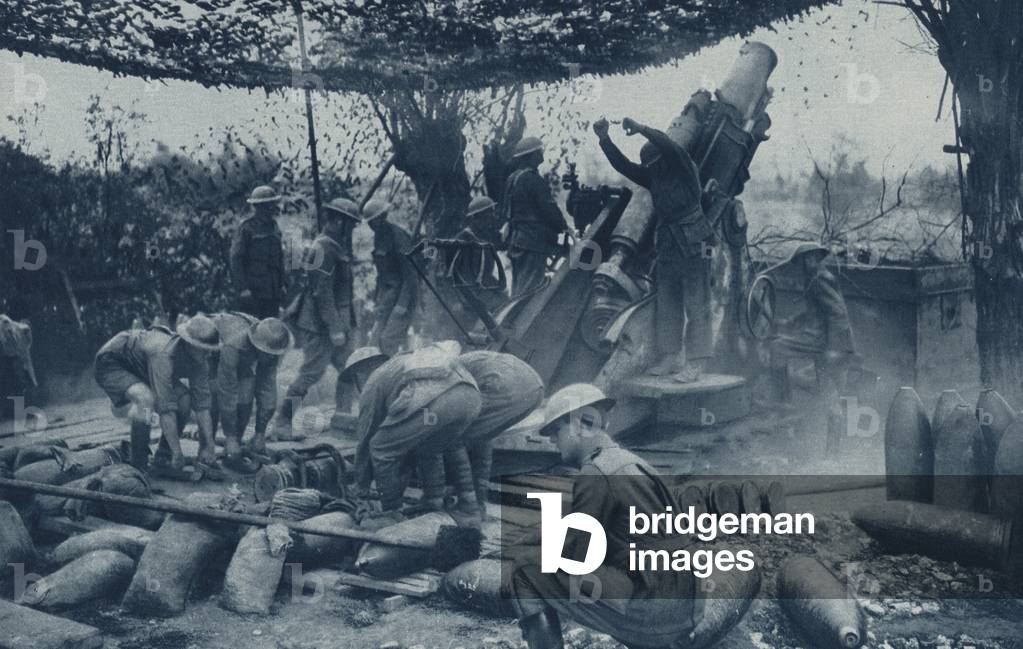
LLM5217958: Australian Siege Battery in Action, Firing a Howitzer (b/w photo), English Photographer, (20th century) / Bridgeman Images

LLM5217968: Australia: A Native Climbing a Tree for Opossum (engraving), English School, (19th century) / Bridgeman Images

LLM5217990: Australia: The Yarra Yarra, near Melbourne (engraving), English School, (19th century) / Bridgeman Images
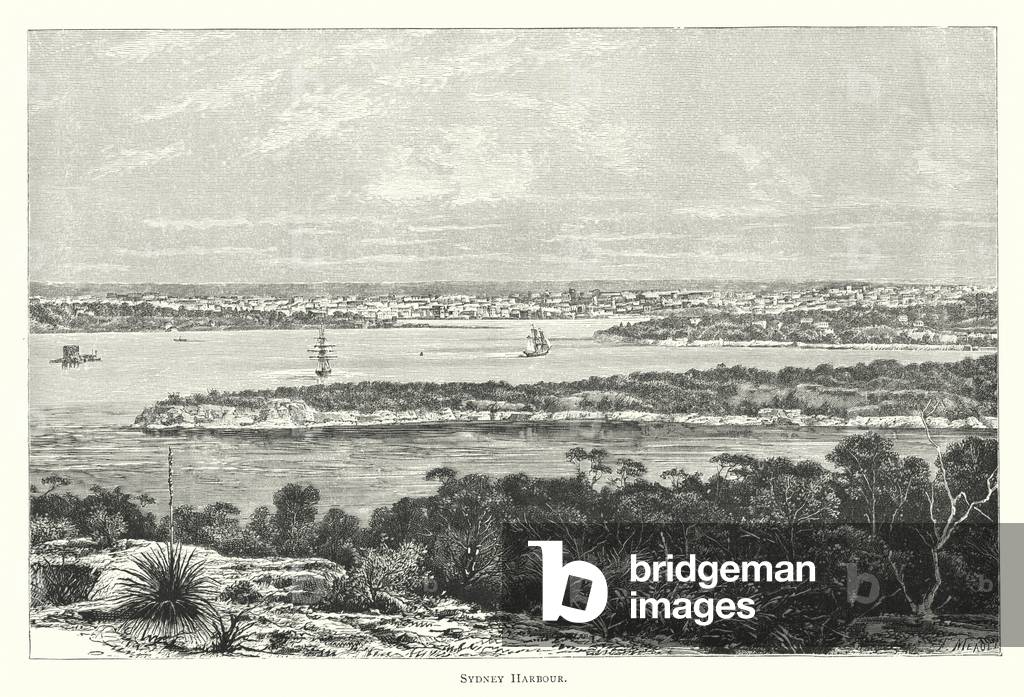
LLM5218004: Australia: Sydney Harbour (engraving), English School, (19th century) / Bridgeman Images

LLM5218012: Australia: Peake Overland Telegraph Station (engraving), English School, (19th century) / Bridgeman Images

LLM5218019: Australia: Valley of the River Brisbane, Queensland (engraving), English School, (19th century) / Bridgeman Images

LLM5218080: The Lighted Lamp (engraving), English School, (19th century) / Bridgeman Images
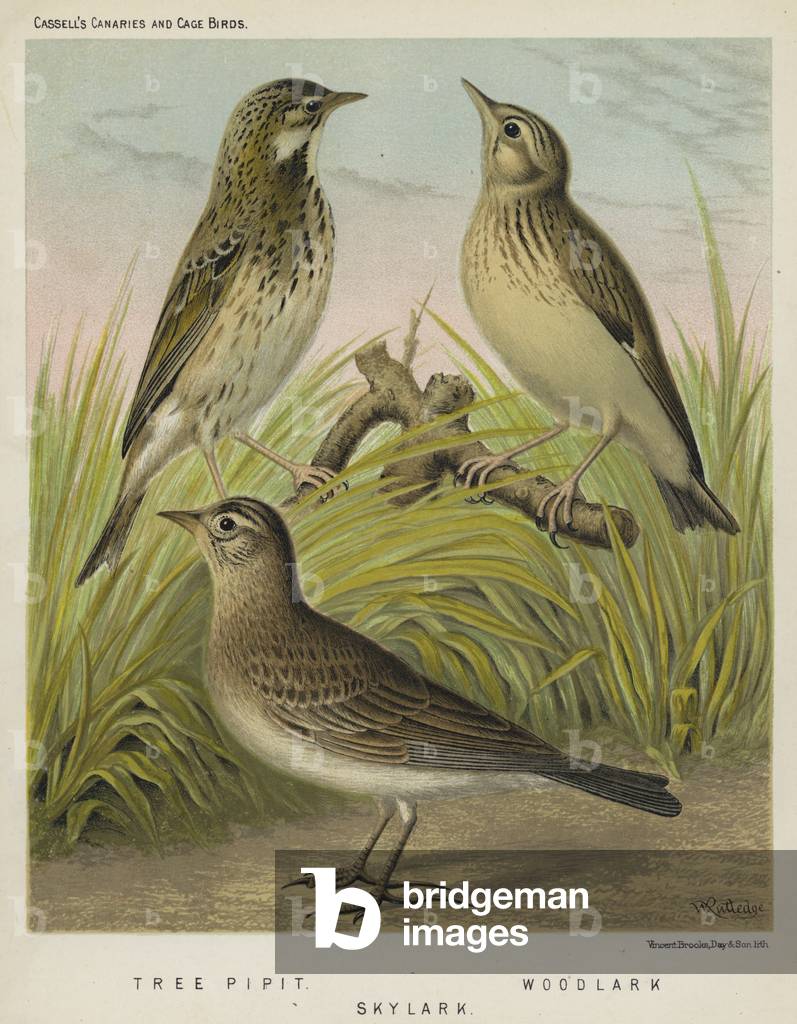
LLM5218222: Tree Pipit, Woodlark, Skylark (colour litho), European School, (19th century) / Bridgeman Images
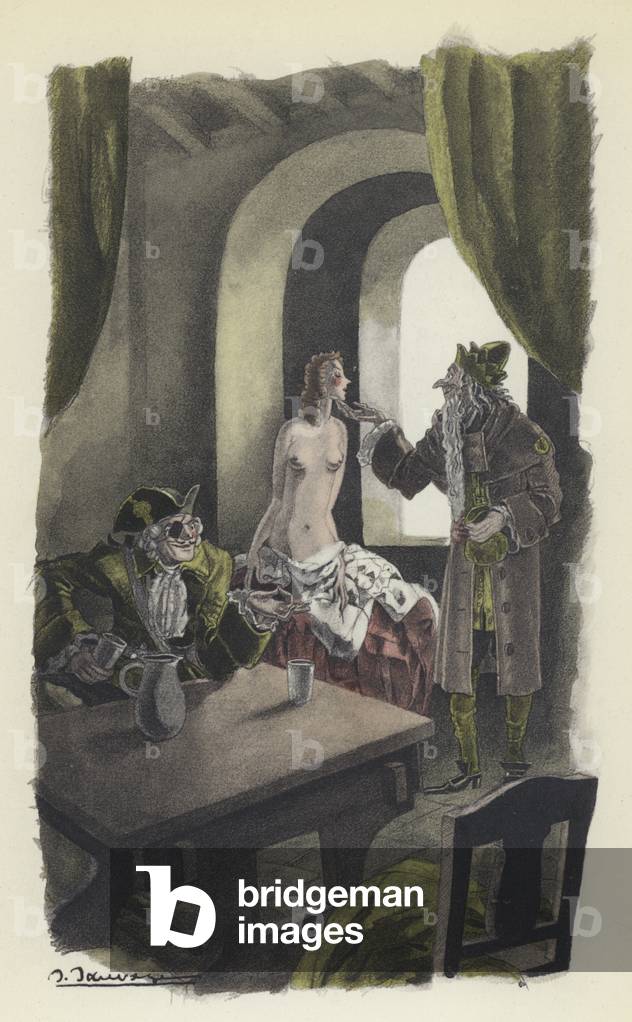
LLM5218252: Illustration for Voltaire's Candide (colour litho), Sauvage, Sylvain (1888-1948) / Bridgeman Images
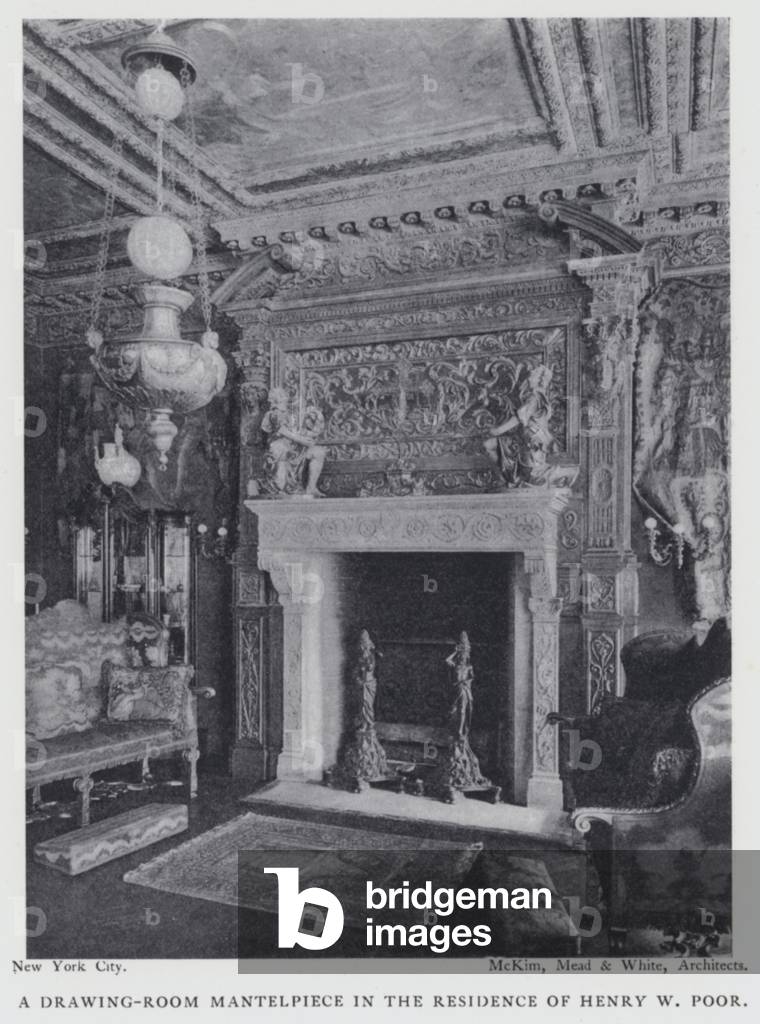
LLM5204282: A Drawing-Room Mantelpiece in the Residence of Henry W Poor (b/w photo), American Photographer, (20th century) / Bridgeman Images
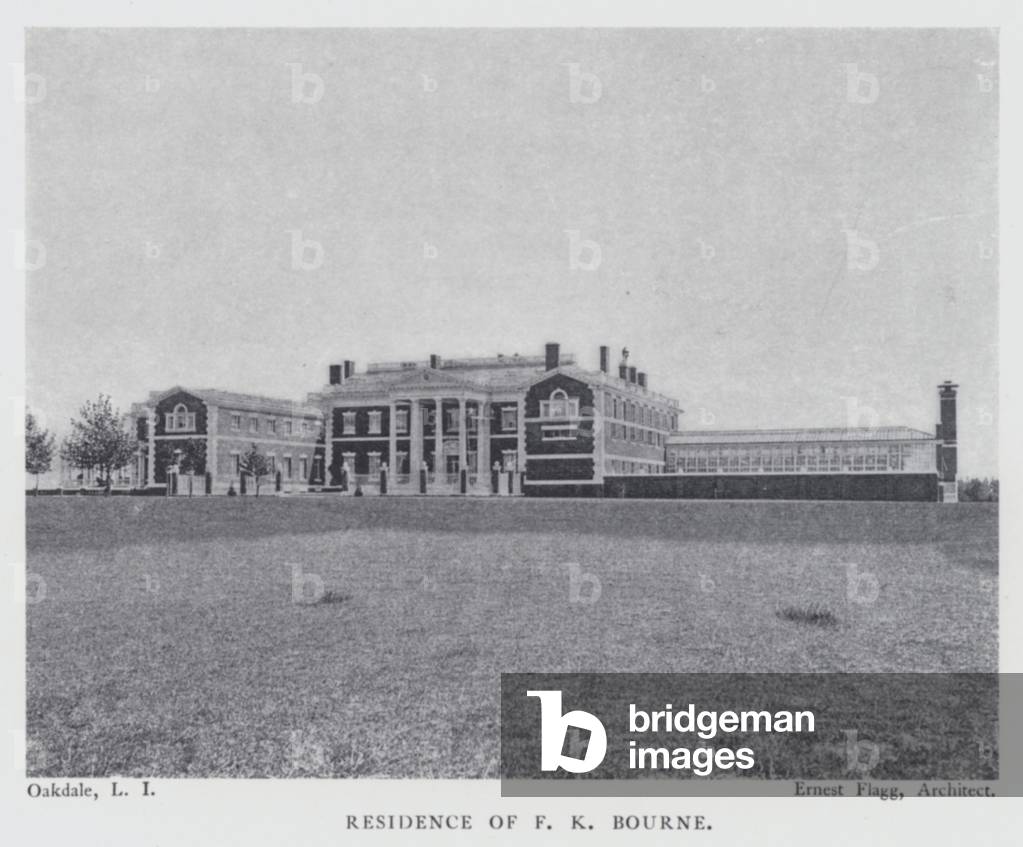
LLM5204289: Residence of F K Bourne (b/w photo), American Photographer, (20th century) / Bridgeman Images

LLM5204302: Hallway in the Residence of Lawrence C Phipps (b/w photo), American Photographer, (20th century) / Bridgeman Images
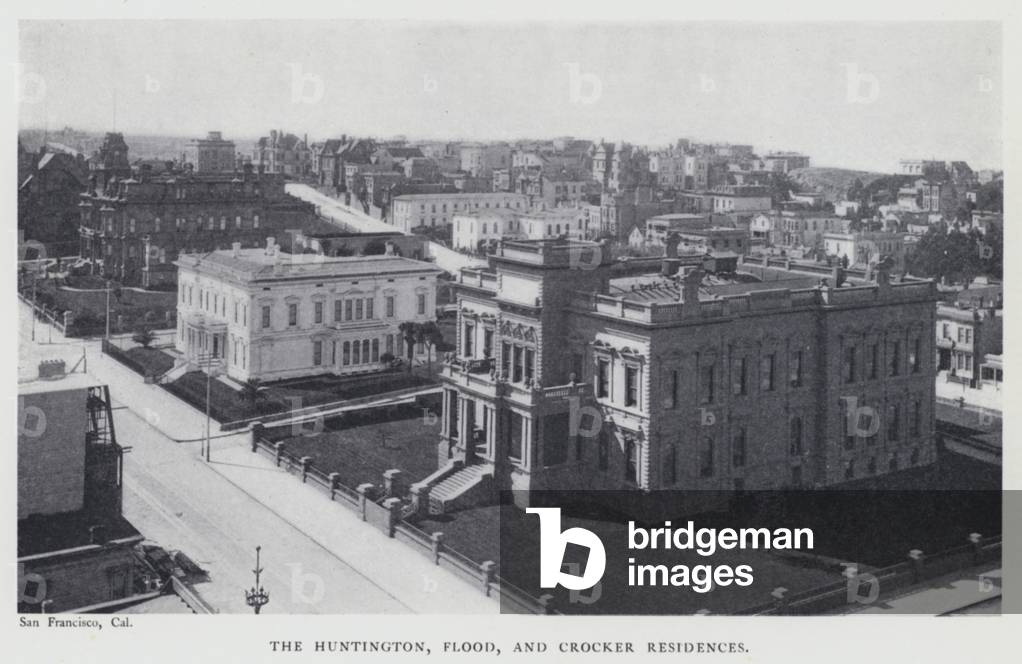
LLM5204306: The Huntington, Flood, and Crocker Residences (b/w photo), American Photographer, (20th century) / Bridgeman Images

LLM5204308: Music-Room in "Whitehall" (b/w photo), American Photographer, (20th century) / Bridgeman Images

LLM5204317: "The Turrets" (b/w photo), American Photographer, (20th century) / Bridgeman Images
