2491632 Search Results

LLM6011749: Italy: Tropea, Calabria (b/w photo), Hielscher, Kurt (1881-1948) / Bridgeman Images

LLM6011753: Italy: Enna, Vendita de brocche (b/w photo), Hielscher, Kurt (1881-1948) / Bridgeman Images

LLM6011793: Illustration for Homer's Iliad (engraving), English School, (18th century) / Bridgeman Images

LLM6011804: Illustration for Homer's Iliad (engraving), English School, (18th century) / Bridgeman Images

LLM6011813: Illustration for Homer's Odyssey (engraving), English School, (18th century) / Bridgeman Images

LLM6011823: The Twelve Ages of Man: August (litho), French School, (16th century) / Bridgeman Images
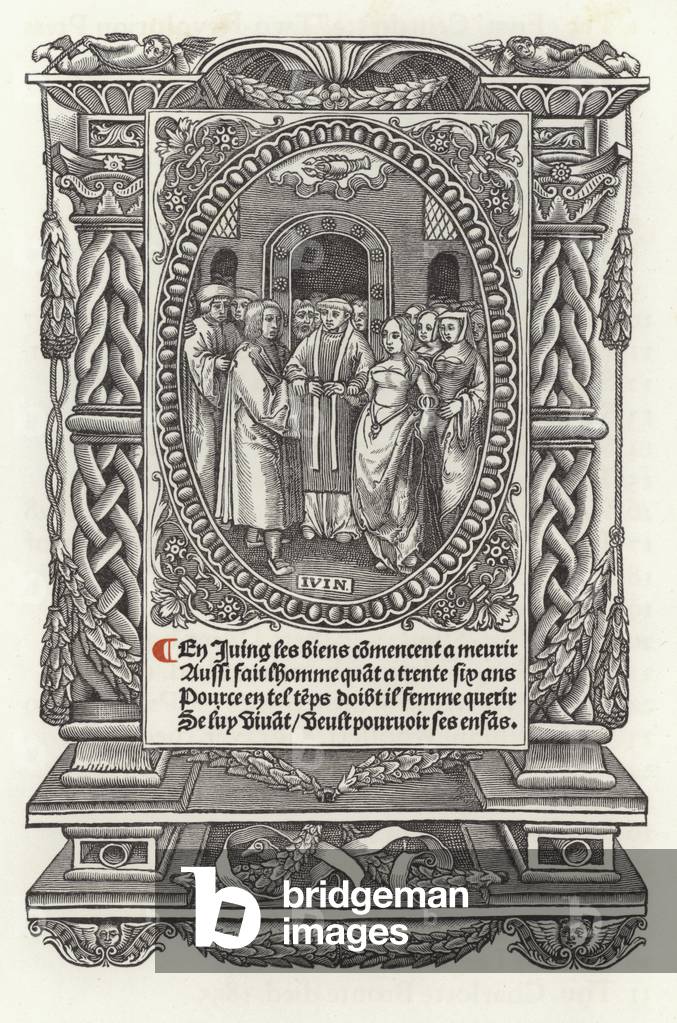
LLM6011830: The Twelve Ages of Man: June (litho), French School, (16th century) / Bridgeman Images

LLM6011837: The snipe (colour litho), Hassall, John (1868-1948) / Bridgeman Images

LLM6011846: The badger (colour litho), Hassall, John (1868-1948) / Bridgeman Images
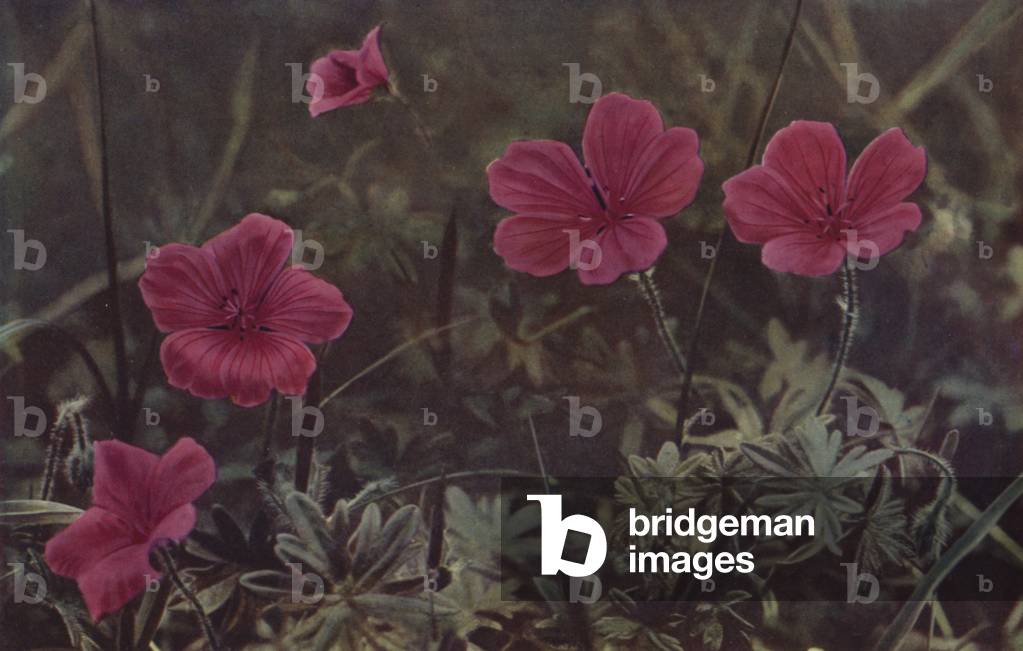
LLM6011860: Blood-Red Crane's-Bill (photo), English Photographer, (20th century) / Bridgeman Images

LLM6011865: Silver Birches (colour litho), MacWhirter, John (1839-1911) (after) / Bridgeman Images

LLM6011893: Sketches Humorous and Grotesque by Gustave Dore (engraving), Dore, Gustave (1832-83) / Bridgeman Images

LLM6011899: Sketches Humorous and Grotesque by Gustave Dore (engraving), Dore, Gustave (1832-83) / Bridgeman Images

LLM6011924: Sketches Humorous and Grotesque by Gustave Dore (engraving), Dore, Gustave (1832-83) / Bridgeman Images

LLM6011931: Sketches Humorous and Grotesque by Gustave Dore (engraving), Dore, Gustave (1832-83) / Bridgeman Images

LLM6011955: Part of the Mechanical Engineering Laboratory in the Merchant Venturers' Technical College (b/w photo), English Photographer, (20th century) / Bridgeman Images

LLM6011966: The New Council Chamber (b/w photo), English Photographer, (20th century) / Bridgeman Images

LLM6011970: The General Library of the University (b/w photo), English Photographer, (20th century) / Bridgeman Images

LLM6011975: Roma / Rome: Vaticano, Sala Clementina (b/w photo), Italian Photographer, (20th century) / Bridgeman Images

LLM6011980: Roma / Rome: Panorama dalla Cupola di S Pietro (b/w photo), Italian Photographer, (20th century) / Bridgeman Images

LLM6011983: Roma / Rome: Trinita dei Monti (b/w photo), Italian Photographer, (20th century) / Bridgeman Images

LLM6011990: Roma / Rome: Foro Romano, Edicola delle Vestali e Tempio di Castore e Polluce (b/w photo), Italian Photographer, (20th century) / Bridgeman Images

LLM6011995: Roma / Rome: Il Colosseo, Interno (b/w photo), Italian Photographer, (20th century) / Bridgeman Images

LLM6012001: Roma / Rome: Mose di Michelangiolo in S Pietro in Vincoli (b/w photo), Italian Photographer, (20th century) / Bridgeman Images

LLM6012004: Berlin: Friedrichstrasse, Ecke Unter den Linden (b/w photo), German Photographer, (20th Century) / Bridgeman Images

LLM6012012: Roma / Rome: Il nuovo Palazzo di Giustizia, Facciata principale (b/w photo), Italian Photographer, (20th century) / Bridgeman Images

LLM6012035: Cadiz: Plaza de Mina (b/w photo), Spanish Photographer, (19th century) / Bridgeman Images

LLM5992067: Illustration for The Cloister and The Hearth by Charles Reade (colour litho), Shaw, Byam (1872-1919) (after) / Bridgeman Images

LLM5992078: Illustration for The Cloister and The Hearth by Charles Reade (litho), Hardy, Paul (19th Century) (after) / Bridgeman Images

LLM5992083: Fiji: Village Scene, Island of Ovalau (b/w photo), English Photographer, (20th century) / Bridgeman Images

LLM5992099: Fiji: In the Botanical Gardens, Suva (b/w photo), English Photographer, (20th century) / Bridgeman Images

LLM5992108: Fiji: Fire Walkers on the Hot Stones (b/w photo), English Photographer, (20th century) / Bridgeman Images

LLM5992154: Illustration for The Deserted Village by Oliver Goldsmith (colour litho), Hankey, William Lee (1869-1952) / Bridgeman Images

LLM5992158: Illustration for The Deserted Village by Oliver Goldsmith (colour litho), Hankey, William Lee (1869-1952) / Bridgeman Images

LLM5992251: Beavers at Work (engraving), English School, (19th century) / Bridgeman Images

LLM5992274: The Holy Land: The Sea of Galilee (colour litho), Fulleylove, John (1847-1908) / Bridgeman Images
