2490880 Search Results
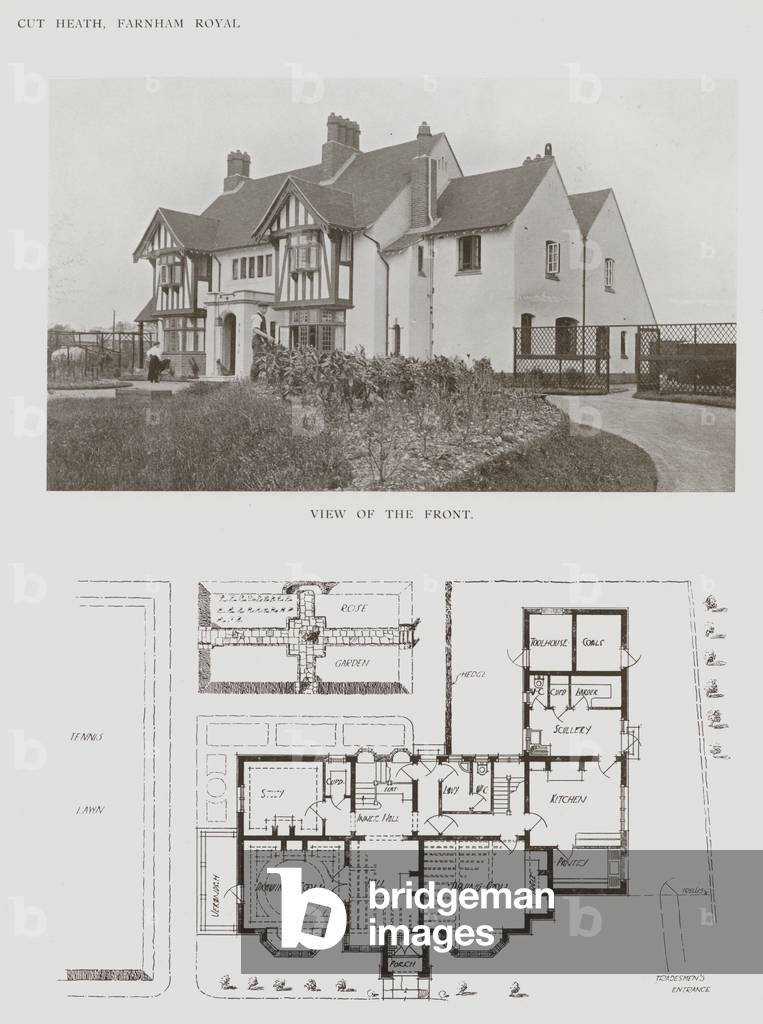
LLM3650612: Cut Heath, Farnham Royal, View of the Front (b/w photo), English Photographer, (20th century) / Bridgeman Images

LLM3652024: Ornament on the Walls of the windows of "Lindaraja's" Balcony (colour litho), Spanish School, (19th century) / Bridgeman Images

LLM3652162: Illustration for The Black Arrow by Robert Louis Stevenson (colour litho), Wyeth, Newell Convers (1882-1945) (after) / Bridgeman Images

LLM3652213: Whippet Racing, Weighing In (b/w photo), English Photographer, (20th century) / Bridgeman Images

LLM3652749: Assisi, Veduta della Citta dal Giardino Pubblico (photo), Italian Photographer, (20th century) / Bridgeman Images

LLM3652779: St John's College, from the River (b/w photo), English Photographer, (20th century) / Bridgeman Images
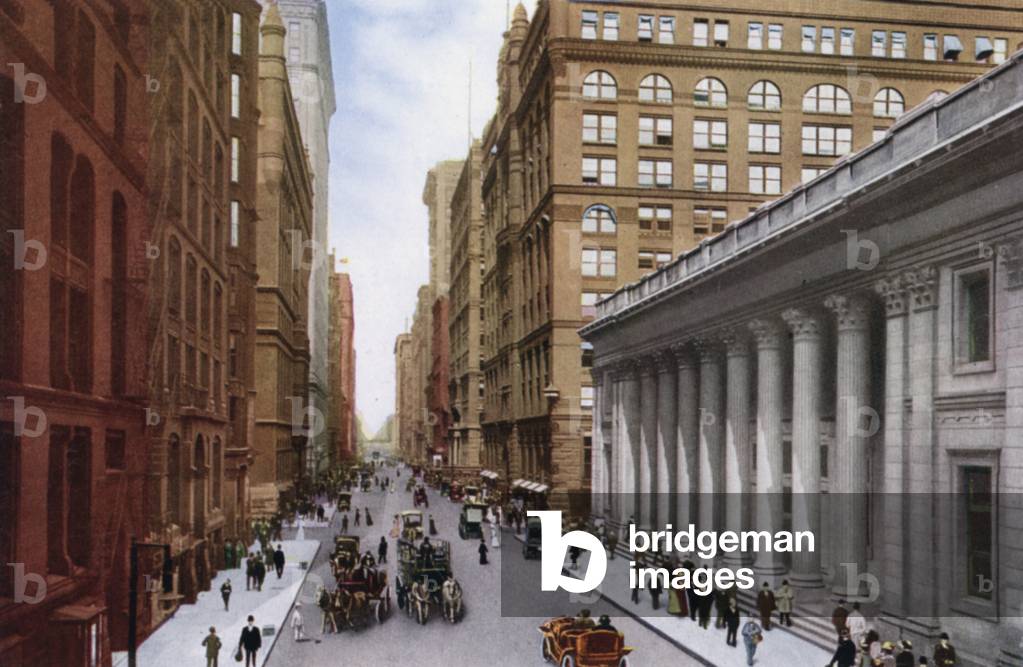
LLM3652926: La Salle Street, from Board of Trade Building (colour photo), American Photographer, (20th century) / Bridgeman Images
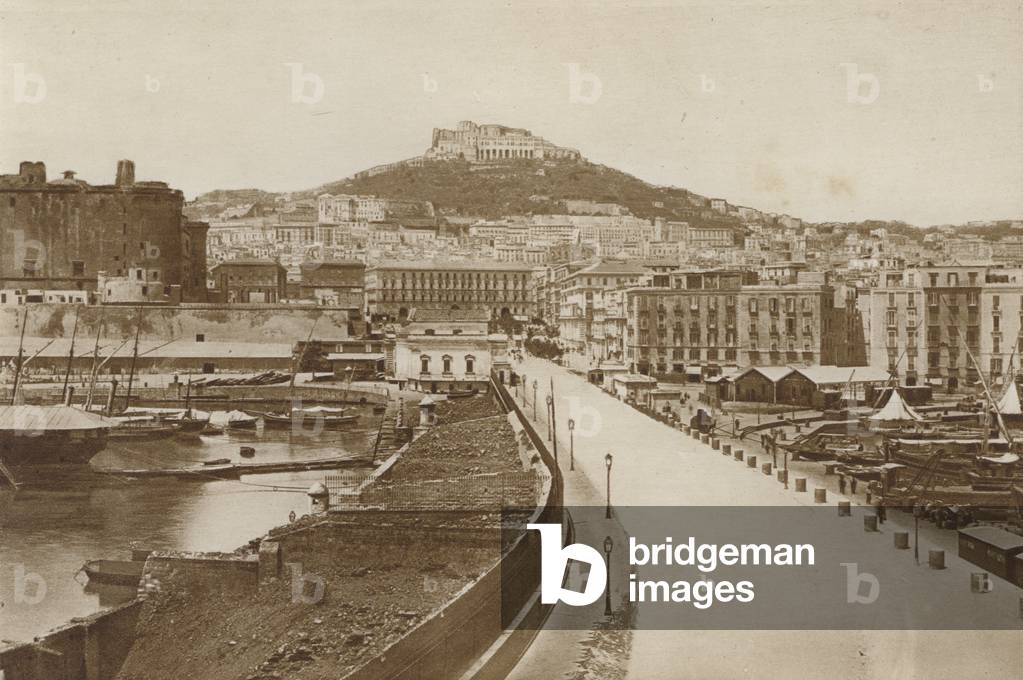
LLM3653001: Napoli, Strada del Molo e Castel Sant'Elmo (b/w photo), Italian Photographer, (20th century) / Bridgeman Images

LLM3651293: Sydney Harbour (litho), English School, (19th century) / Bridgeman Images

LLM3651329: SS "Ormuz" (litho), English School, (19th century) / Bridgeman Images

LLM3651359: Advertisement (litho), English School, (19th century) / Bridgeman Images

LLM3651368: Cornmarket Street (b/w photo), English Photographer, (20th century) / Bridgeman Images

LLM3650228: Tres Comme Il Faut (engraving), Dore, Gustave (1832-83) (after) / Bridgeman Images

LLM3650243: Une Maison De Refuge (engraving), Dore, Gustave (1832-83) (after) / Bridgeman Images

LLM3650249: Bishopsgate (engraving), Dore, Gustave (1832-83) (after) / Bridgeman Images

LLM3650424: Illustration for The Merry Wives of Windsor (colour litho), Thomson, Hugh (1860-1920) / Bridgeman Images
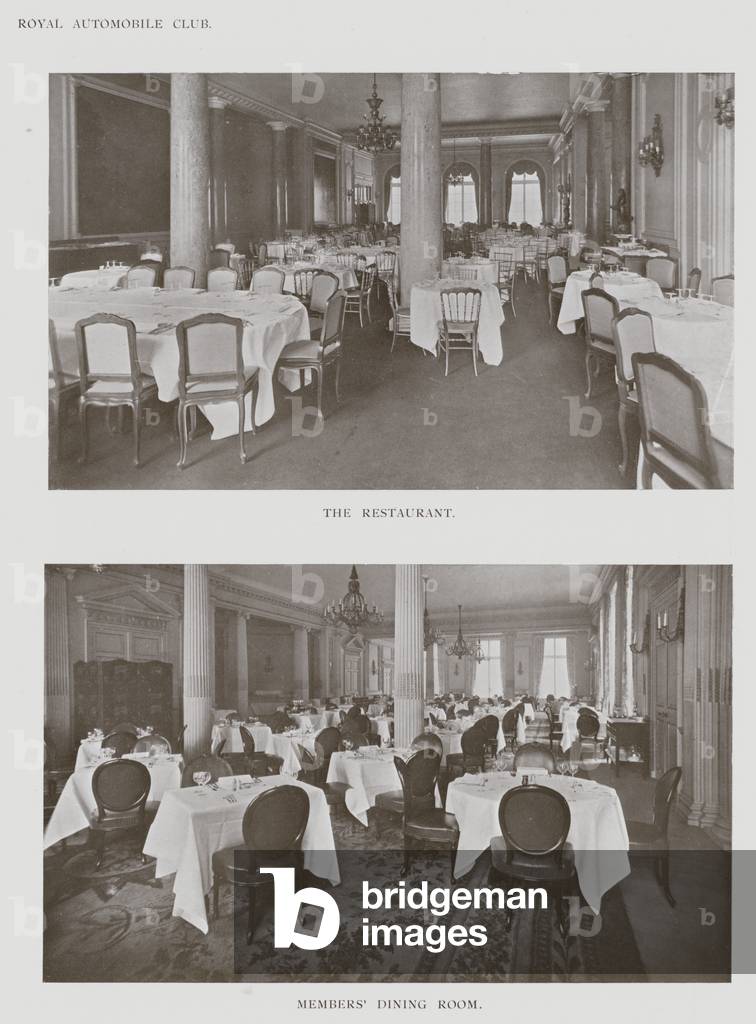
LLM3650541: Royal Automobile Club, The Restaurant, Members' Dining Room (b/w photo), English Photographer, (20th century) / Bridgeman Images

LLM3650751: The Polytechnic, The Smoking Room (b/w photo), English Photographer, (20th century) / Bridgeman Images
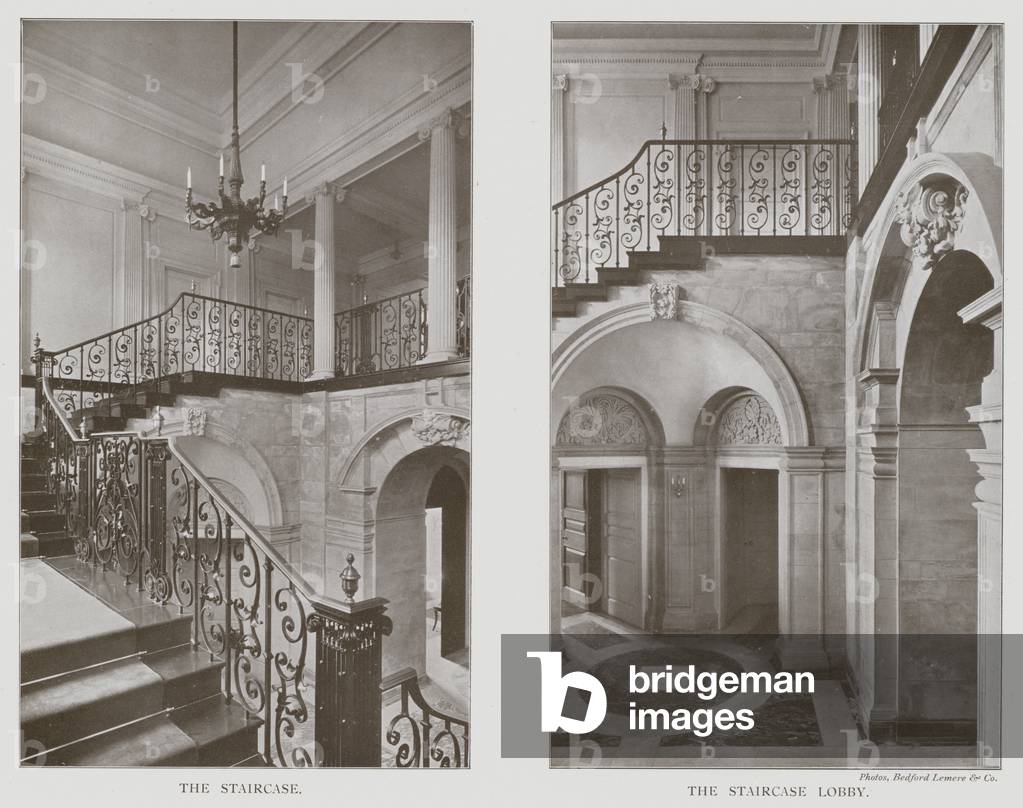
LLM3650616: Heathcote, Ilkley, The Staircase, The Staircase Lobby (b/w photo), English Photographer, (20th century) / Bridgeman Images
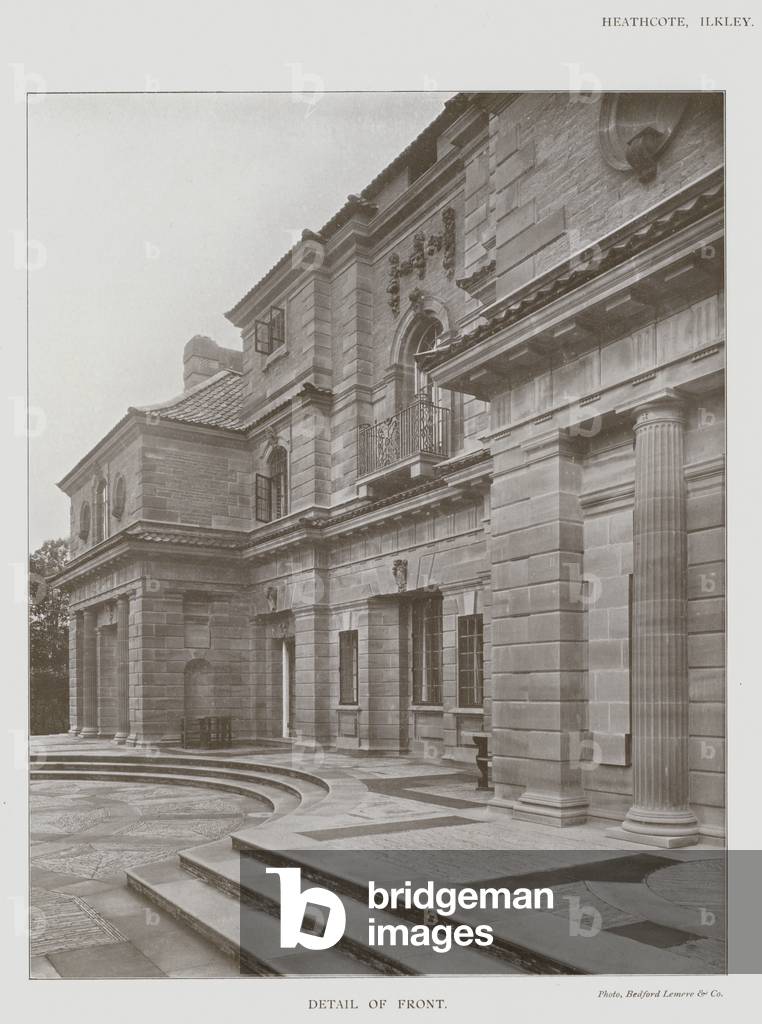
LLM3650625: Heathcote, Ilkley, Detail of Front (b/w photo), English Photographer, (20th century) / Bridgeman Images
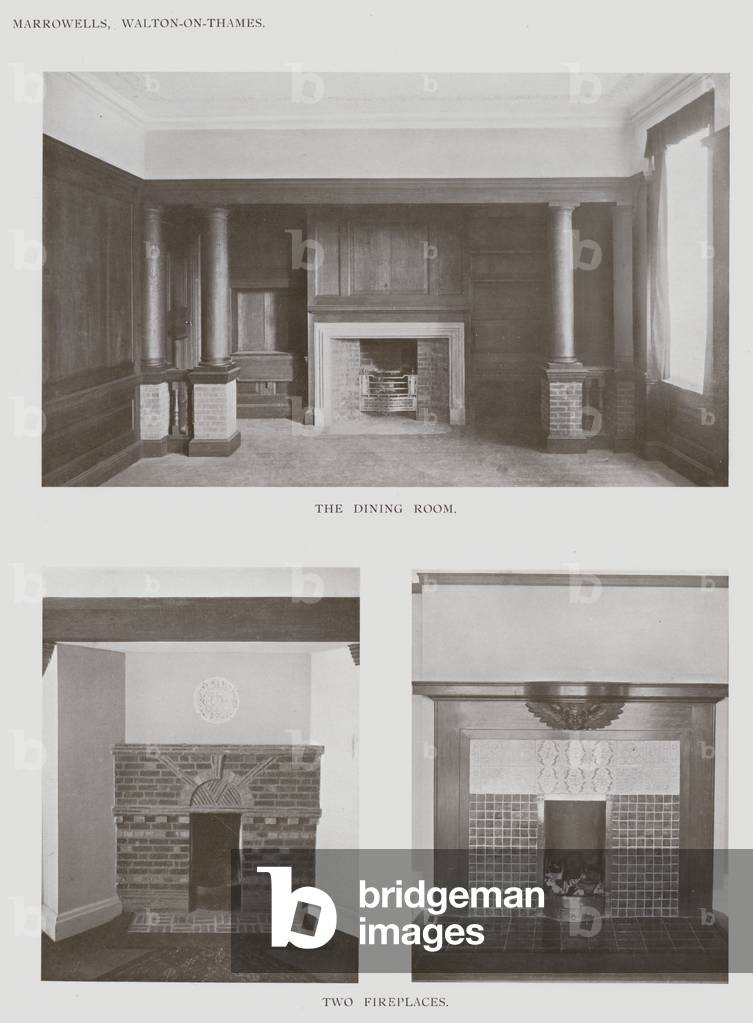
LLM3650646: Marrowells, Walton-on-Thames, The Dining Room, Two Fireplaces (b/w photo), English Photographer, (20th century) / Bridgeman Images

LLM3650766: The Victoria and Albert Museum, The Vestibule, Eastern Court (b/w photo), English Photographer, (20th century) / Bridgeman Images

LLM3650781: S and E Collier, Ltd (colour photo), English Photographer, (20th century) / Bridgeman Images

LLM3650790: C A Peters, Limited (colour photo), English Photographer, (20th century) / Bridgeman Images

LLM3650820: Nicoll and Co, Ltd's New Premises, London, Gentlemen's Department, Ladies' Department (b/w photo), English Photographer, (20th century) / Bridgeman Images

LLM3650859: Refuge Assurance Company's Offices, Manchester, A Corridor (b/w photo), English Photographer, (20th century) / Bridgeman Images

LLM3650895: Soil-Pipe and Trap-Ventilating Pipes for a Tier of Three Closets (colour litho), English School, (20th century) / Bridgeman Images

LLM3651015: Charles Blake Cochran (b/w photo), English Photographer, (20th century) / Bridgeman Images

LLM3651021: Miss Evelyn Lucy Colyer (b/w photo), English Photographer, (20th century) / Bridgeman Images

LLM3651734: Improved Stove (engraving), English School, (19th century) / Bridgeman Images

LLM3651201: Illustration for Cranford by Mrs Gaskell (colour litho), Wheelhouse, Mary V. (1895-1947) / Bridgeman Images

LLM3651282: Illustration for Oliver Twist (colour litho), Blaikie, F. M. B. (fl.1906-14) / Bridgeman Images

LLM3652031: Actual state of the Colours (colour litho), Spanish School, (19th century) / Bridgeman Images

LLM3652037: Mosaic Dado in centre window on the North side, Hall of Ambassadors (colour litho), Spanish School, (19th century) / Bridgeman Images

LLM3652052: Bands, side of arches, Court of the Lions (colour litho), Spanish School, (19th century) / Bridgeman Images

LLM3652202: Champion Ivan Turgeneff (colour litho), Earl, Maud (1884-1908) / Bridgeman Images
