2490904 Search Results

LLM3627949: Mr Ernest Crofts, ARA (engraving), English School, (19th century) / Bridgeman Images

LLM3627428: Xie Kitchin as a Chinaman (b/w photo), Dodgson, Charles Lutwidge (Lewis Carroll) (1832-98) / Bridgeman Images
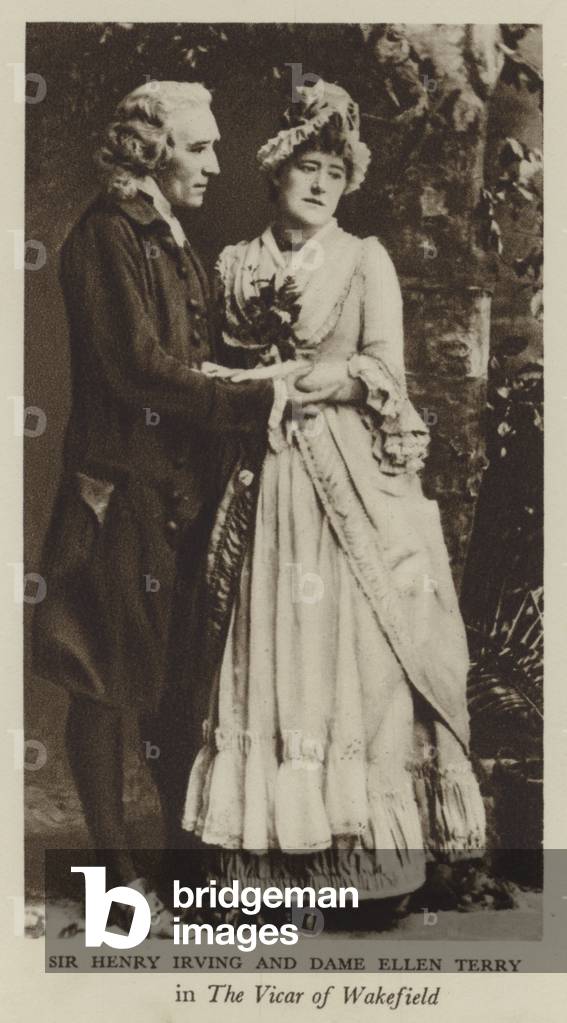
LLM3627545: Sir Henry Irving and Dame Ellen Terry (b/w photo), English Photographer, (19th century) / Bridgeman Images

LLM3629178: Ross Bridge (engraving), English School, (19th century) / Bridgeman Images

LLM3625103: Carlo Pisacane (engraving), Italian School, (19th century) / Bridgeman Images

LLM3628343: Bringing in wounded man (chromolitho), English School, (20th century) / Bridgeman Images

LLM3627411: George Macdonald (b/w photo), Dodgson, Charles Lutwidge (Lewis Carroll) (1832-98) / Bridgeman Images

LLM3626970: Herbert C Hoover, future President of the United States, receiving an honorary doctorate from Brown University in 1917 (b/w photo), American Photographer, (20th century) / Bridgeman Images

LLM3625301: So when Christian was Stepping in, the other Gave him a Pull (engraving), Rhead, Louis John (1857-1926) / Bridgeman Images

LLM3625657: Rendre a Cesar ce qui est a Cesar (engraving), French School, (19th century) / Bridgeman Images
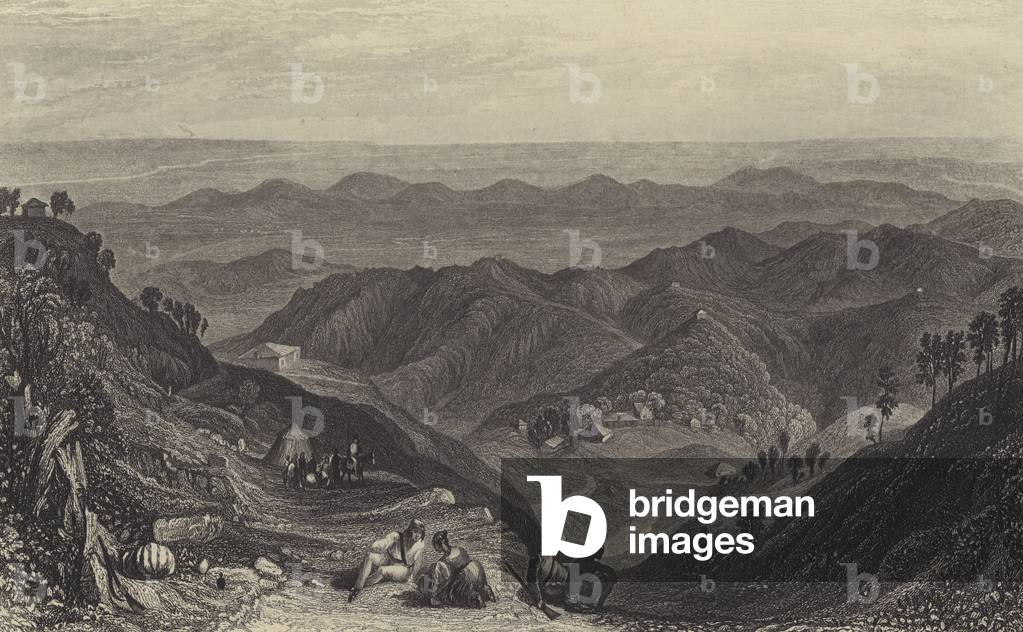
LLM3626669: Mussoorie and the Doon, from Landour (engraving), Turner, Joseph Mallord William (1775-1851) (after) / Bridgeman Images

LLM3627116: Victor Hugo, French poet, novelist and dramatist (litho), French School, (19th century) / Bridgeman Images

LLM3626033: Gulf of Yeddo (engraving), English School, (19th century) / Bridgeman Images
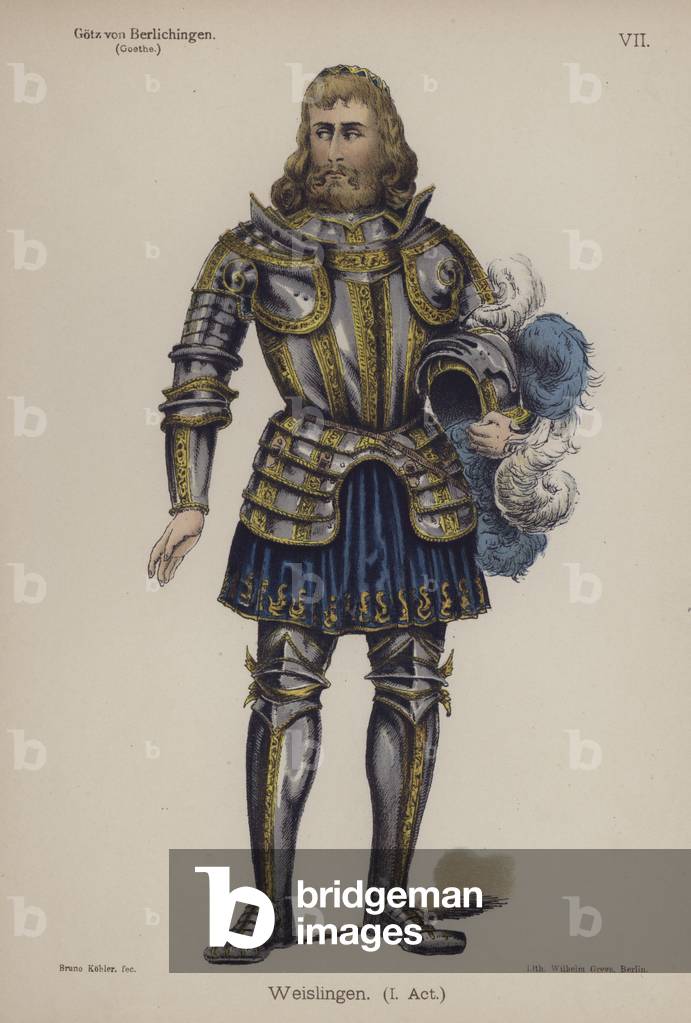
LLM3626465: Weislingen, from Gotz von Berlichingen by Goethe (colour litho), German School, (19th century) / Bridgeman Images

LLM3627408: Mrs Rossetti and her Children Dante Gabriel, Christina, and William (b/w photo), Dodgson, Charles Lutwidge (Lewis Carroll) (1832-98) / Bridgeman Images

LLM3626733: Caernarvon Castle, the birthplace of King Edward II, founder of Oriel College, Oxford (engraving), English School, (19th century) / Bridgeman Images

LLM3628314: Peter Wilkins' encounter with a native of Mount Alkoe (colour litho), Browne, Hablot Knight (Phiz) (1815-92) (after) / Bridgeman Images

LLM3626049: The Temple of Ganesa (engraving), English School, (19th century) / Bridgeman Images
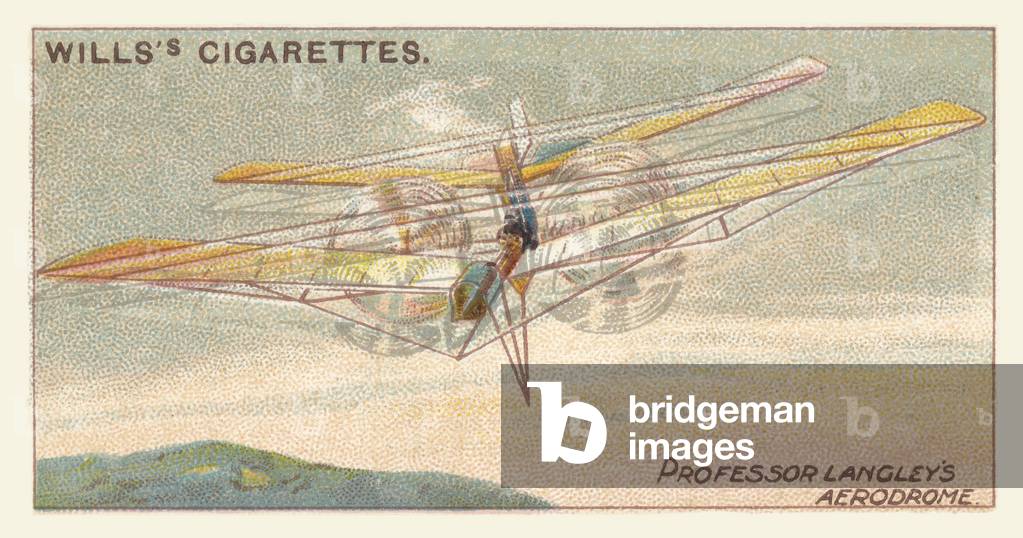
LLM3628393: Professor Langley's Aerodrome (chromolitho), English School, (20th century) / Bridgeman Images

LLM3628451: St James's Park (b/w photo), English Photographer, (19th century) / Bridgeman Images

LLM3627312: Entrance of Madame Dubarry (engraving), French School, (19th century) / Bridgeman Images

LLM3628074: M Noiset on his Semi-Cycle (b/w photo), English Photographer, (19th century) / Bridgeman Images
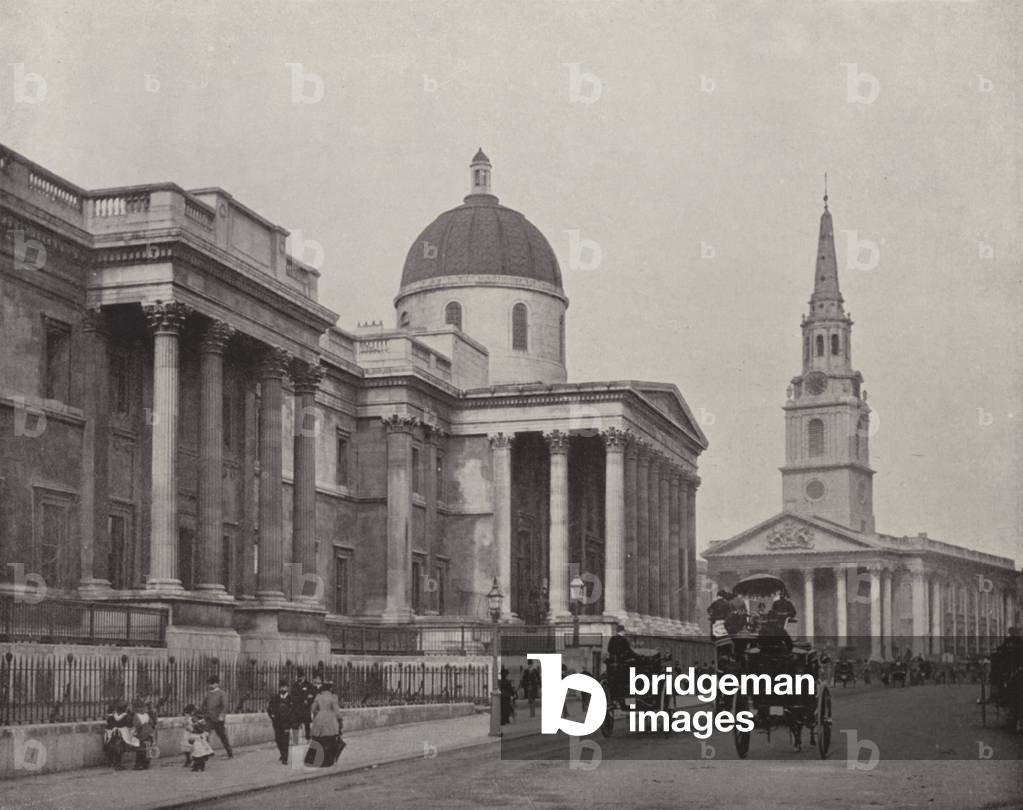
LLM3628432: The National Gallery (b/w photo), English Photographer, (19th century) / Bridgeman Images
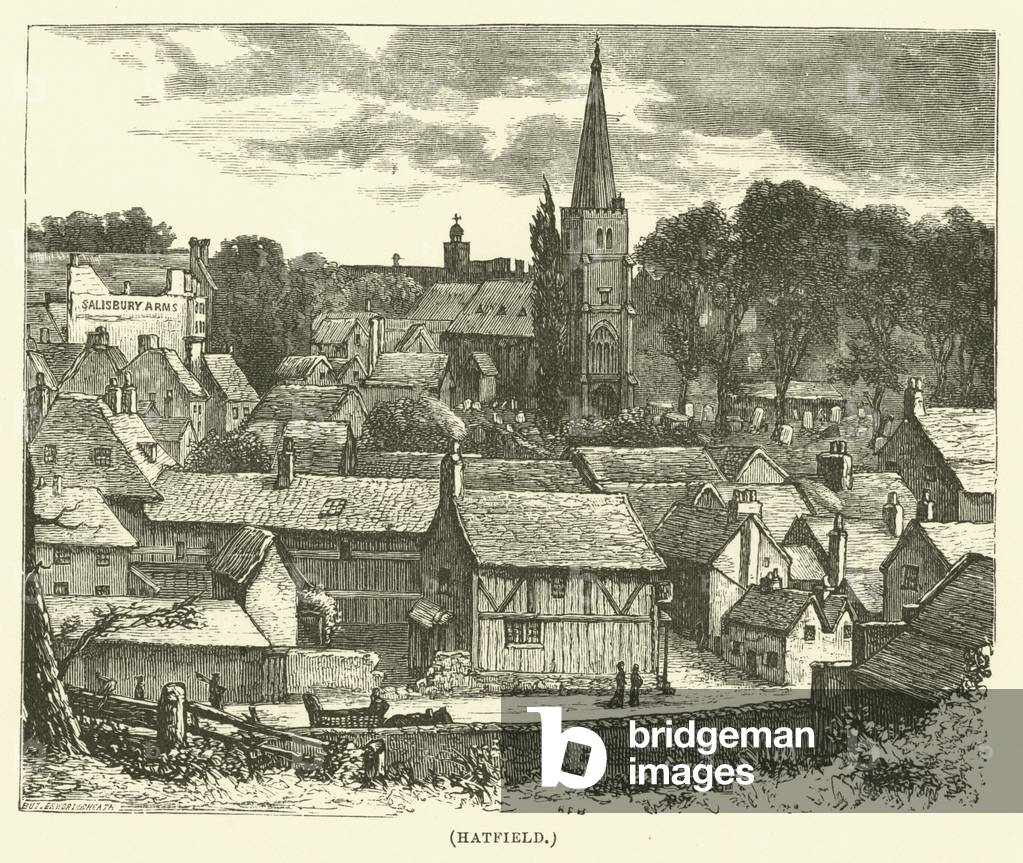
LLM3628990: Hatfield (engraving), English School, (19th century) / Bridgeman Images

LLM3626858: Perspective map showing the location of the North Sea Mine Barrage, the scene of the principal naval actions, and the German naval bases (colour litho), English School, (20th century) / Bridgeman Images

LLM3625003: Laboratoire de chimie de troisieme annee (engraving), French School, (19th century) / Bridgeman Images

LLM3625815: Supplice d'Adonibezec (engraving), French School, (19th century) / Bridgeman Images

LLM3625184: The Triumph of Perseverance (engraving), English School, (19th century) / Bridgeman Images

LLM3628149: Prince Felix Yusupov, Rasputin's Murderer (b/w photo), Russian Photographer, (20th century) / Bridgeman Images
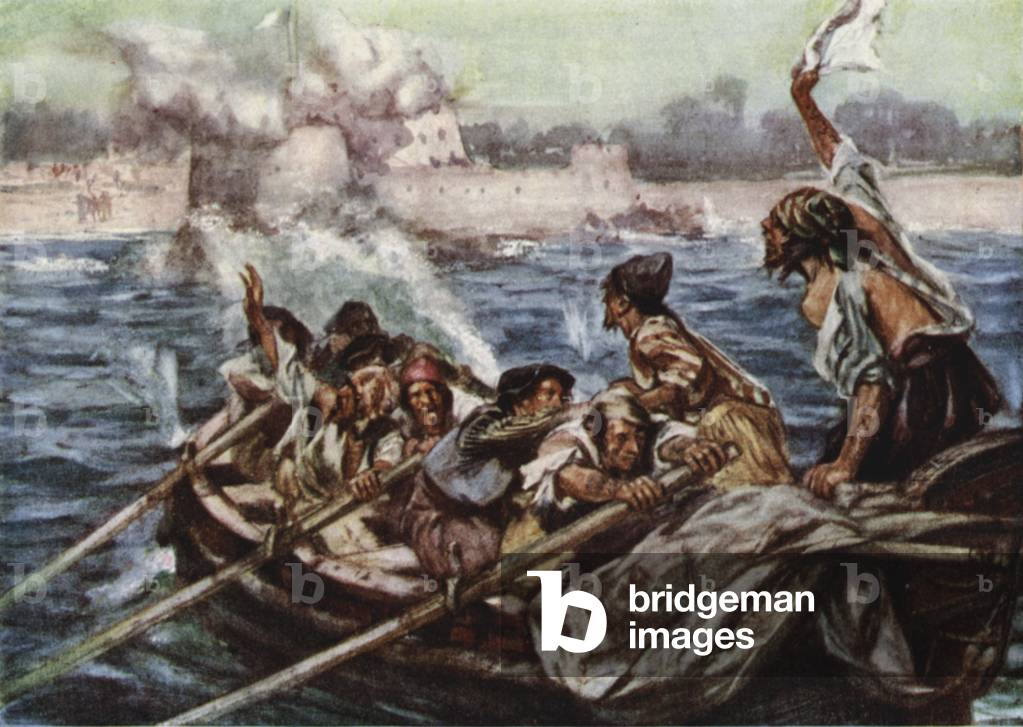
LLM3628414: We surrender! We surrender! (colour litho), McCormick, Arthur David (1860-1943) (after) / Bridgeman Images

LLM3626237: Westminster Bridge, London, 1745 (engraving), English School, (19th century) / Bridgeman Images

LLM3627820: Sir Edwin Arnold (engraving), English School, (19th century) / Bridgeman Images

LLM3625265: The Man possessed by Devils (engraving), English School, (19th century) / Bridgeman Images
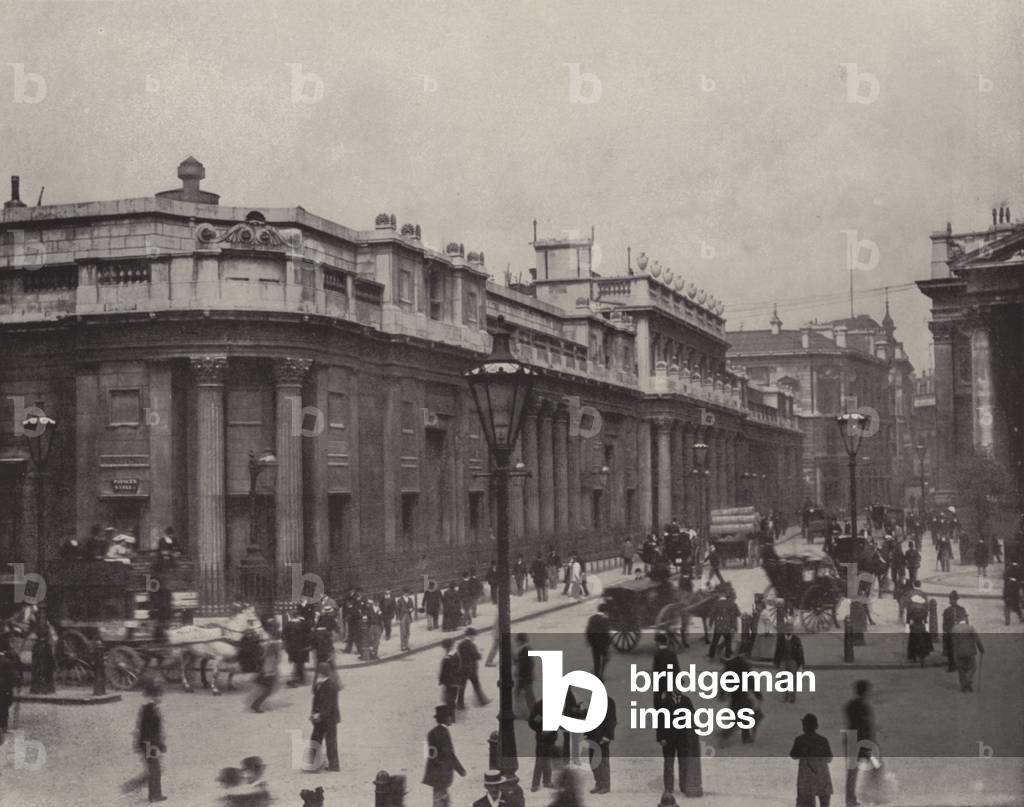
LLM3628422: The Bank of England (b/w photo), English Photographer, (19th century) / Bridgeman Images
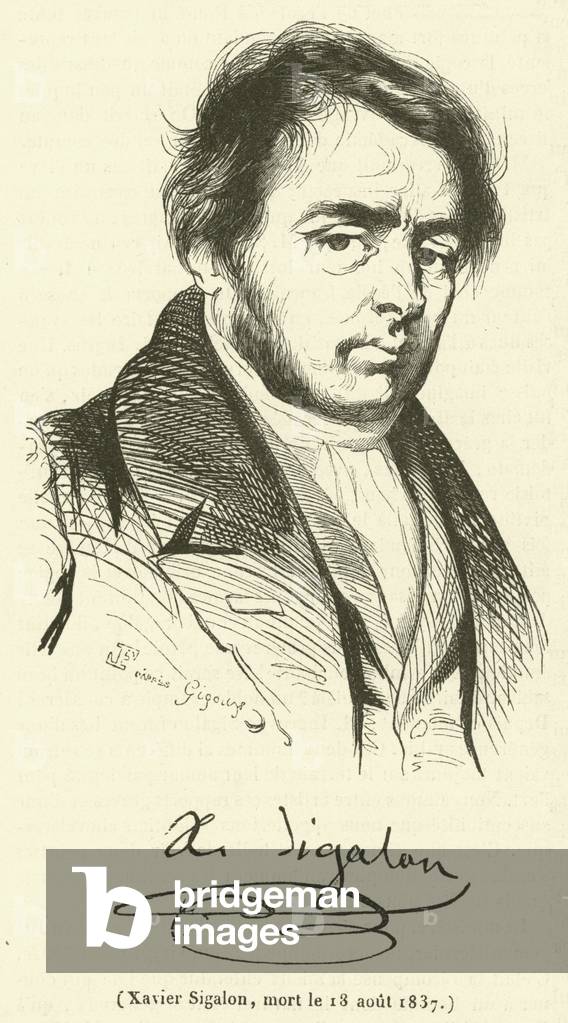
LLM3629545: Xavier Sigalon, mort le 18 aout 1837 (engraving), French School, (19th century) / Bridgeman Images

LLM3628533: Painswick Church (colour litho), Nicholls, George Franck (1885-1937) / Bridgeman Images
