Search options

Orientation
Colour

Display options

View

Print

To print search results, use print friendly version of this page.

2491476 Search Results
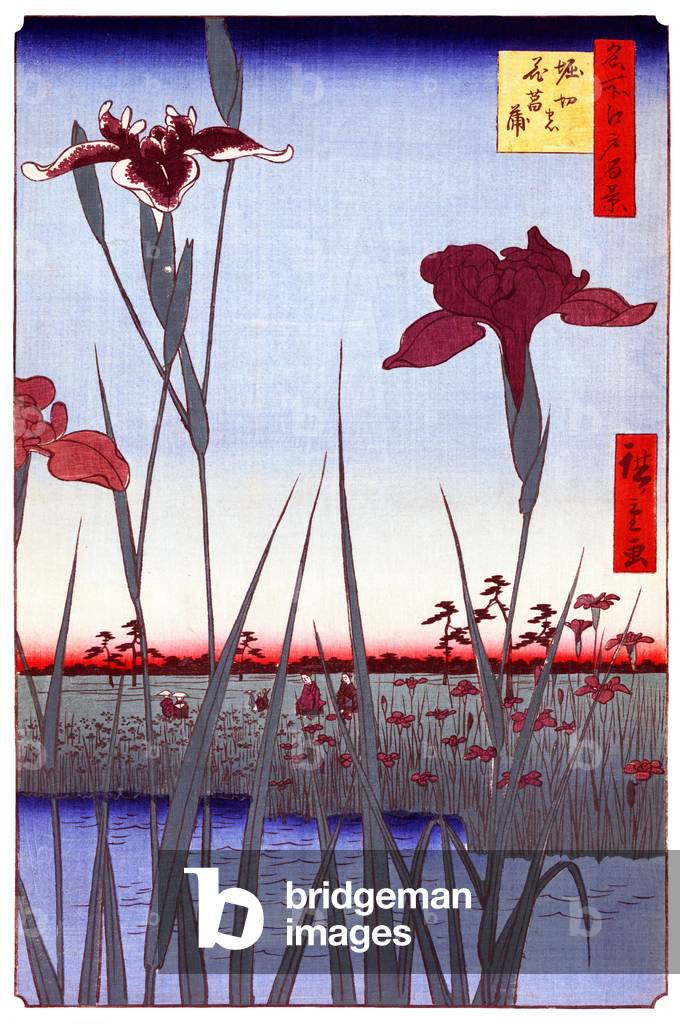
Japan: Summer: Horikiri Iris Garden. Image 64 of '100 Famous Views of Edo'. Utagawa Hiroshige (first published 1856-59)

PFH1182014: Japan: Summer: Horikiri Iris Garden. Image 64 of '100 Famous Views of Edo'. Utagawa Hiroshige (first published 1856-59) / Bridgeman Images
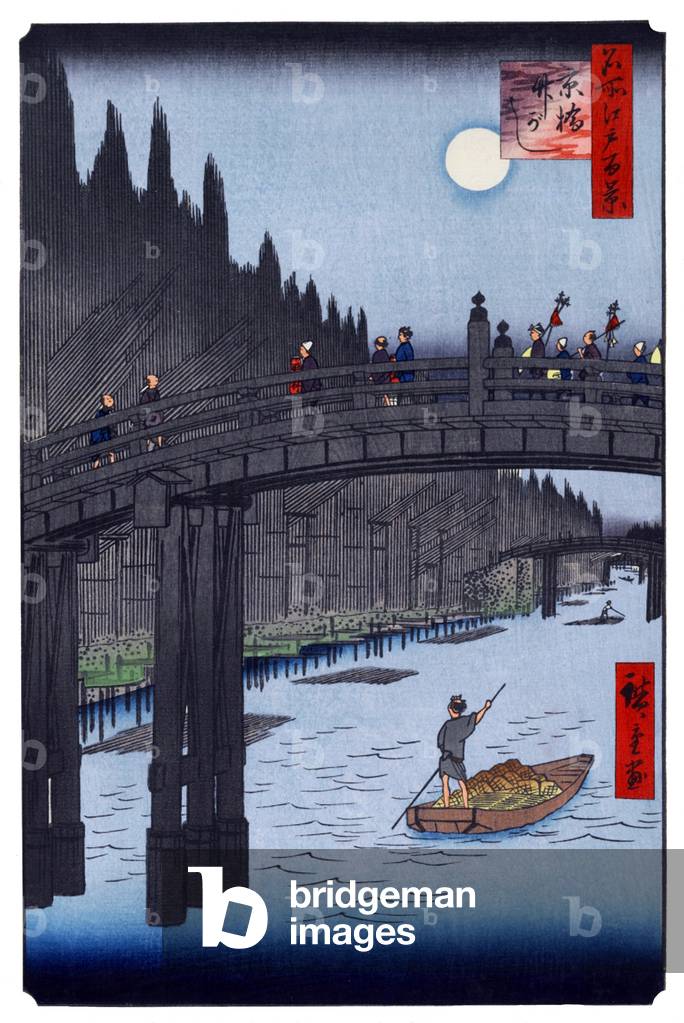
Japan: Autumn: Bamboo Quay by Kyobashi Bridge. Image 76 of '100 Famous Views of Edo'. Utagawa Hiroshige (first published 1856-59)

PFH1182026: Japan: Autumn: Bamboo Quay by Kyobashi Bridge. Image 76 of '100 Famous Views of Edo'. Utagawa Hiroshige (first published 1856-59) / Bridgeman Images

Maple Trees at Mama, Tekona Shrine and Linked Bridge, Edo period, 1857 ( woodblock print)

PFH1182077: Maple Trees at Mama, Tekona Shrine and Linked Bridge, Edo period, 1857 ( woodblock print), Hiroshige, Ando or Utagawa (1797-1858) / Bridgeman Images
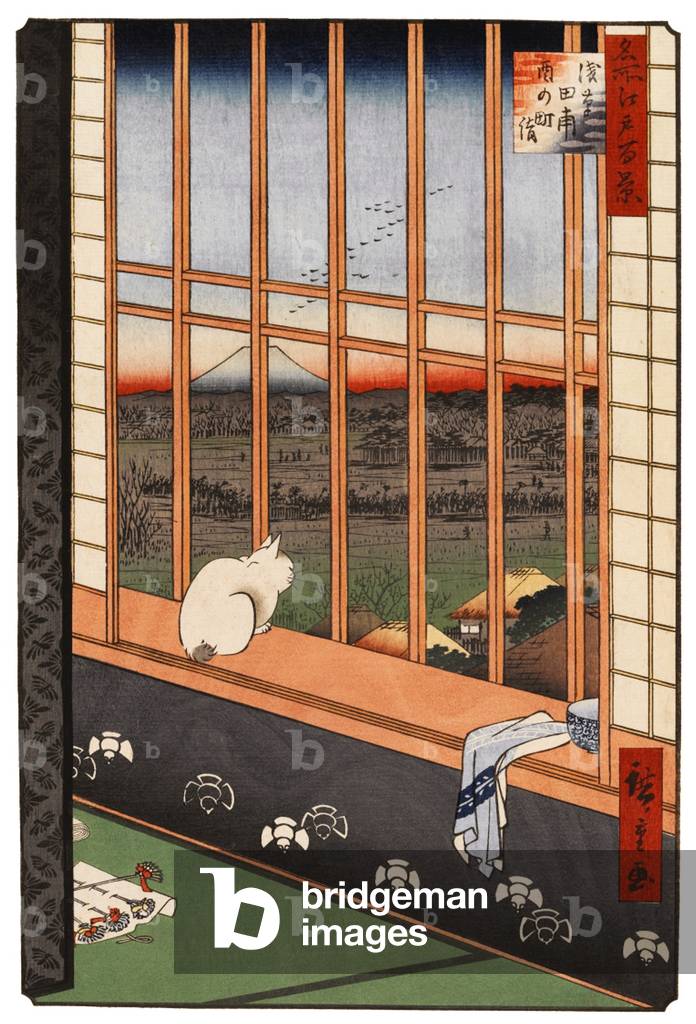
Japan: Winter: Asakusa Rice Fields and Torinomachi Festival; Yoshiwara teahouse, Chokoku-ji temple, Mount Fuji. Image 101 of '100 Famous Views of Edo'. Utagawa Hiroshige (first published 1856-59)

PFH1182095: Japan: Winter: Asakusa Rice Fields and Torinomachi Festival; Yoshiwara teahouse, Chokoku-ji temple, Mount Fuji. Image 101 of '100 Famous Views of Edo'. Utagawa Hiroshige (first published 1856-59) / Bridgeman Images
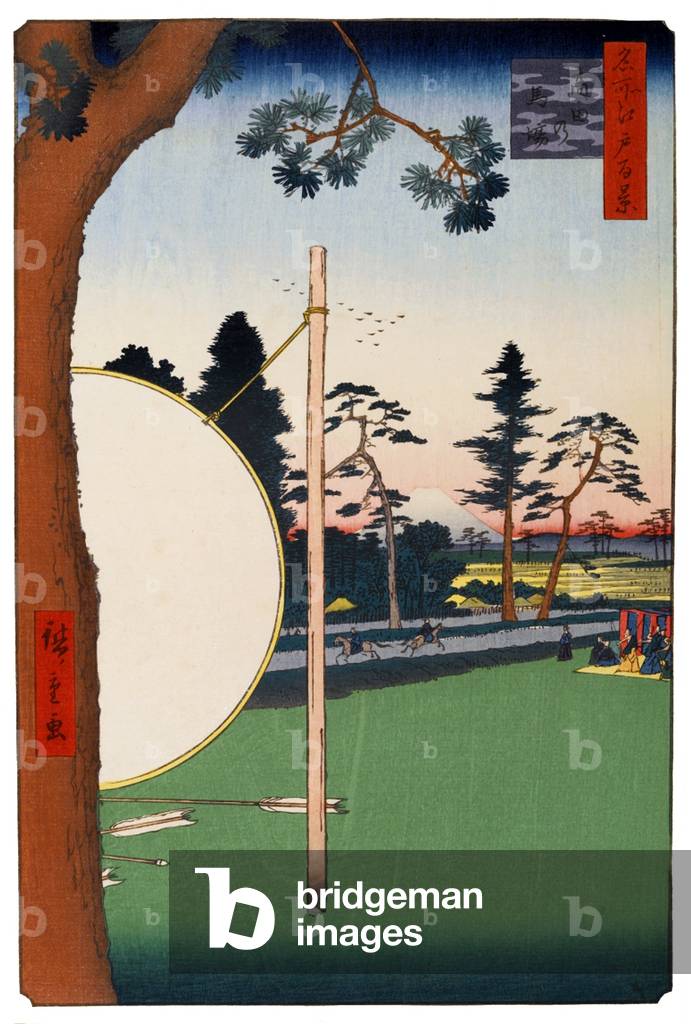
Japan: Winter: The Takata Riding Grounds. Image 115 of '100 Famous Views of Edo'. Utagawa Hiroshige (first published 1856-59)

PFH1182119: Japan: Winter: The Takata Riding Grounds. Image 115 of '100 Famous Views of Edo'. Utagawa Hiroshige (first published 1856-59) / Bridgeman Images

Oman: Official portrait of Qaboos bin Said Al Said, Sultan of Oman (r.1970-)

PFH1184709: Oman: Official portrait of Qaboos bin Said Al Said, Sultan of Oman (r.1970-), Unknown photographer, (20th century) / Bridgeman Images
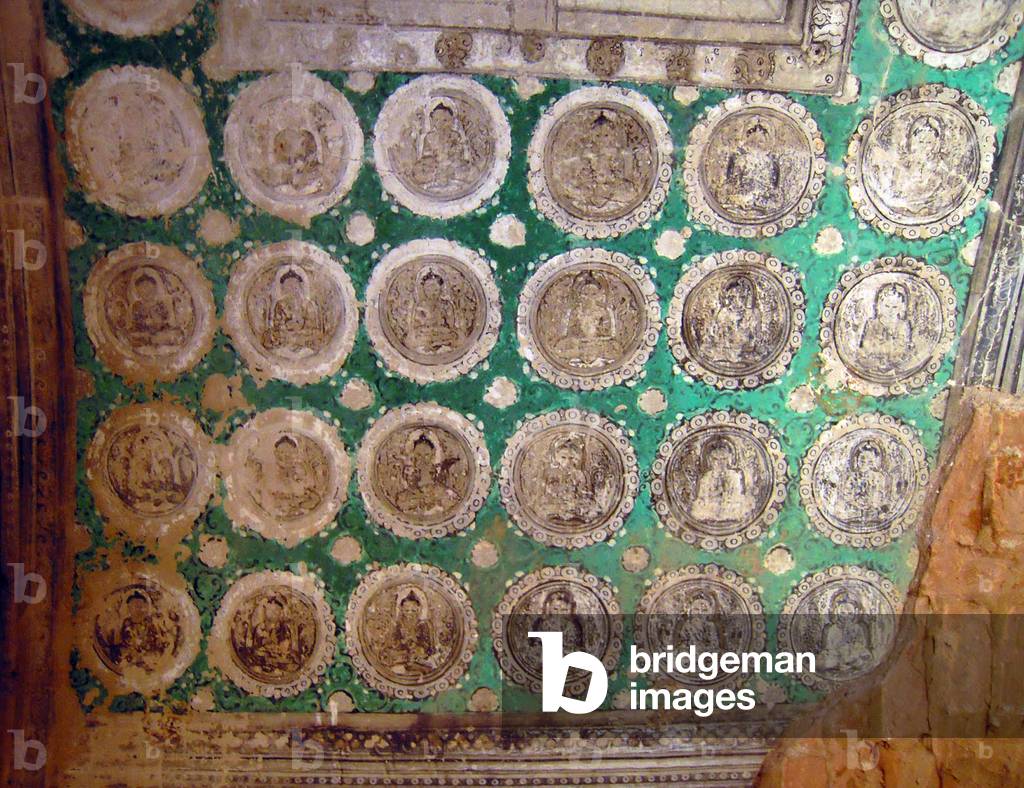
Burma / Myanmar: Mural at the Gubyaukgyi Temple, Bagan, c. 10th-11th century CE

PFH1184733: Burma / Myanmar: Mural at the Gubyaukgyi Temple, Bagan, c. 10th-11th century CE / Bridgeman Images

India: Rai Singhji, Maharaja of Bikaner, Rajasthan (r. 1574-1612), c. 1800

PFH1184742: India: Rai Singhji, Maharaja of Bikaner, Rajasthan (r. 1574-1612), c. 1800 / Bridgeman Images

Cambodia: King Norodom Sihanouk in 1953, one year before Cambodian independence from French Indochina and France

PFH1182479: Cambodia: King Norodom Sihanouk in 1953, one year before Cambodian independence from French Indochina and France, Unknown photographer, (20th century) / Bridgeman Images

China / Tibet: Thanka / Thangka painting of Padmasambhava or Guru Rinpoche, 19th-20th century

PFH1182551: China / Tibet: Thanka / Thangka painting of Padmasambhava or Guru Rinpoche, 19th-20th century, Unknown Artist, (20th century) / Bridgeman Images
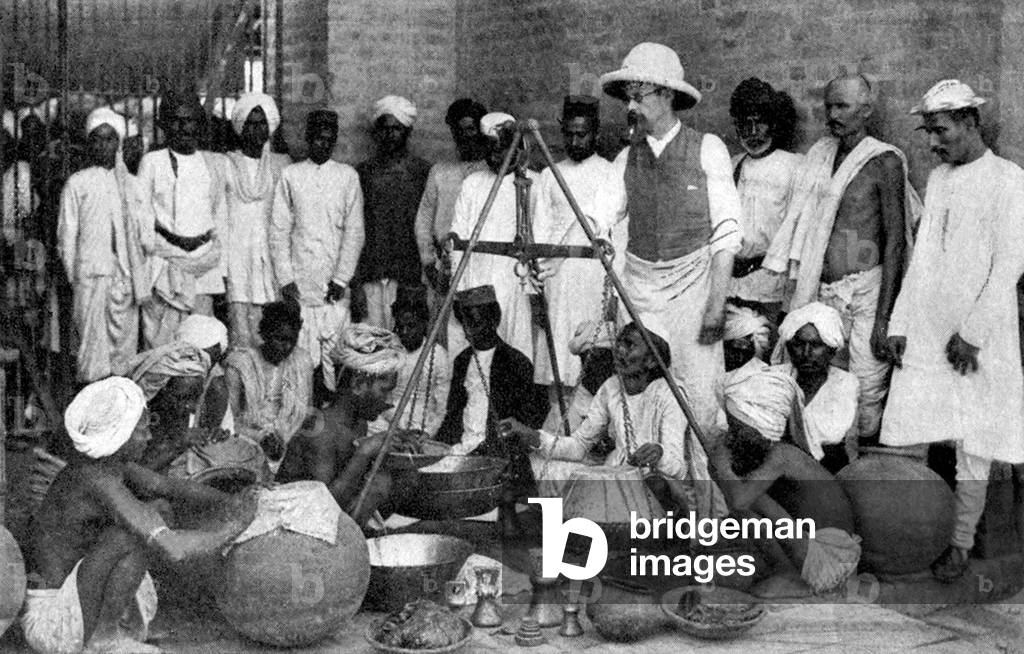
India: Weighing opium at a government factory in India, late 19th century

PFH1185366: India: Weighing opium at a government factory in India, late 19th century / Bridgeman Images

UK / England: Thomas Penson De Quincey (1785 - 1859) was an English essayist, best known for his 'Confessions of an English Opium-Eater' (1821)

PFH1185471: UK / England: Thomas Penson De Quincey (1785 - 1859) was an English essayist, best known for his 'Confessions of an English Opium-Eater' (1821) / Bridgeman Images

Papaver somniferum, the Opium Poppy, 19th century botanical painting

PFH1185474: Papaver somniferum, the Opium Poppy, 19th century botanical painting / Bridgeman Images

USA: 'Try Dr Seth Arnold's Cough Killer: It works like Magic'. 19th century advertisement for opiate-based medicine

PFH1185477: USA: 'Try Dr Seth Arnold's Cough Killer: It works like Magic'. 19th century advertisement for opiate-based medicine / Bridgeman Images
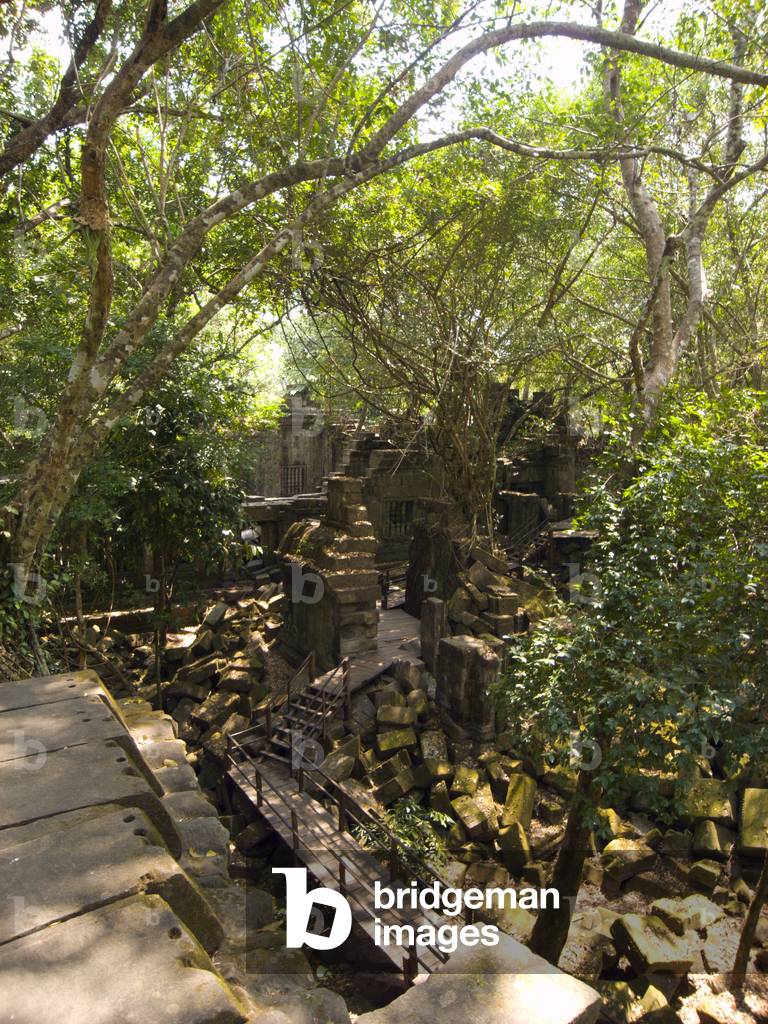
Cambodia: Beng Mealea (12th century Khmer temple), 40km east of the main group of temples at Angkor

PFH1183418: Cambodia: Beng Mealea (12th century Khmer temple), 40km east of the main group of temples at Angkor / Bridgeman Images

Burma / Myanmar: Label from a 'Double Uoglobe' Heroin brick, the most ubiquitous and best known illicit brand in the Golden Triangle region where Burma, Thailand and Laos meet

PFH1185819: Burma / Myanmar: Label from a 'Double Uoglobe' Heroin brick, the most ubiquitous and best known illicit brand in the Golden Triangle region where Burma, Thailand and Laos meet / Bridgeman Images
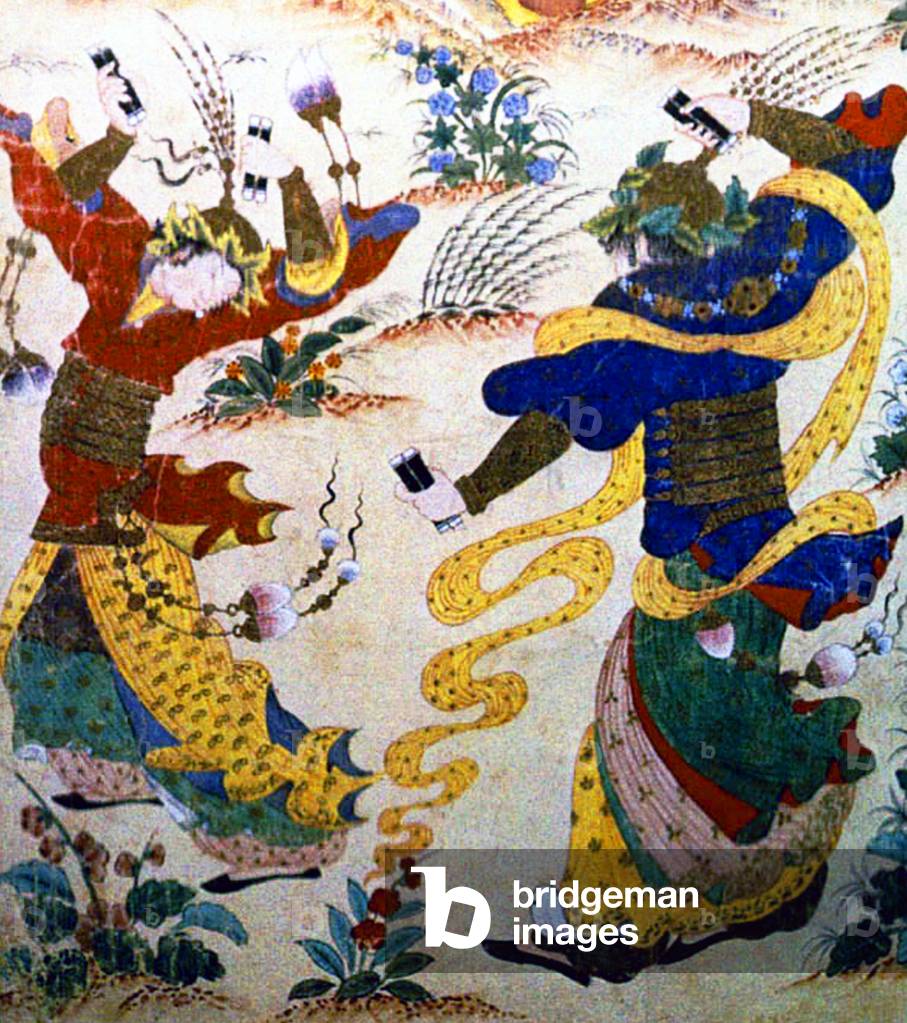
Central Asia: Detail of Central Asian dancing girls in the procession of a Chinese princess on her way to marry a Turkic ruler. Siyah Kalem School, 15th century

PFH1185852: Central Asia: Detail of Central Asian dancing girls in the procession of a Chinese princess on her way to marry a Turkic ruler. Siyah Kalem School, 15th century / Bridgeman Images
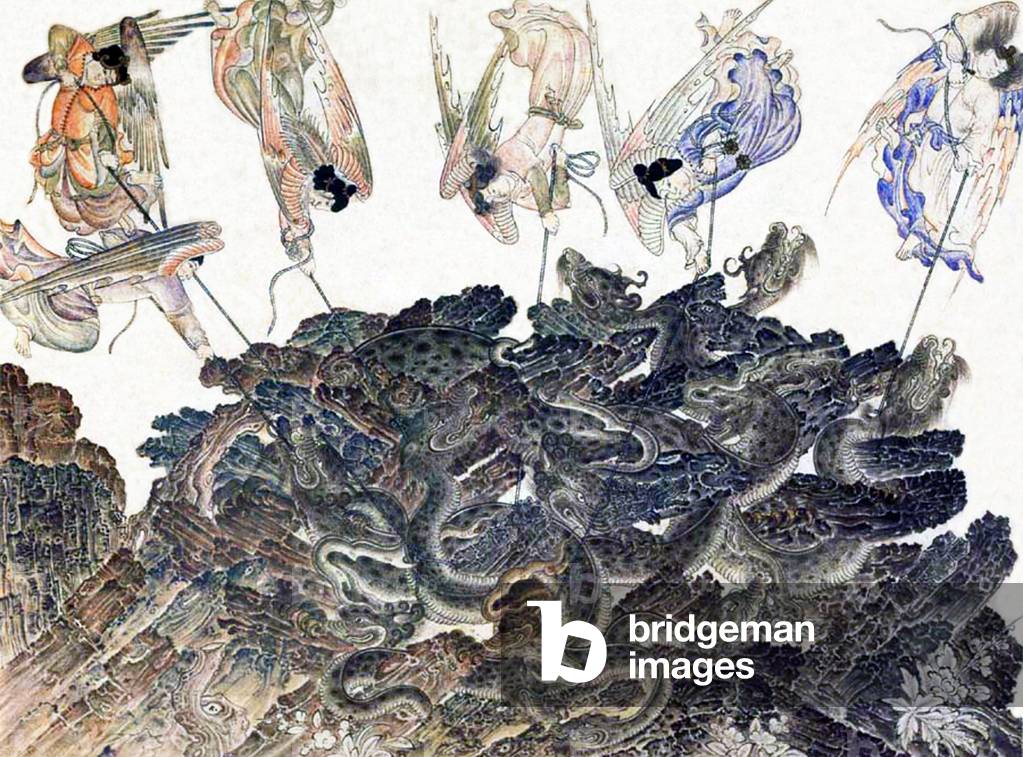
Central Asia / China: Angels struggling to control dragons with ropes, Siyah Kalem School, 15th century

PFH1185876: Central Asia / China: Angels struggling to control dragons with ropes, Siyah Kalem School, 15th century / Bridgeman Images
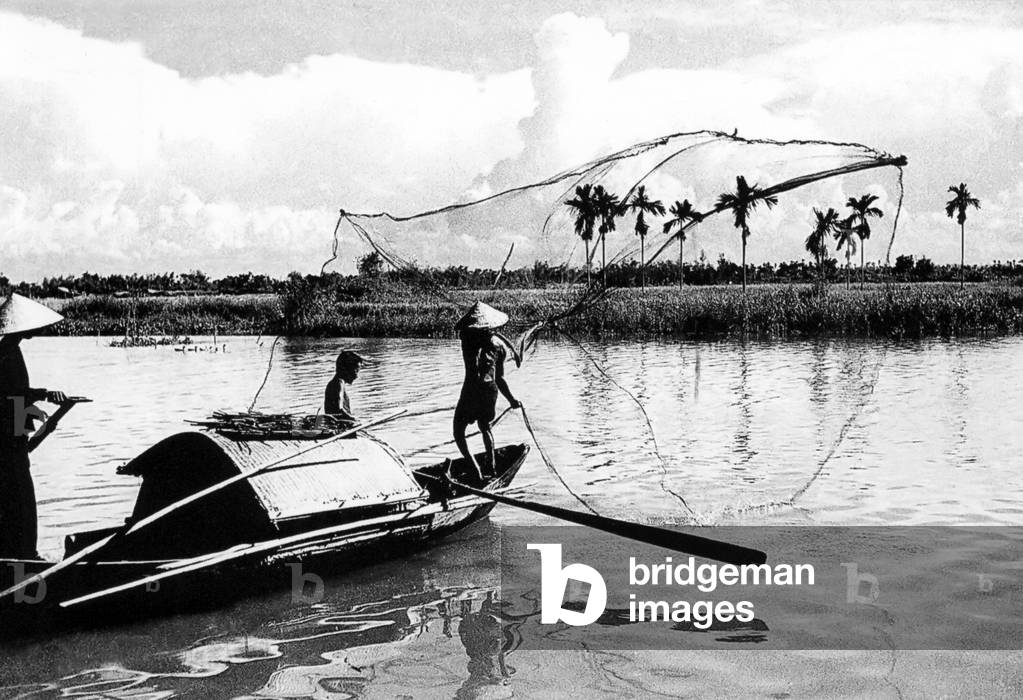
Vietnam: A fisherman casts his net on the Thu Bon River near Hoi An (1950)

PFH1183712: Vietnam: A fisherman casts his net on the Thu Bon River near Hoi An (1950), Unknown photographer, (20th century) / Bridgeman Images
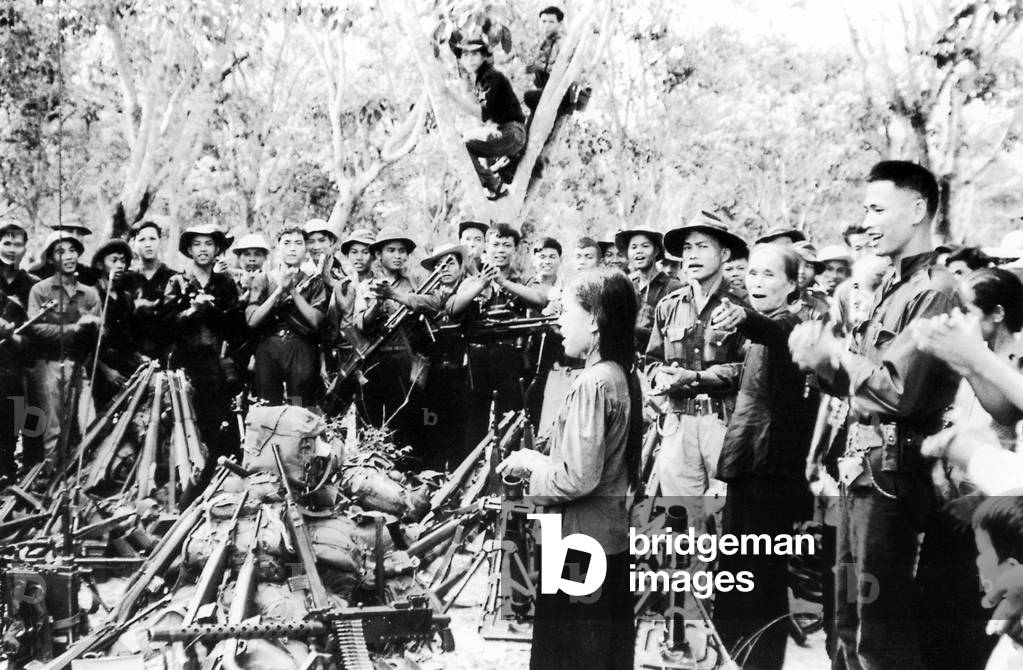
Vietnam: Weapons seized during a battle are put on display, Cu Chi, South Vietnam, Second Indochina War (Vietnam War) (1965)

PFH1183721: Vietnam: Weapons seized during a battle are put on display, Cu Chi, South Vietnam, Second Indochina War (Vietnam War) (1965), Unknown photographer, (20th century) / Bridgeman Images
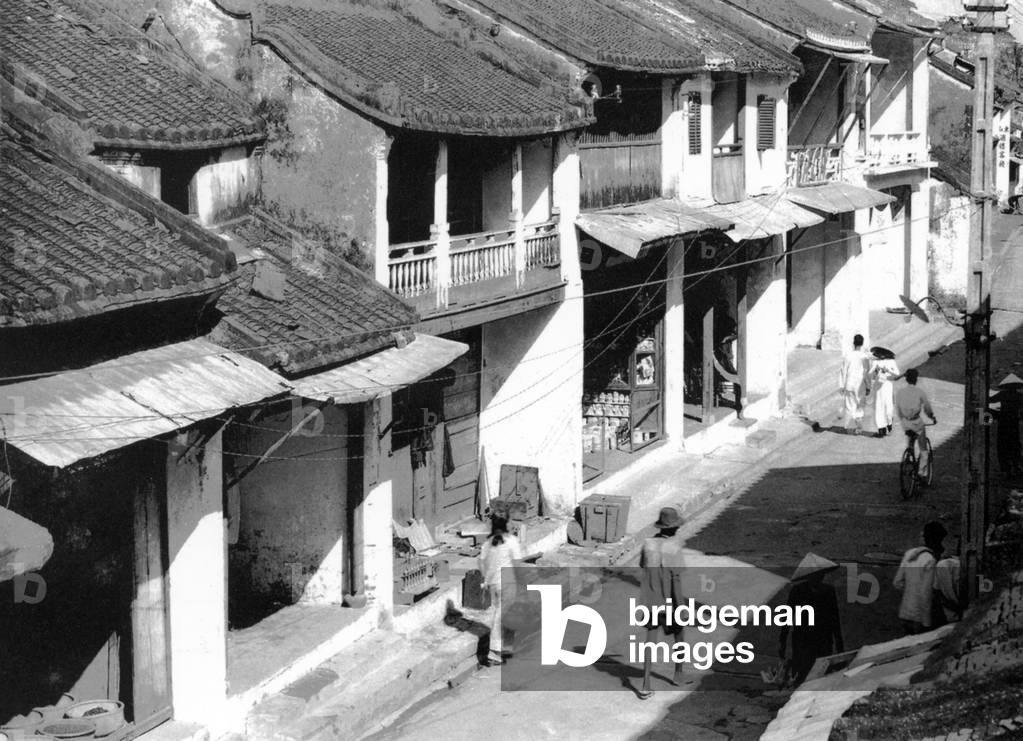
Vietnam: Nguyen Thai Hoc Street, Hoi An (c. 1950)

PFH1183748: Vietnam: Nguyen Thai Hoc Street, Hoi An (c. 1950), Unknown photographer, (20th century) / Bridgeman Images
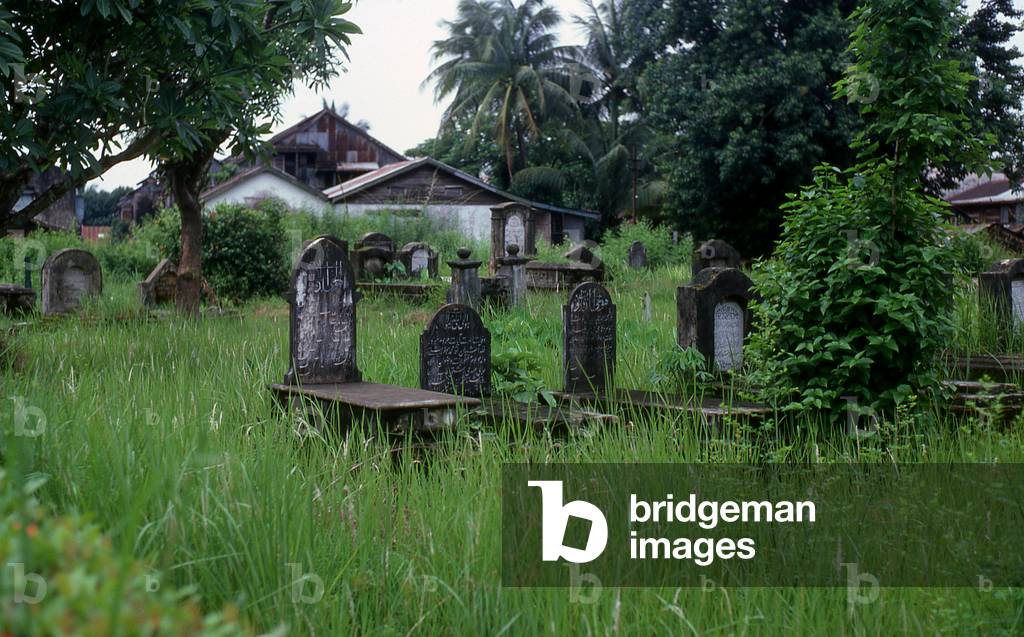
Burma / Myanmar: Panthay tombs, Rangoon (c. 1980)

PFH1183772: Burma / Myanmar: Panthay tombs, Rangoon (c. 1980), Unknown photographer, (20th century) / Bridgeman Images

Burma / Myanmar: A Brahmin priest with conch shell and sacred thread, Mandalay Court, Konbaung Dynasty, c. 1853-1885

PFH1186188: Burma / Myanmar: A Brahmin priest with conch shell and sacred thread, Mandalay Court, Konbaung Dynasty, c. 1853-1885 / Bridgeman Images

Laos: The rulers of Phuan State during the Haw Wars (c. 1875)

PFH1183823: Laos: The rulers of Phuan State during the Haw Wars (c. 1875) / Bridgeman Images
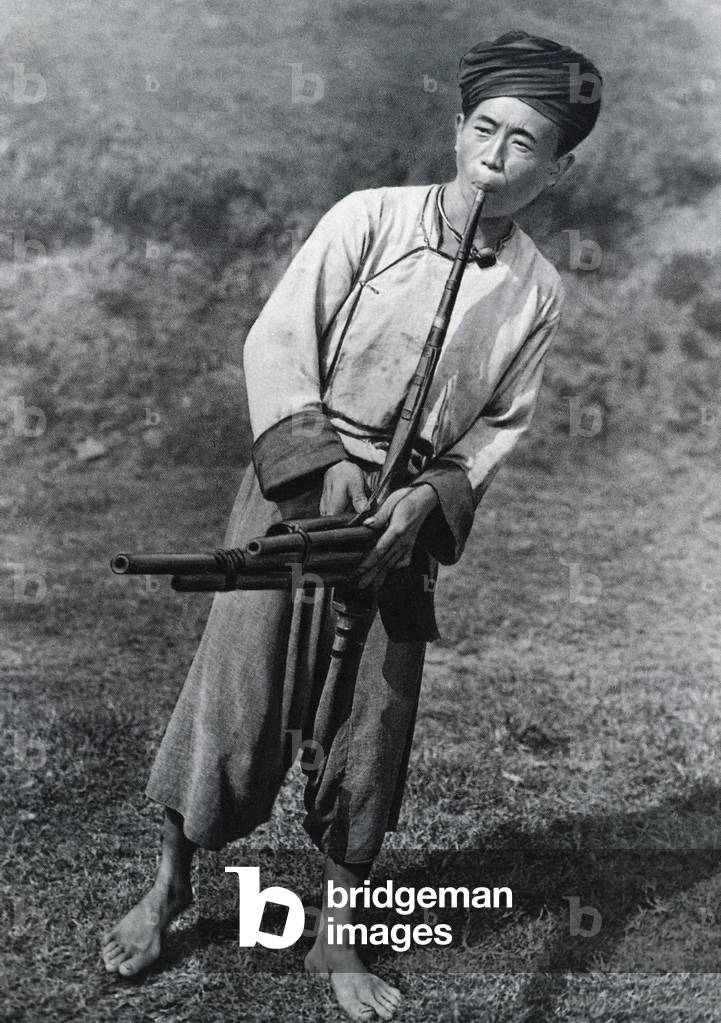
Laos: Hmong man playing the khene, Luang Prabang, 1888

PFH1183835: Laos: Hmong man playing the khene, Luang Prabang, 1888 / Bridgeman Images
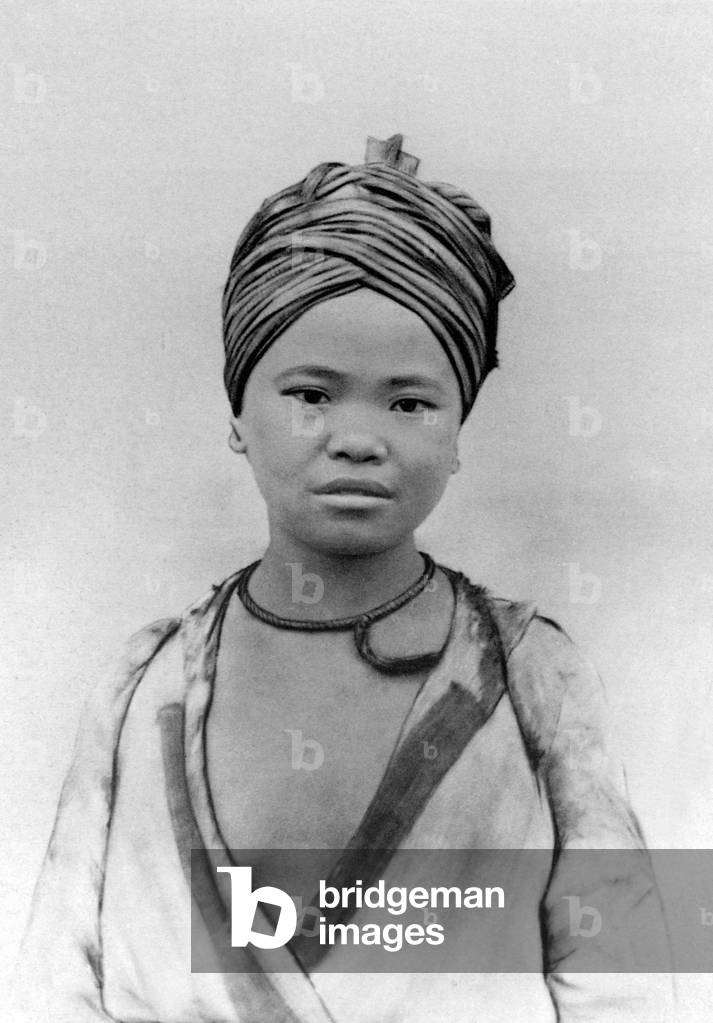
Laos: Young Hmong (Meo) woman of northern Laos, c. 1890

PFH1183838: Laos: Young Hmong (Meo) woman of northern Laos, c. 1890 / Bridgeman Images
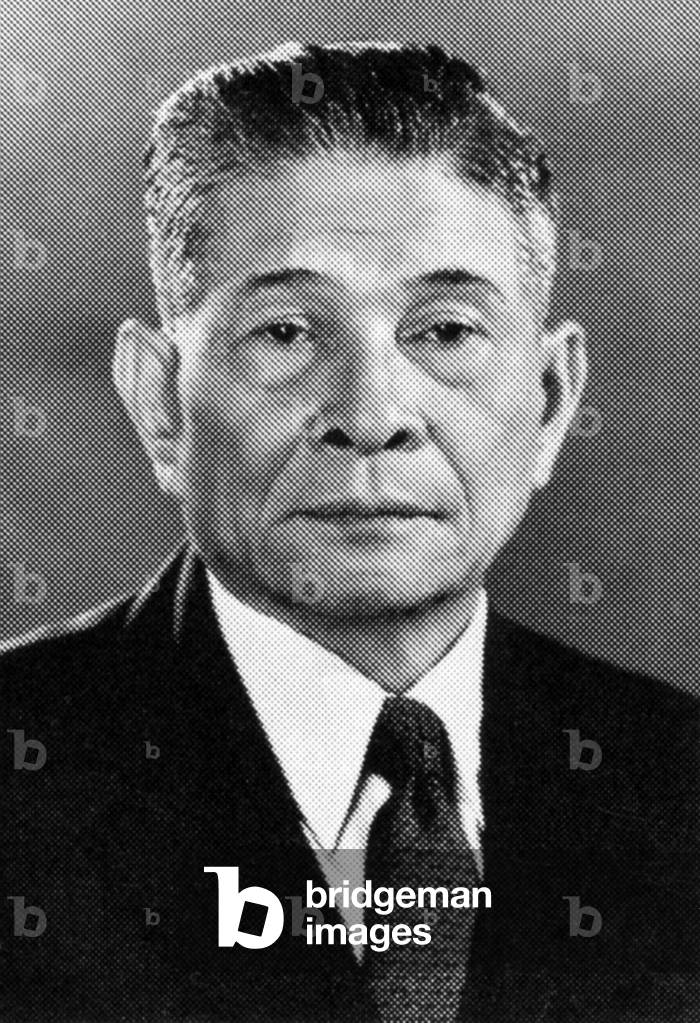
Laos: Nouhak Phoumsavanh (1910-2008), revolutionary nationalist, founding member of the Lao People's Revolutionary Party, President of the Lao People's Democratic republic 1992-1998

PFH1183850: Laos: Nouhak Phoumsavanh (1910-2008), revolutionary nationalist, founding member of the Lao People's Revolutionary Party, President of the Lao People's Democratic republic 1992-1998 / Bridgeman Images
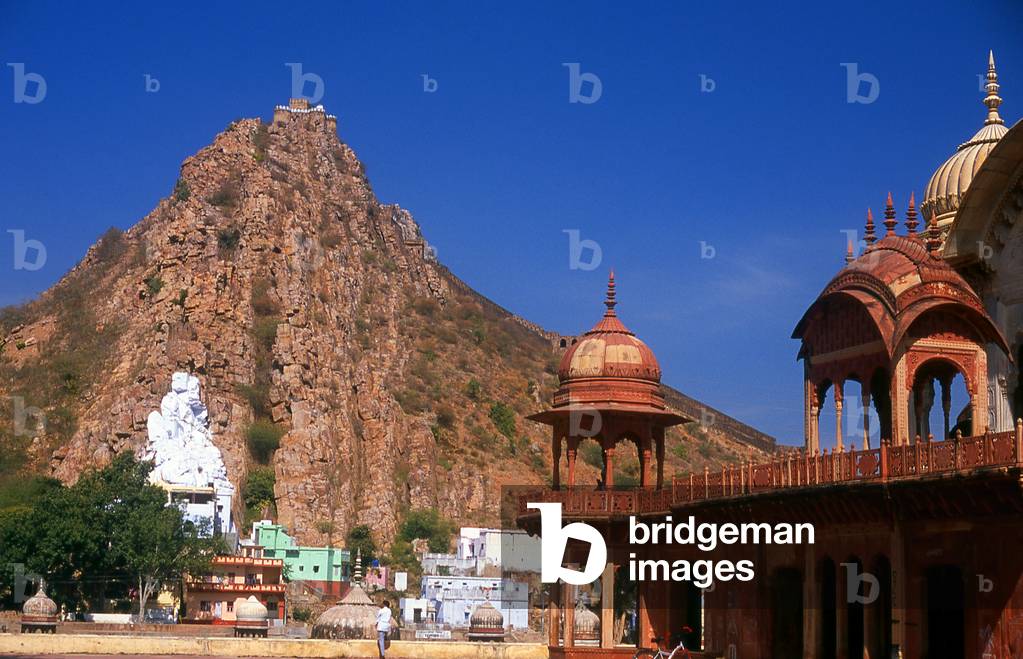
India: The Bala Qila (Alwar Fort) looms above the Palace Complex, Alwar, Rajasthan

PFH1183856: India: The Bala Qila (Alwar Fort) looms above the Palace Complex, Alwar, Rajasthan, Henley, David / Bridgeman Images
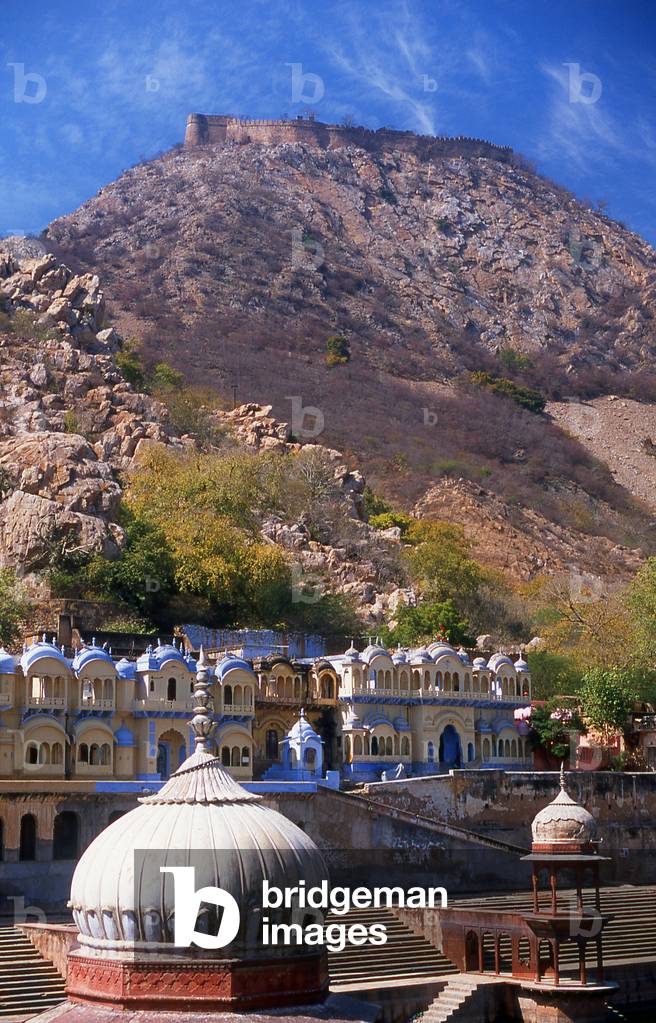
India: The walled fortifications of the Bala Qila (Alwar Fort) loom above the huge kund (tank) next to the Vinay Vilas (City Palace), Alwar, Rajasthan

PFH1183862: India: The walled fortifications of the Bala Qila (Alwar Fort) loom above the huge kund (tank) next to the Vinay Vilas (City Palace), Alwar, Rajasthan, Henley, David / Bridgeman Images
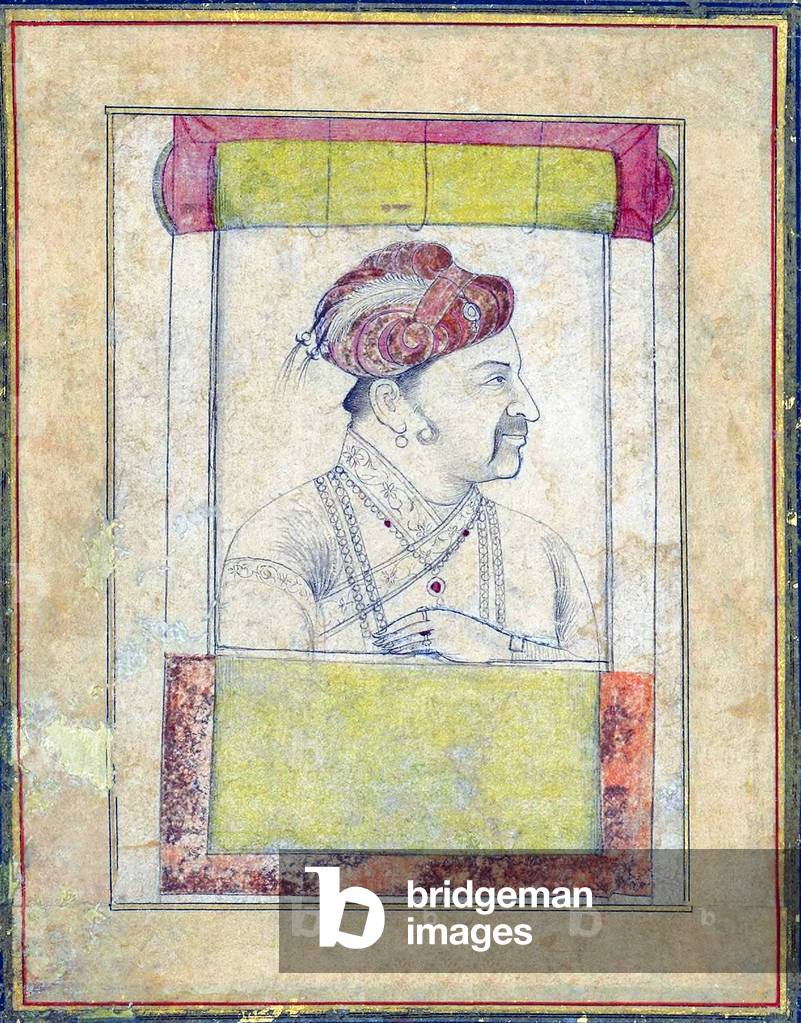
India: The 4th Mughal Emperor Jahangir (r. 1605-1627), 18th century miniature pen and ink drawing

PFH1183937: India: The 4th Mughal Emperor Jahangir (r. 1605-1627), 18th century miniature pen and ink drawing / Bridgeman Images

Oman: Sayyid Turki bin Said, Sultan of Muscat and Oman (1871-1888)

PFH1183988: Oman: Sayyid Turki bin Said, Sultan of Muscat and Oman (1871-1888) / Bridgeman Images
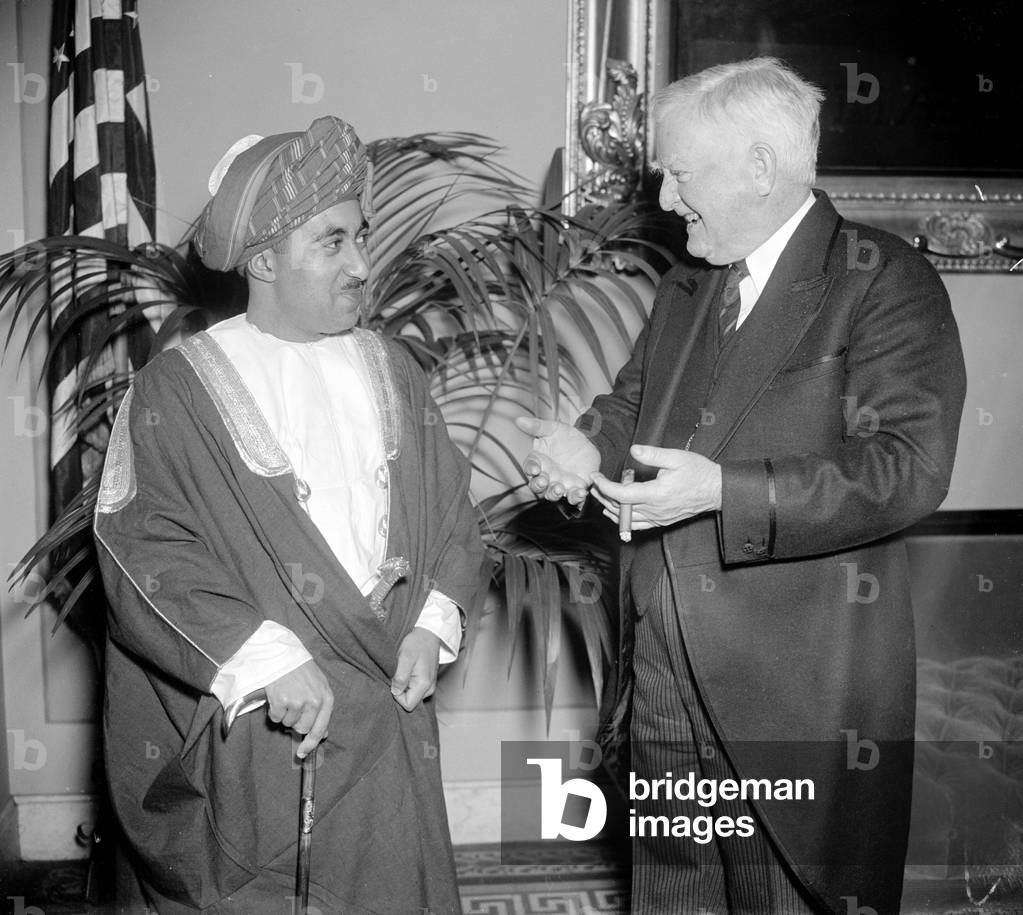
Oman: Sayyid bin Taimur, Sultan of Muscat and Oman (1932-1970) in Washington with John Nance Gardner, Vice President of the United States (1933-1941)

PFH1183994: Oman: Sayyid bin Taimur, Sultan of Muscat and Oman (1932-1970) in Washington with John Nance Gardner, Vice President of the United States (1933-1941) / Bridgeman Images
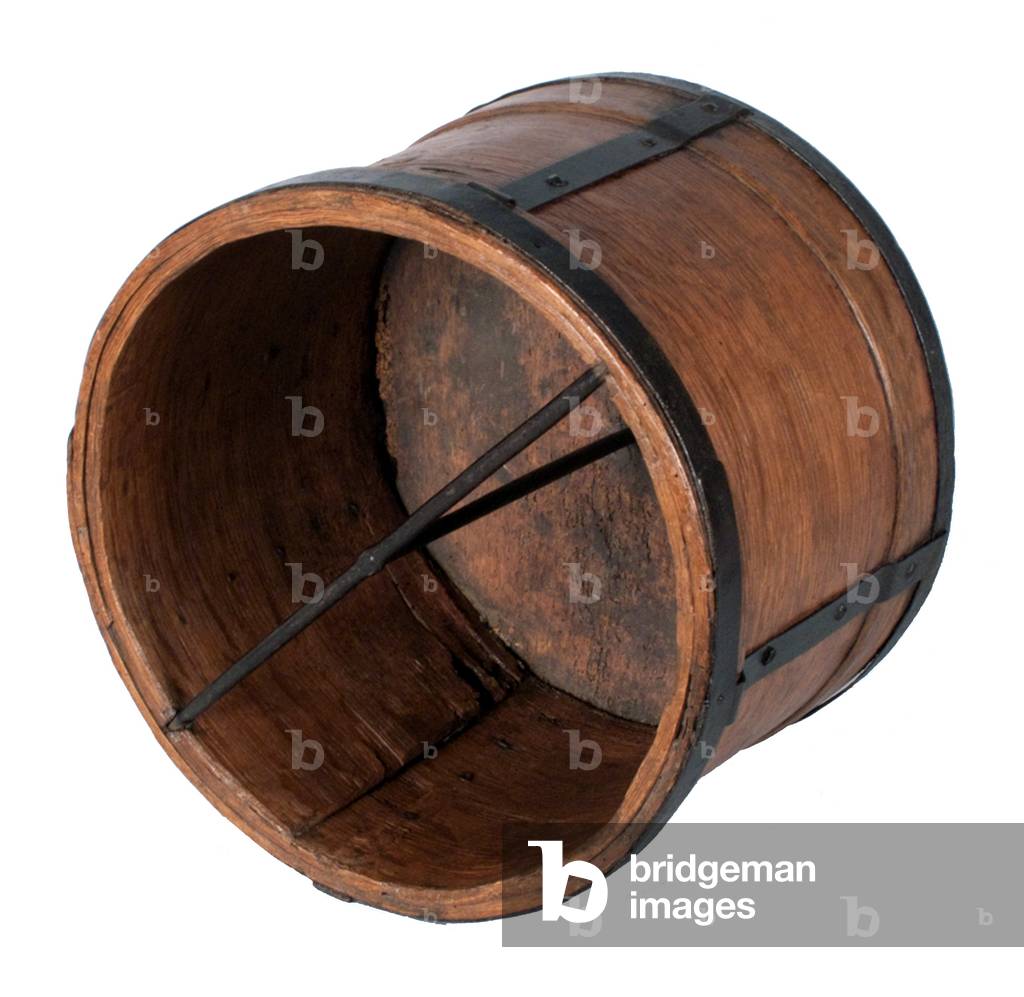
France: A wooden grain measure, Rhone region, mid-19th century

PFH1186317: France: A wooden grain measure, Rhone region, mid-19th century / Bridgeman Images
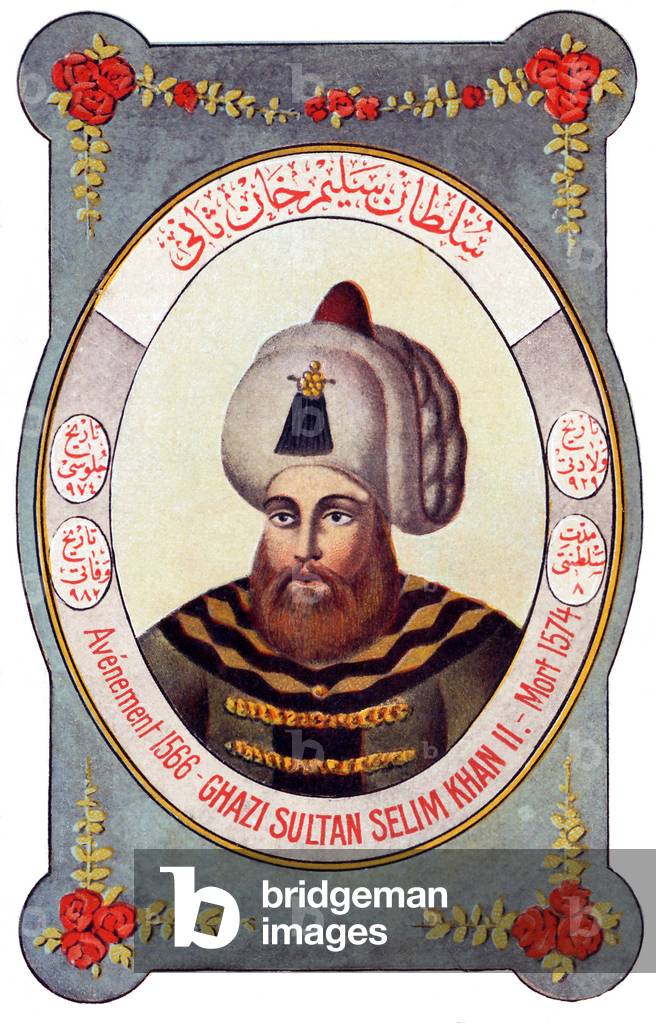
Turkey: Selim II (r.1566-1574), 11th Emperor of the Ottoman Empire. 19th century illustration

PFH1186416: Turkey: Selim II (r.1566-1574), 11th Emperor of the Ottoman Empire. 19th century illustration / Bridgeman Images

Turkey: Selim II (r.1566-1574), 11th Emperor of the Ottoman Empire, ascends the throne, the courtiers in attendance (left plate). Miniature painting by Ahmed Feridun Pasha, 1568

PFH1186419: Turkey: Selim II (r.1566-1574), 11th Emperor of the Ottoman Empire, ascends the throne, the courtiers in attendance (left plate). Miniature painting by Ahmed Feridun Pasha, 1568 / Bridgeman Images

Indonesia: Figure of Anggada, wayang kulit ('shadow puppet') character from the ancient Hindu epic, Ramayana

PFH1186737: Indonesia: Figure of Anggada, wayang kulit ('shadow puppet') character from the ancient Hindu epic, Ramayana / Bridgeman Images


Back to top