Search options

Orientation
Colour

Display options

View

Print

To print search results, use print friendly version of this page.

2497514 Search Results

A kitchen in the field, illustration from 'The Western Front', pub. by Country Life Ltd, 1917 (litho)

STC400446: A kitchen in the field, illustration from 'The Western Front', pub. by Country Life Ltd, 1917 (litho), Bone, David Muirhead (1876-1953) / Bridgeman Images

The gun pit: the great clutches of the crane, illustration from 'The Western Front', pub. by Country Life Ltd, 1917 (litho)

STC400448: The gun pit: the great clutches of the crane, illustration from 'The Western Front', pub. by Country Life Ltd, 1917 (litho), Bone, David Muirhead (1876-1953) / Bridgeman Images

A British Red Cross Depot at Boulogne, illustration from 'The Western Front', pub. by Country Life Ltd, 1917 (litho)

STC400463: A British Red Cross Depot at Boulogne, illustration from 'The Western Front', pub. by Country Life Ltd, 1917 (litho), Bone, David Muirhead (1876-1953) / Bridgeman Images

An aeroplane on the stocks, illustration from 'The Western Front', pub. by Country Life Ltd, 1917 (litho)

STC400468: An aeroplane on the stocks, illustration from 'The Western Front', pub. by Country Life Ltd, 1917 (litho), Bone, David Muirhead (1876-1953) / Bridgeman Images

A hospital ship at a base, illustration from 'The Western Front', pub. by Country Life Ltd, 1917 (litho)

STC400479: A hospital ship at a base, illustration from 'The Western Front', pub. by Country Life Ltd, 1917 (litho), Bone, David Muirhead (1876-1953) / Bridgeman Images

Inside the turret, illustration from 'The Western Front', pub. by Country Life Ltd, 1917 (litho)

STC400489: Inside the turret, illustration from 'The Western Front', pub. by Country Life Ltd, 1917 (litho), Bone, David Muirhead (1876-1953) / Bridgeman Images

View of the Appennine Colossus (photo)

BAT400500: View of the Appennine Colossus (photo), Battaglini, Nicolo Orsi / Bridgeman Images

The Lledr Valley, North Wales (oil on canvas)

WFM400551: The Lledr Valley, North Wales (oil on canvas), Bates, David (1840-1921) / Bridgeman Images

The White Sepulcre (litho)

STC400593: The White Sepulcre (litho), Unknown Artist, (20th century) / Bridgeman Images

Mary Ann Paton as Reiza in Weber's 'Oberon', engraved by Richard James Lane, c.1826 (litho)

XJF400687: Mary Ann Paton as Reiza in Weber's 'Oberon', engraved by Richard James Lane, c.1826 (litho), Meyer, Frederick (fl.1820-1830) (after) / Bridgeman Images

A Lady of Aleppo with a Pipe, illustration from 'The Natural History of Aleppo' by Alexander and Patrick Russell, published in 1794 (engraving)

XJF400690: A Lady of Aleppo with a Pipe, illustration from 'The Natural History of Aleppo' by Alexander and Patrick Russell, published in 1794 (engraving), English School, (18th century) / Bridgeman Images

The Wellington Arch, Hyde Park Corner (w/c on paper)

MPG400783: The Wellington Arch, Hyde Park Corner (w/c on paper), Dorf, Barbara (1933-2016) / Bridgeman Images

How Hereward came in to the King, illustration from 'Hereward the Great' by Charles Kingsley, 1870 (steel plate engraving)

STC400818: How Hereward came in to the King, illustration from 'Hereward the Great' by Charles Kingsley, 1870 (steel plate engraving), Selous, Henry Courtney (1811-90) / Bridgeman Images

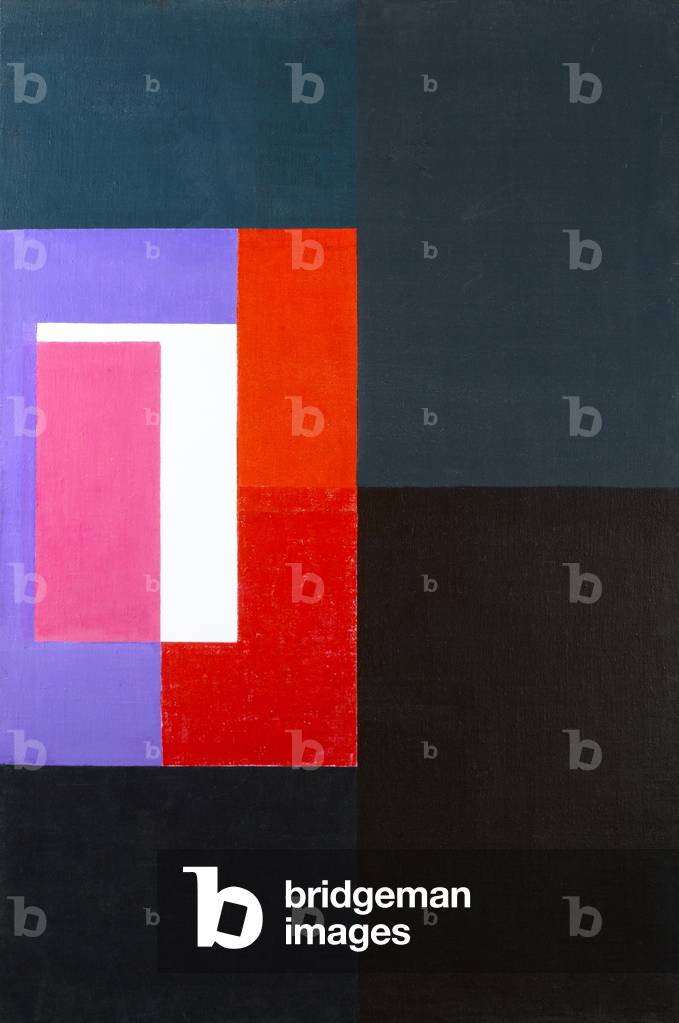
The Bureau II- Afternoon Sun, 1999-2010 (oil on MDF)

GAN400833: The Bureau II- Afternoon Sun, 1999-2010 (oil on MDF), Green, Anthony (b.1939) / Bridgeman Images

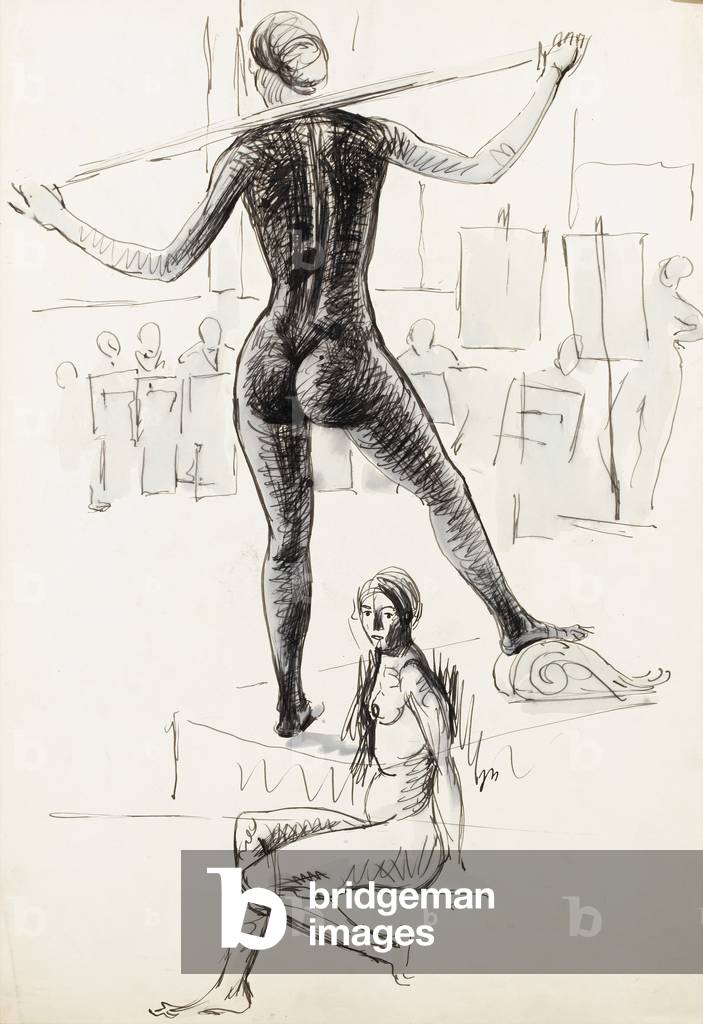
Working drawing: Mary in a Telephone Box, 1963 (pencil on paper)

GAN400847: Working drawing: Mary in a Telephone Box, 1963 (pencil on paper), Green, Anthony (b.1939) / Bridgeman Images

The Knife-Grinder (oil on board)

WFM400571: The Knife-Grinder (oil on board), English School / Bridgeman Images

Plan of Acre in the thirteenth century (litho) (b/w photo)

STC400585: Plan of Acre in the thirteenth century (litho) (b/w photo), English School, (19th century) / Bridgeman Images

The Diamond (photo)
The Diamond (photo)

BAT400502: The Diamond (photo), Battaglini, Nicolo Orsi / Bridgeman Images

William Dugdale, 1656 (engraving)

XJF400643: William Dugdale, 1656 (engraving), Hollar, Wenceslaus (1607-77) / Bridgeman Images

Cover of 'The Inland Printer', July 1896 (litho)

XJF400650: Cover of 'The Inland Printer', July 1896 (litho), Bird, E.B (1867-1943) / Bridgeman Images

Eton from the River (oil on canvas)

STC400540: Eton from the River (oil on canvas), Hilder, John (1811-1839) / Bridgeman Images

The 5th Division storming by escalade the ramparts of San Vincente, illustration from 'Battles of the Nineteenth Century' by Archibald Forbes, G.A. Henty and Major Arthur Griffiths (colour litho)

STC400577: The 5th Division storming by escalade the ramparts of San Vincente, illustration from 'Battles of the Nineteenth Century' by Archibald Forbes, G.A. Henty and Major Arthur Griffiths (colour litho), Wollen, William Barnes (1857-1936) (after) / Bridgeman Images

Michael Drayton (engraving)

XJF400641: Michael Drayton (engraving), Hole, William (fl. 1607-24) / Bridgeman Images

Cover of 'The Inland Printer', c.1895 (litho)

XJF400649: Cover of 'The Inland Printer', c.1895 (litho), Bradley, William Henry (1868-1962) / Bridgeman Images

Finishing the Portrait of Mary Green, 1965, 2007 and 2009-10 (oil on board)

GAN400834: Finishing the Portrait of Mary Green, 1965, 2007 and 2009-10 (oil on board), Green, Anthony (b.1939) / Bridgeman Images

Madame Banti, engraved by J. Singleton, 1797 (engraving)

XJF400684: Madame Banti, engraved by J. Singleton, 1797 (engraving), English School, (18th century) (after) / Bridgeman Images

L.N.E.R. Camping Coaches in England and Scotland, advertisement for London and North Eastern Railway, 1939 (giclee print)

STC398833: L.N.E.R. Camping Coaches in England and Scotland, advertisement for London and North Eastern Railway, 1939 (giclee print), Unknown Artist, (20th century) / Bridgeman Images

Walking and evening dresses for July 1818, 1818 (colour litho)

FMB398911: Walking and evening dresses for July 1818, 1818 (colour litho), English School, (19th century) / Bridgeman Images

Full dress (colour litho)

FMB398917: Full dress (colour litho), English School, (19th century) / Bridgeman Images

North transept window (stained glass)

HGP399348: North transept window (stained glass), English School / Bridgeman Images

View of the Temple on the Road to Kayakakoua, Hawaii (ink wash on paper)

BPA399400: View of the Temple on the Road to Kayakakoua, Hawaii (ink wash on paper), Arago, Jacques Etienne Victor (1790-1855) / Bridgeman Images

Wakahuia, feather box, late 18th or early 19th century (wood, paua shell)

BPA399422: Wakahuia, feather box, late 18th or early 19th century (wood, paua shell), New Zealand School / Bridgeman Images

Putaiana, ear ornament, Marquesas Islands, early 19th century (human bone, conus shell)

BPA399842: Putaiana, ear ornament, Marquesas Islands, early 19th century (human bone, conus shell), Polynesian School, (19th Century) / Bridgeman Images

Lintel, Austral Islands, 18th century or earlier (wood)

BPA399867: Lintel, Austral Islands, 18th century or earlier (wood), Polynesian School, (18th century) / Bridgeman Images

Paddles, Austral Islands, early 19th century (wood)

BPA399877: Paddles, Austral Islands, early 19th century (wood), Polynesian School, (19th Century) / Bridgeman Images

Penu, food pounder, Cook Islands, 18th century (calcite)

BPA399888: Penu, food pounder, Cook Islands, 18th century (calcite), Polynesian School, (18th century) / Bridgeman Images


Back to top