2491632 Search Results

LLM3658180: Illustration for Gentlemen Prefer Blondes by Anita Loos (litho), Barton, Ralph (1891-1931) / Bridgeman Images

LLM3658202: Illustration for Emil and the Detectives (colour litho), European School, (20th century) / Bridgeman Images

LLM3658211: Illustration for Gentlemen Prefer Blondes by Anita Loos (litho), Barton, Ralph (1891-1931) / Bridgeman Images

LLM3642102: Illustration for The Essays of Elia by Charles Lamb (litho), Jones, A. Garth (1872-1955) / Bridgeman Images

LLM3642116: Illustration for The Essays of Elia by Charles Lamb (litho), Jones, A. Garth (1872-1955) / Bridgeman Images

LLM3642149: Bracklin Bridge, near Callender (coloured engraving), English School, (19th century) / Bridgeman Images

LLM3642153: The Tsar and Tsarita (b/w photo), English Photographer, (19th century) / Bridgeman Images

LLM3642158: The Khan of Kalat (b/w photo), English Photographer, (19th century) / Bridgeman Images

LLM3642167: Edward The Confessor (colour litho), English School, (20th century) / Bridgeman Images

LLM3642169: King Harold II (colour litho), English School, (20th century) / Bridgeman Images

LLM3642176: King Edward II (colour litho), English School, (20th century) / Bridgeman Images

LLM3642181: King John (colour litho), English School, (20th century) / Bridgeman Images

LLM3642242: Illustration for Paris Brillant (colour litho), Bonvoisin, Maurice Charles Mathieu (Mars) (1849-1912) / Bridgeman Images

LLM3642257: Illustration for Paris Brillant (colour litho), Bonvoisin, Maurice Charles Mathieu (Mars) (1849-1912) / Bridgeman Images

LLM3642281: President Woodrow Wilson and Ex-President Taft in Washington (b/w photo), American Photographer, (20th century) / Bridgeman Images

LLM3642348: Illustration for The Winter's Tale (chromolitho), Andre, Richard (1834-1907) / Bridgeman Images
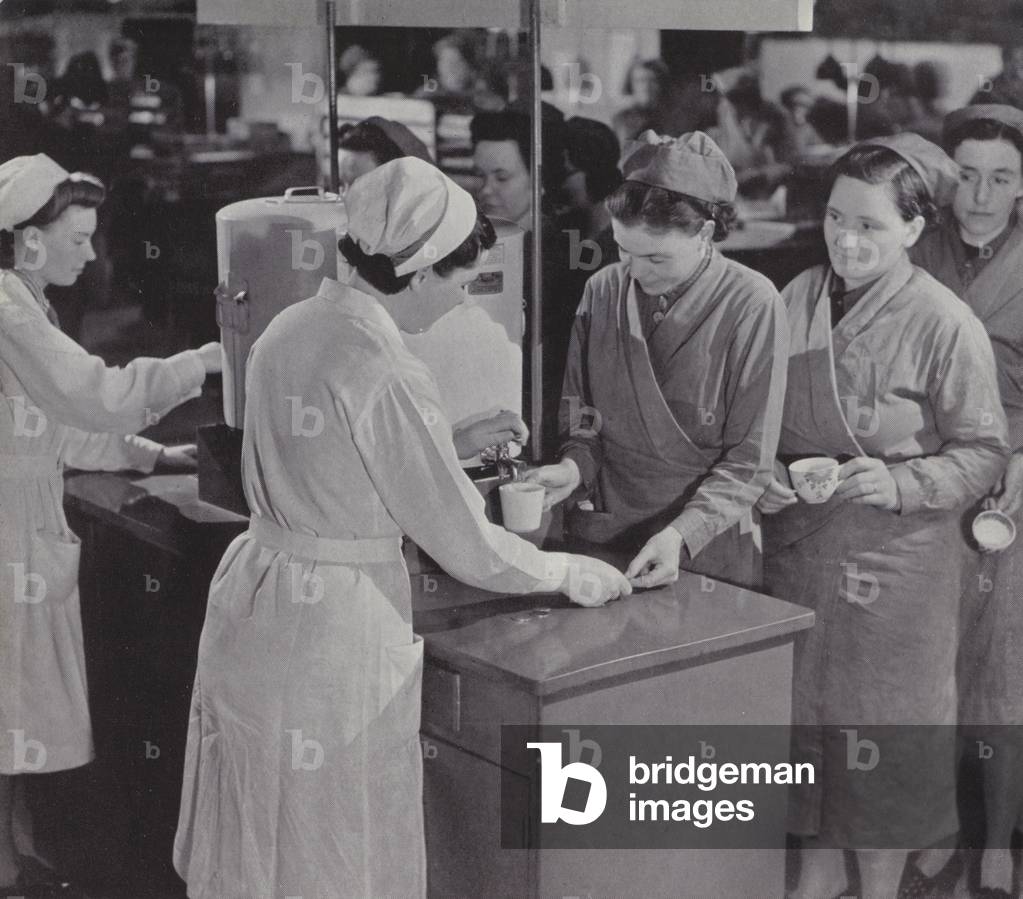
LLM3642360: Tea for the workers, WW2 (b/w photo), English Photographer, (20th century) / Bridgeman Images
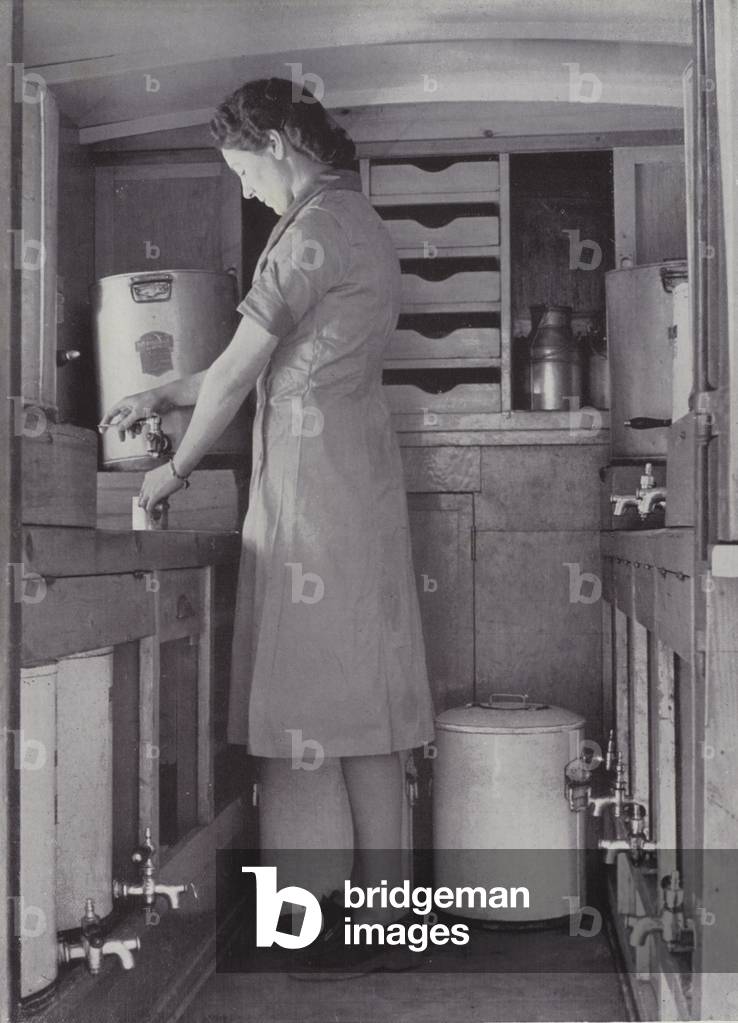
LLM3642365: Tea for the workers, WW2 (b/w photo), English Photographer, (20th century) / Bridgeman Images

LLM3642396: Illustration for Westward Ho! (colour litho), Cuneo, Cyrus (1879-1916) / Bridgeman Images

LLM3642409: Illustration for Elegy, On the Death Of A Mad Dog (engraving), Pinwell, George John (1842-75) / Bridgeman Images

LLM3642421: The Pedlar (colour litho), Wilkie, David (1785-1841) (after) / Bridgeman Images

LLM3642458: Ruth in the field of Boaz (colour litho), Bendixen, Siegfried Detler (1786-1864) / Bridgeman Images

LLM3642471: Joseph receiving the homage of his brethren (colour litho), Bendixen, Siegfried Detler (1786-1864) / Bridgeman Images

LLM3642486: Edward III before Rheims (coloured engraving), English School, (19th century) / Bridgeman Images

LLM3642508: Josse de Haluin killed before Ghent (coloured engraving), English School, (19th century) / Bridgeman Images

LLM3642511: Wood joints (litho), English School, (20th century) / Bridgeman Images

LLM3642539: Mythical sea monk (engraving), English School, (19th century) / Bridgeman Images

LLM3642553: The fight for the standard at Pinkie (engraving), English School, (19th century) / Bridgeman Images

LLM3642561: The siege of Basing House (engraving), English School, (19th century) / Bridgeman Images

LLM3642572: Harcourt WIlliams and Margaret Halstan as Romeo and Juliet (b/w photo), English Photographer, (20th century) / Bridgeman Images

LLM3642584: Miss Margaret Halstan in As You Like It (b/w photo), English Photographer, (20th century) / Bridgeman Images
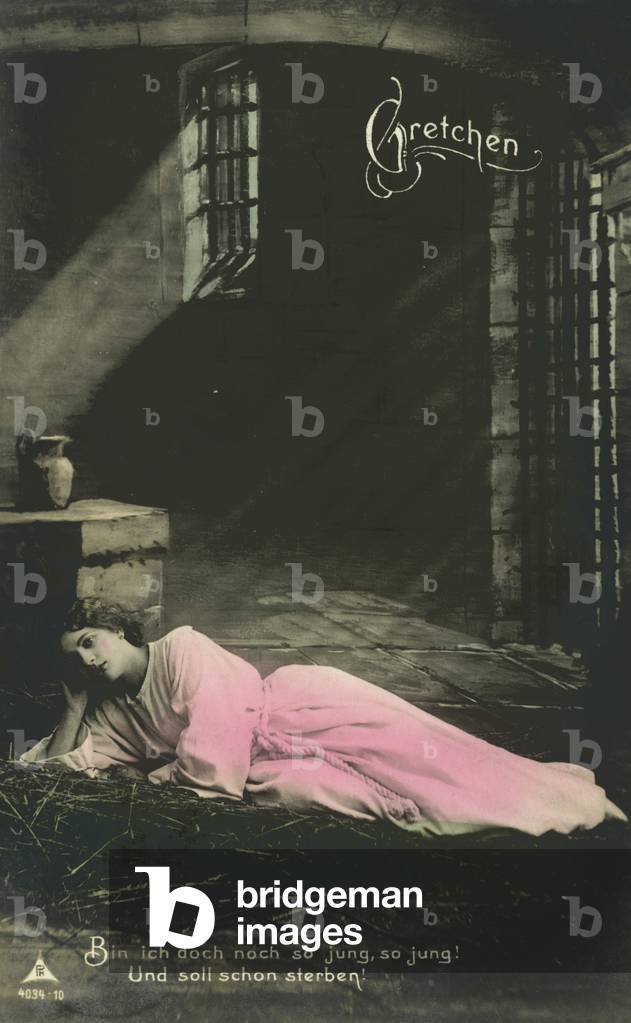
LLM3642595: Gretchen (coloured photo), German Photographer, (20th Century) / Bridgeman Images
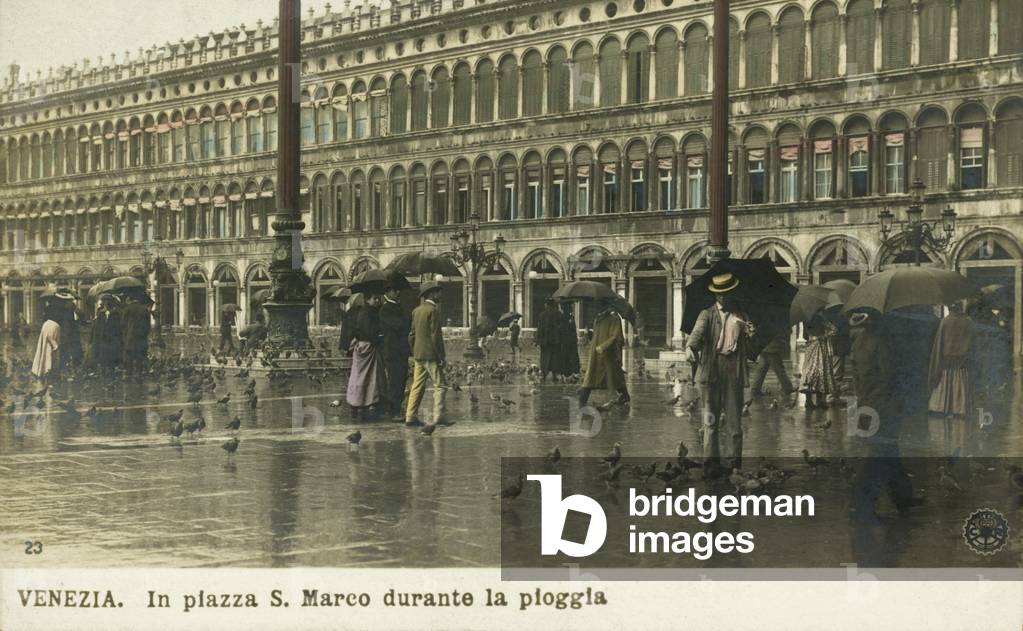
LLM3642608: San Marco Square, Venice (coloured photo), Italian Photographer, (20th century) / Bridgeman Images

LLM3642624: Hearts of Oak Benefit Society, London (b/w photo), English Photographer, (20th century) / Bridgeman Images
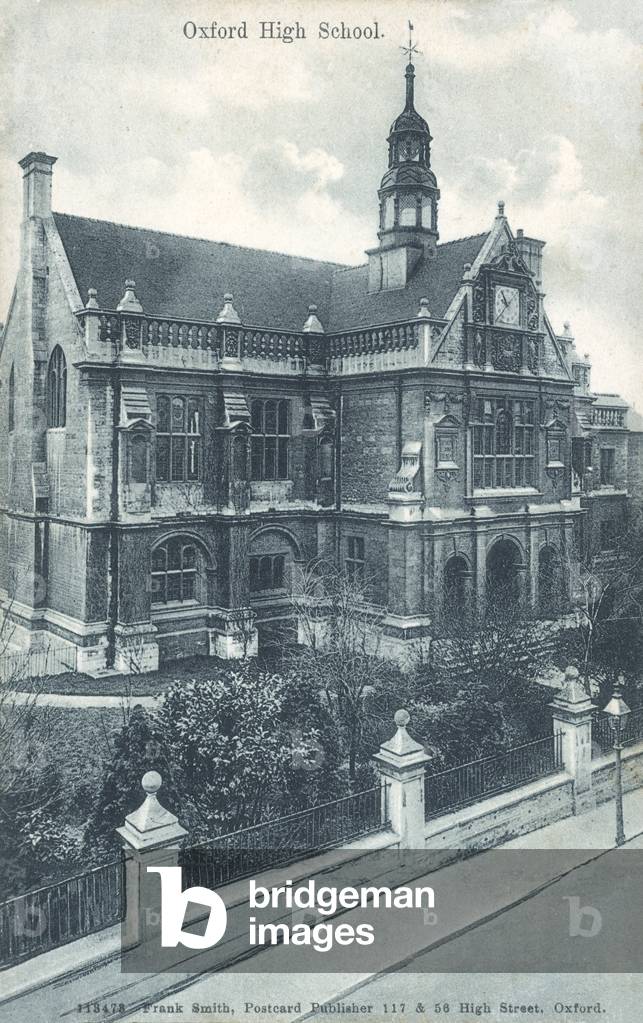
LLM3642668: Oxford High School (b/w photo), English Photographer, (20th century) / Bridgeman Images
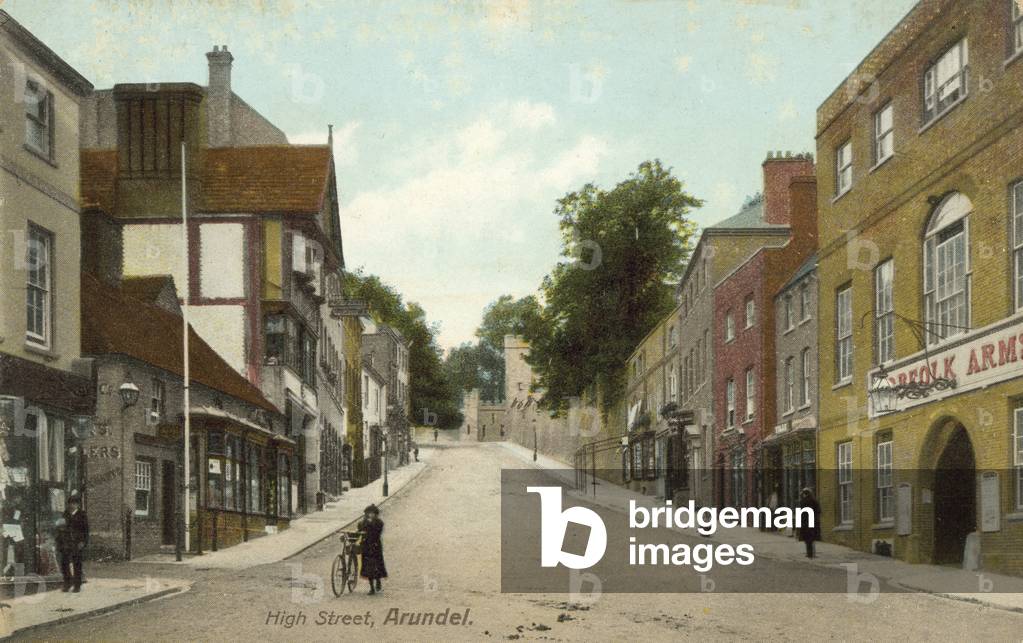
LLM3642678: Arundel High Street (coloured photo), English Photographer, (20th century) / Bridgeman Images
