2491632 Search Results

LLM5224793: She's kind, and ever did admire a well-fed monk (litho), Robinson, William Heath (1872-1944) / Bridgeman Images

LLM5224829: The Emir's Palace, Kano (b/w photo), English Photographer, (20th century) / Bridgeman Images

LLM5224840: Australian Bushman's Home (b/w photo), English Photographer, (20th century) / Bridgeman Images

LLM5224854: British Battleship, "Dreadnought" (chromolitho), English School, (20th century) / Bridgeman Images

LLM5224868: Japanese Cruiser, "Tsukuba" (chromolitho), English School, (20th century) / Bridgeman Images

LLM5224953: Attack upon Saint Thomas's Tower by the Duke of Suffolk (engraving), Cruikshank, George (1792-1878) / Bridgeman Images

LLM5224970: The Duke of Northumberland renouncing the Protestant Religion (engraving), Cruikshank, George (1792-1878) / Bridgeman Images

LLM6001861: Girls washing clothes (chromolitho), English School, (19th century) / Bridgeman Images

LLM6001866: The bird that slept in a cradle (chromolitho), English School, (19th century) / Bridgeman Images

LLM6001958: Scots pine tree (engraving), German School, (19th century) / Bridgeman Images

LLM6002054: Map of the travels and voyages of the Apostles of Christ (engraving), English School, (18th century) / Bridgeman Images

LLM6002103: "One of them stopped and pointed at the marks which my feet had made as I sprang up the bank" (colour litho), Groome, William Henry Charles (1881-1914) / Bridgeman Images

LLM6002134: Fables of La Fontaine: The eagle and the owl (litho), Billinghurst, Percy James (1871-1933) / Bridgeman Images

LLM5225323: Teignmouth from East Cliff (b/w photo), English Photographer, (19th century) / Bridgeman Images

LLM5225344: Swallow's Cave, Lorne (b/w photo), Australian Photographer, (19th century) / Bridgeman Images

LLM5225345: Thermal Bathing Beach at Baden (b/w photo), Brazilian Photographer, (20th century) / Bridgeman Images

LLM5225366: Vienna: Natural History Museum (b/w photo), Brazilian Photographer, (20th century) / Bridgeman Images

LLM5225377: University (b/w photo), Brazilian Photographer, (20th century) / Bridgeman Images

LLM5225402: Aberdeen: Union Street, from Union Bridge, looking West (b/w photo), English Photographer, (20th century) / Bridgeman Images

LLM5225417: Aberdeen: Mitchell Hall (b/w photo), English Photographer, (20th century) / Bridgeman Images

LLM5225421: Aberdeen: Harbour from Dock Gates (b/w photo), English Photographer, (20th century) / Bridgeman Images

LLM5225436: Bruxelles, Brussells: La Bourse (b/w photo), European Photographer, (20th century) / Bridgeman Images

LLM5225443: Bruxelles, Brussells: Gare du Nord et Place Rogier (b/w photo), European Photographer, (20th century) / Bridgeman Images

LLM5225447: Bruxelles, Brussells: Arcade monumentale commemorant le 50me anniversaire de l'independance de la Belgique (b/w photo), European Photographer, (20th century) / Bridgeman Images

LLM5225459: Chester: The Water Tower (litho), English School, (19th century) / Bridgeman Images
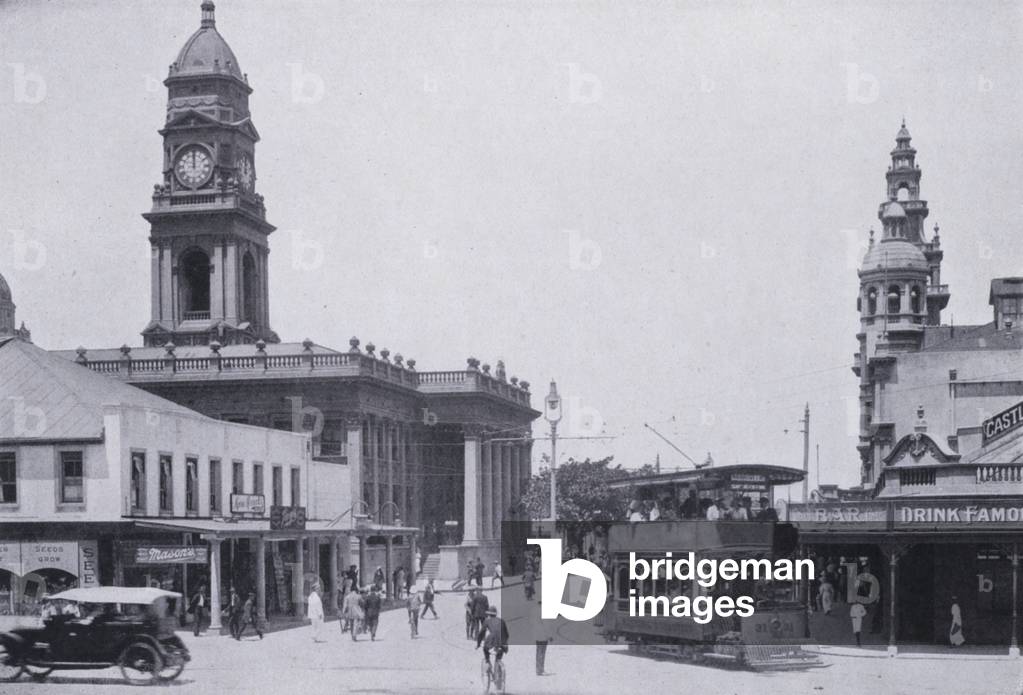
LLM5225478: Gardiner Street, Durban (b/w photo), South African Photographer, (19th century) / Bridgeman Images
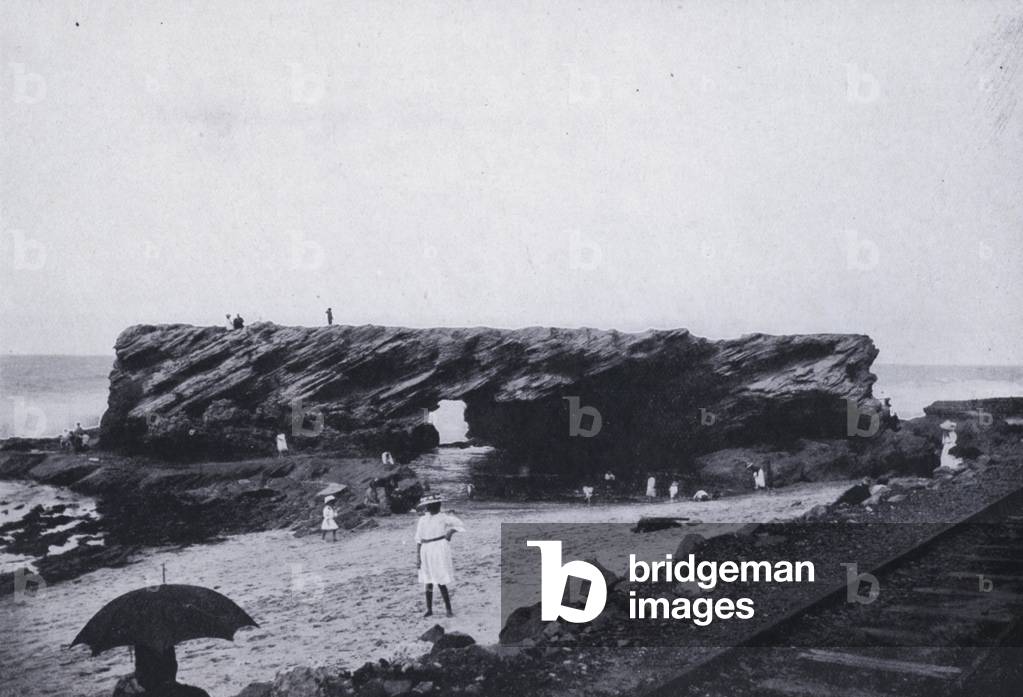
LLM5225495: The Cave Rock, Durban (b/w photo), South African Photographer, (19th century) / Bridgeman Images
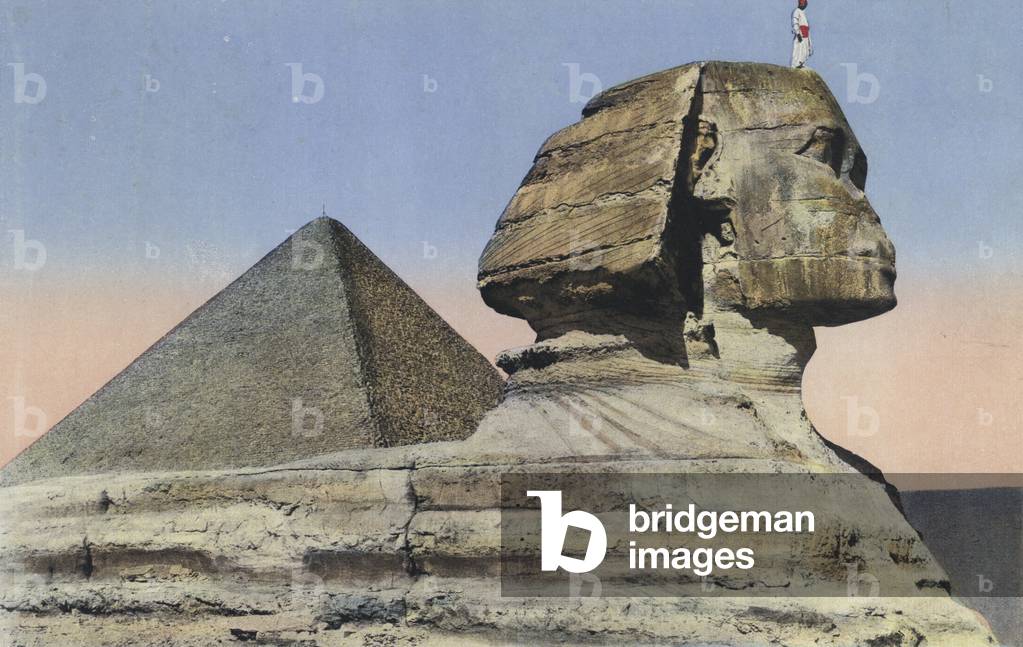
LLM5225505: Cairo, Sphinx and Pyramid (coloured photo), Egyptian Photographer, (19th century) / Bridgeman Images
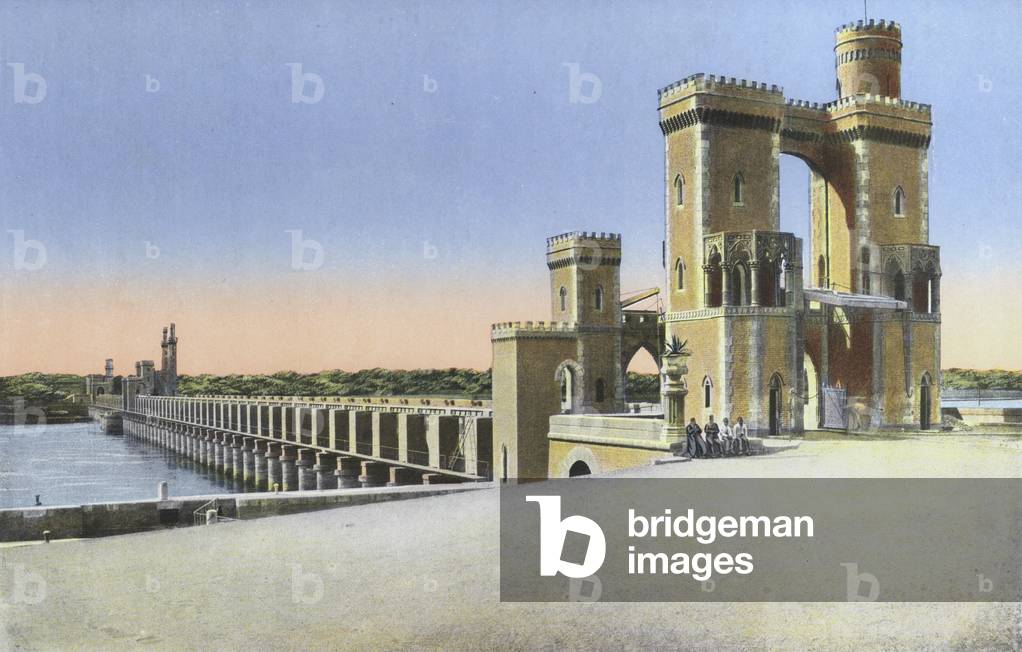
LLM5225524: Cairo, General view of the Barrage Bridge (coloured photo), Egyptian Photographer, (19th century) / Bridgeman Images
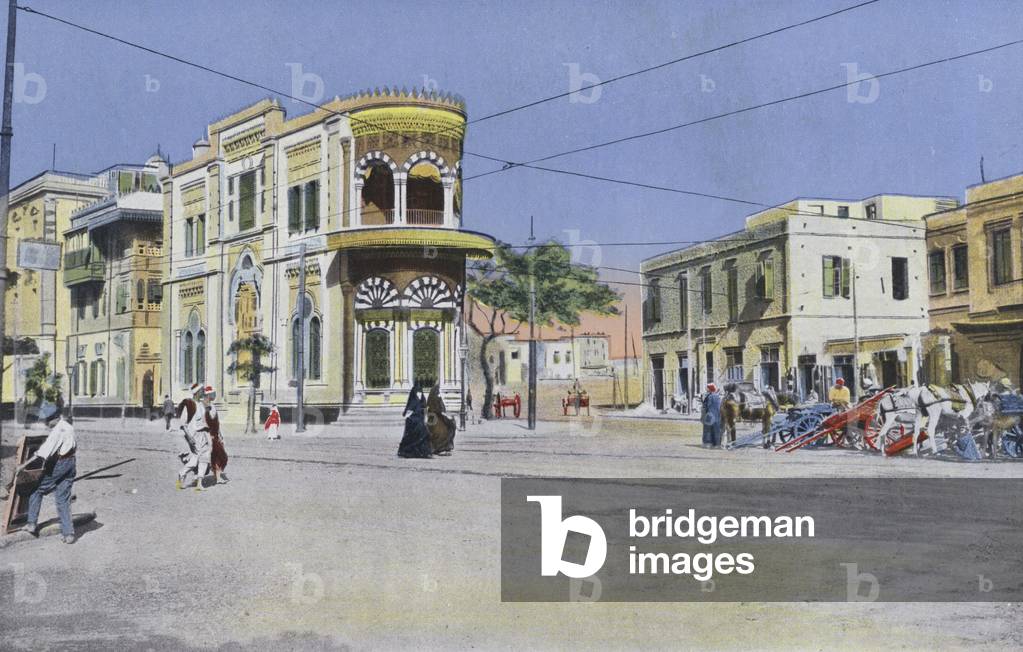
LLM5225530: Cairo, Fountain (Sebil) at Abbassieh (coloured photo), Egyptian Photographer, (19th century) / Bridgeman Images
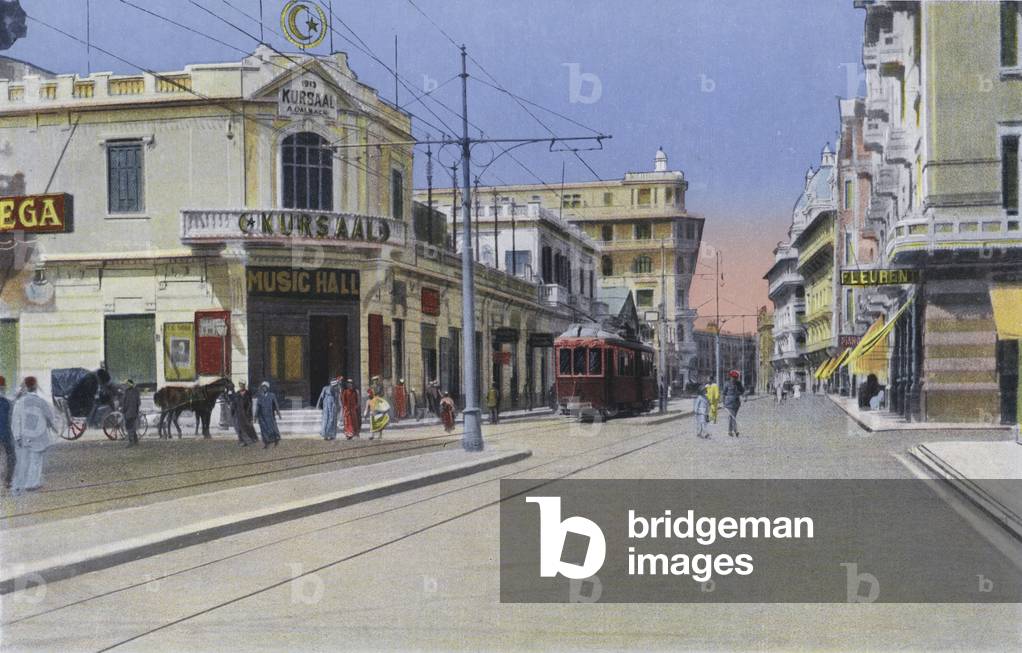
LLM5225532: Cairo, Casino Kursaal (coloured photo), Egyptian Photographer, (19th century) / Bridgeman Images
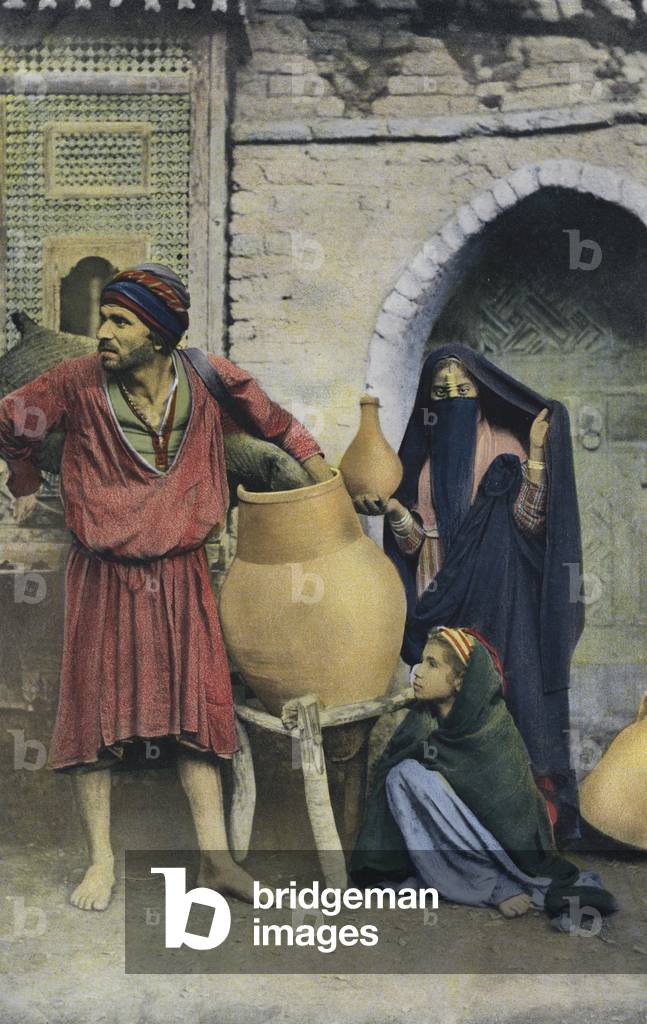
LLM5225538: Cairo, Native Scenes (coloured photo), Egyptian Photographer, (19th century) / Bridgeman Images
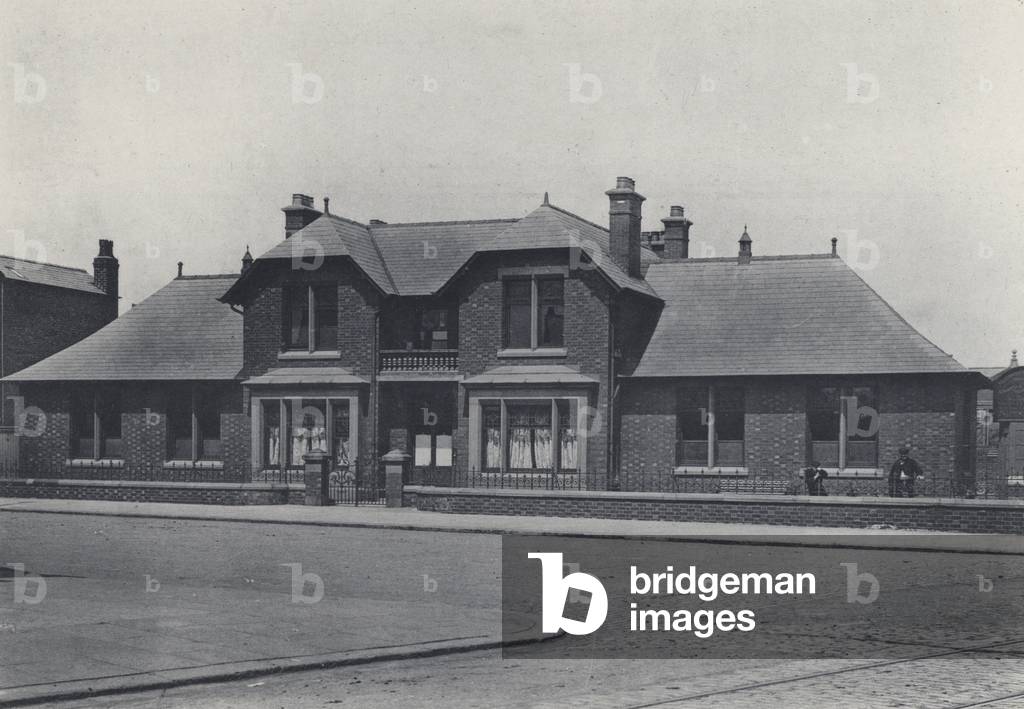
LLM5225552: The Cottage Hospital (b/w photo), English Photographer, (19th century) / Bridgeman Images
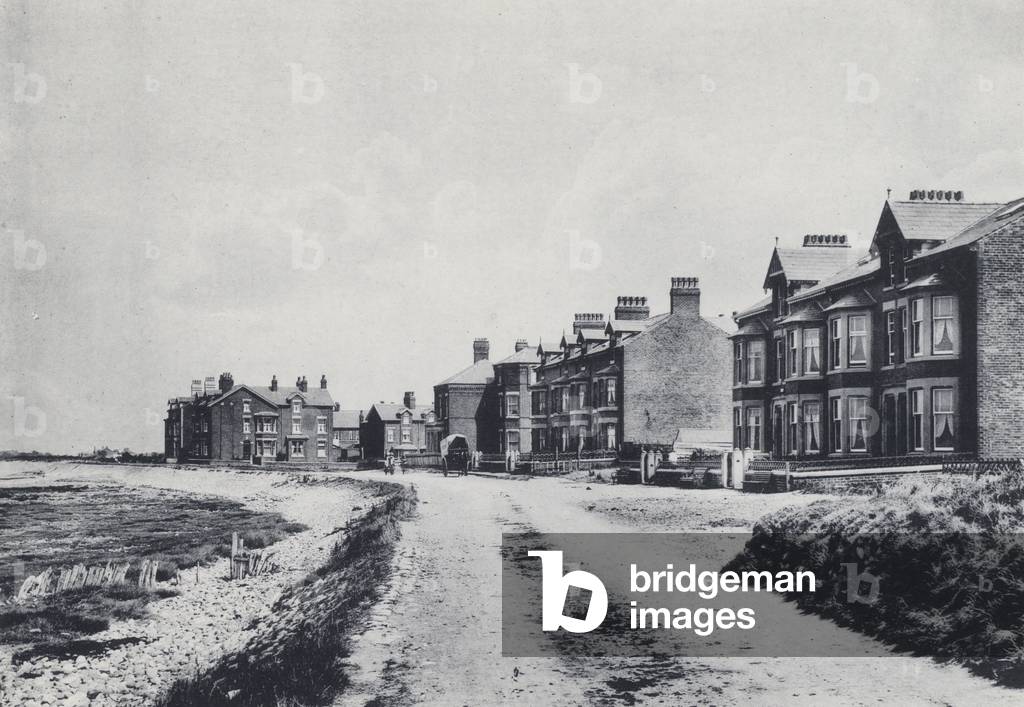
LLM5225560: Knott End (b/w photo), English Photographer, (19th century) / Bridgeman Images

LLM5225567: Route du Grand St-Bernard et le Mont Mort (b/w photo), Swiss Photographer (20th century) / Bridgeman Images

LLM6002269: Soleure, Cathedrale de Saint Ours (b/w photo), Swiss Photographer, (19th century) / Bridgeman Images
