2491632 Search Results

LLM5998600: The Fairy Wood (colour litho), Margetson, Hester (1890-1963) / Bridgeman Images

LLM6000776: Interior (colour litho), Lahalle, Pierre (1877-1956) / Bridgeman Images

LLM5998951: L'autobus (the bus) (colour litho), Brock, Henry Matthew (1875-1960) / Bridgeman Images

LLM5998963: Le salon de the (the tearoom) (colour litho), Brock, Henry Matthew (1875-1960) / Bridgeman Images

LLM6001679: Maurice Maeterlinck, Belgian poet and playwright (litho), Flagg, James Montgomery (1877-1960) / Bridgeman Images

LLM6001913: London and North Eastern Railway (LNER) night express train hauled by a Class A1 Pacific locomotive (colour litho), Mason, Frank Henry (1876-1965) (after) / Bridgeman Images

LLM6001916: Air-smoothed Merchant Navy class Pacific locomotive hauling a Southern Railway (SR) night express train out of Waterloo Station, London (colour litho), Mason, Frank Henry (1876-1965) (after) / Bridgeman Images

LLM6002009: Illustration for Twenty Thousand Leagues Under The Sea by Jules Verne (colour litho), Winter, Milo (1888-1956) / Bridgeman Images

LLM6002078: They whimpered and begged of him (colour litho), Stratton, Helen (1867-1961) / Bridgeman Images

LLM6002081: A stroke shivered the sword (colour litho), Stratton, Helen (1867-1961) / Bridgeman Images

LLM6002423: Aesop's Fables: The Oak and the Reeds (colour litho), Winter, Milo (1888-1956) / Bridgeman Images

LLM6002435: Aesop's Fables: The Monkey and the Dolphin (colour litho), Winter, Milo (1888-1956) / Bridgeman Images
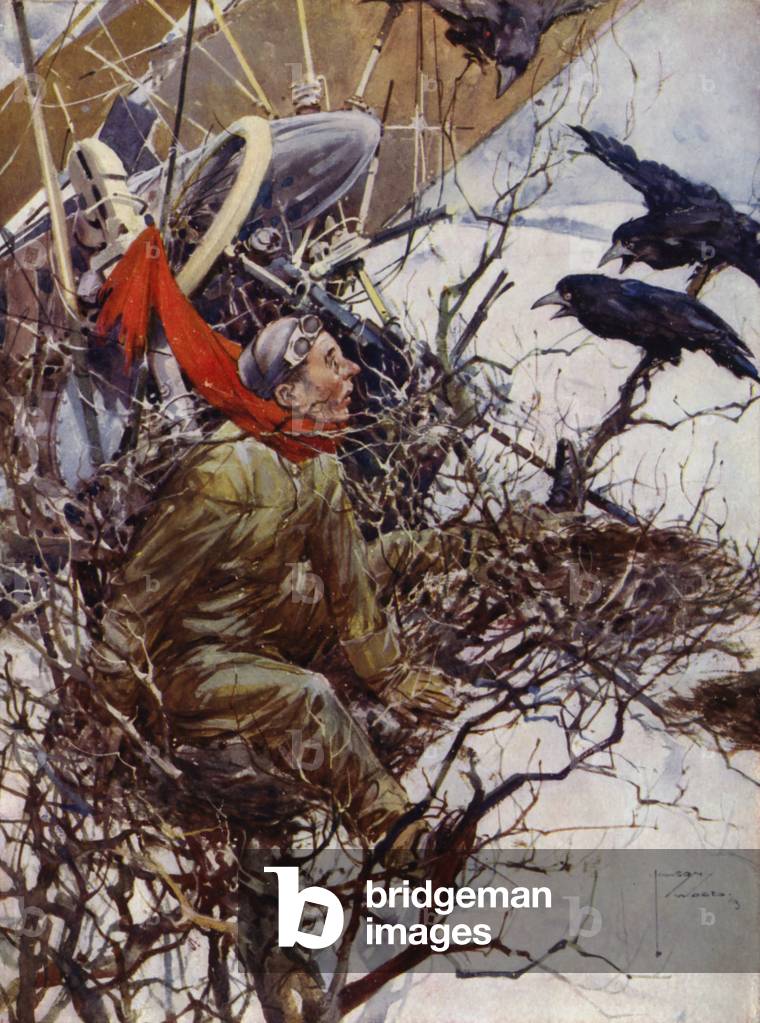
LLM5998441: On the Tree Top - pilot and plane among the birds (colour litho), Wood, Lawson (1878-1957) / Bridgeman Images

LLM5998480: Palace aux Femmes: Les Plumes d'Autruche (photo), Rene, Gilbert (b.1892) / Bridgeman Images
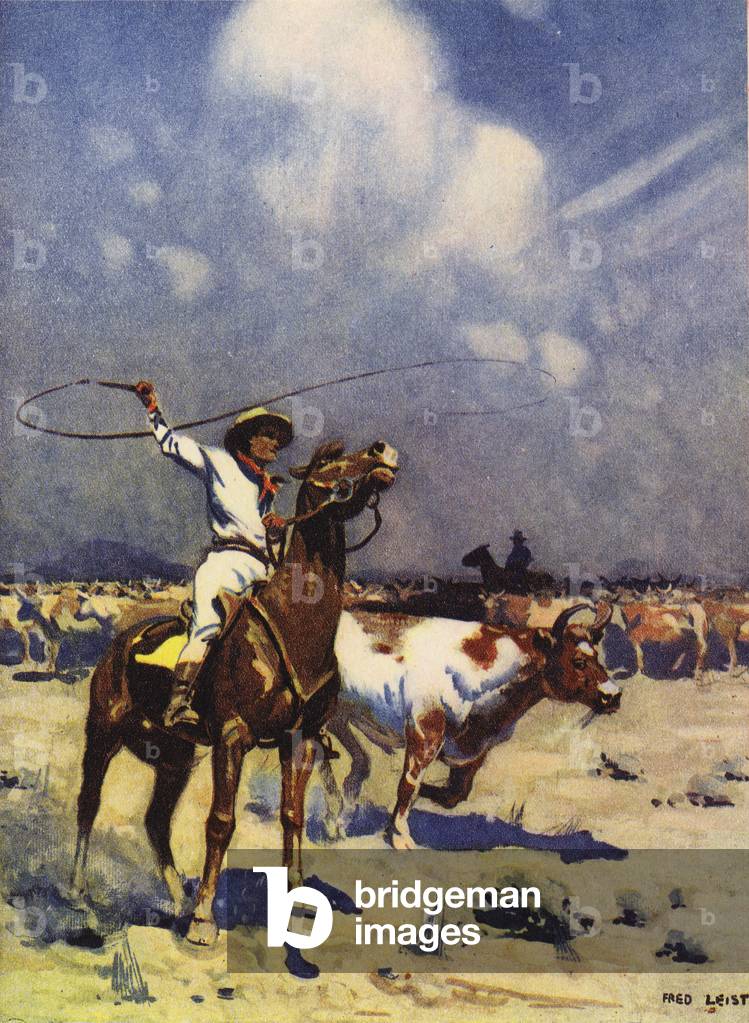
LLM5998443: Rounding up a big herd of Australian cattle (colour litho), Leist, Fred (fl. 1910) / Bridgeman Images

LLM6001652: If a piano looked as it sometimses sounds (litho), Beall, Cecil Calvert (1892-1967) / Bridgeman Images

LLM6002381: Aesop's Fables: The Tortoise and the Ducks (colour litho), Winter, Milo (1888-1956) / Bridgeman Images

LLM6002438: Aesop's Fables: The Dog in the Manger (colour litho), Winter, Milo (1888-1956) / Bridgeman Images

LLM6002441: Aesop's Fables: The Wolf and the Goat (colour litho), Winter, Milo (1888-1956) / Bridgeman Images

LLM5999929: A boy and girl cuddling amongst cushions (colour litho), Spurgin, Frederick (1882-1968) / Bridgeman Images

LLM6003854: Boyd Neel (litho), Wiener, Hilda (fl.20th century) / Bridgeman Images

LLM6021459: Bringing Design into the Realm of the Revue (litho), Sayler, Lucie R. (1889-1974) / Bridgeman Images
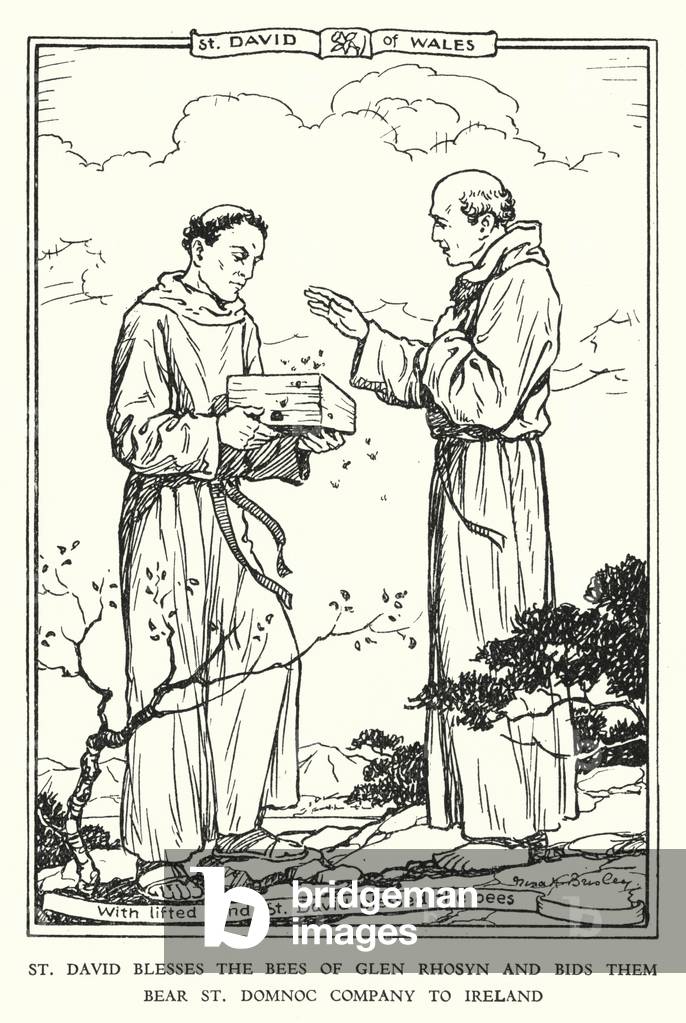
LLM6022119: St David of Wales (litho), Brisley, Nina K. (1898-1978) / Bridgeman Images

LLR6033830: The Queen with her maids of honour and mistress of the robes (b/w photo), Beaton, Cecil (1904-80) / Bridgeman Images
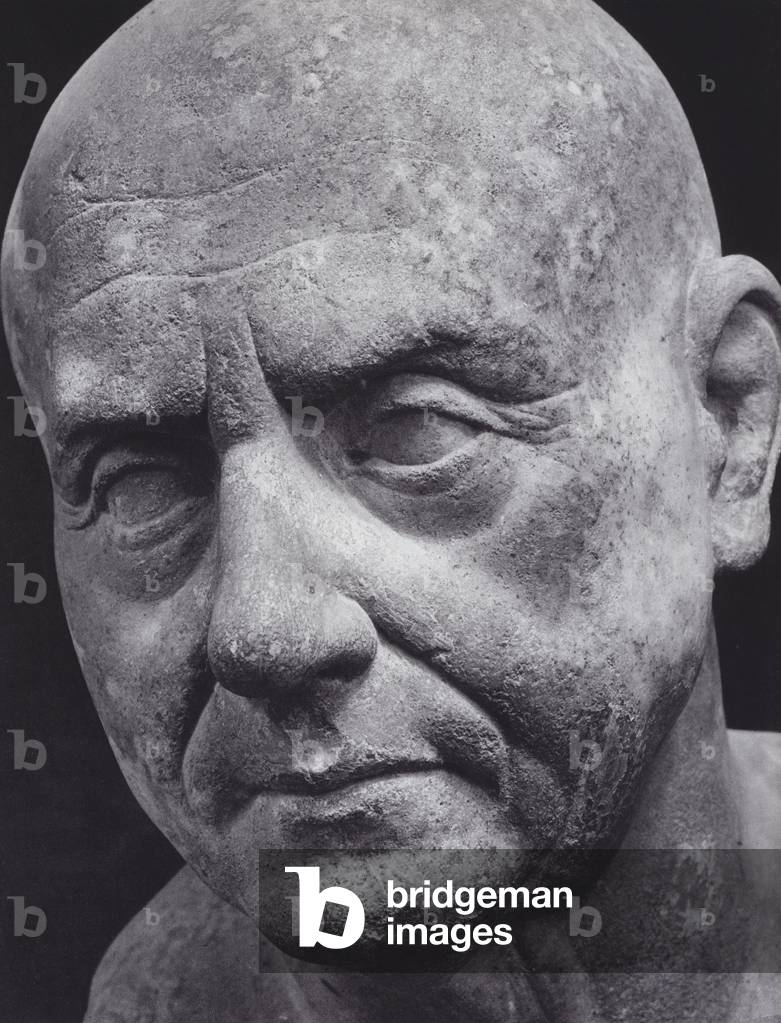
LLM6018495: Roman Portraits: Portrait, Probably after Wax-Model (b/w photo), Schneider-Lengyel, Ilse (1903-72) / Bridgeman Images
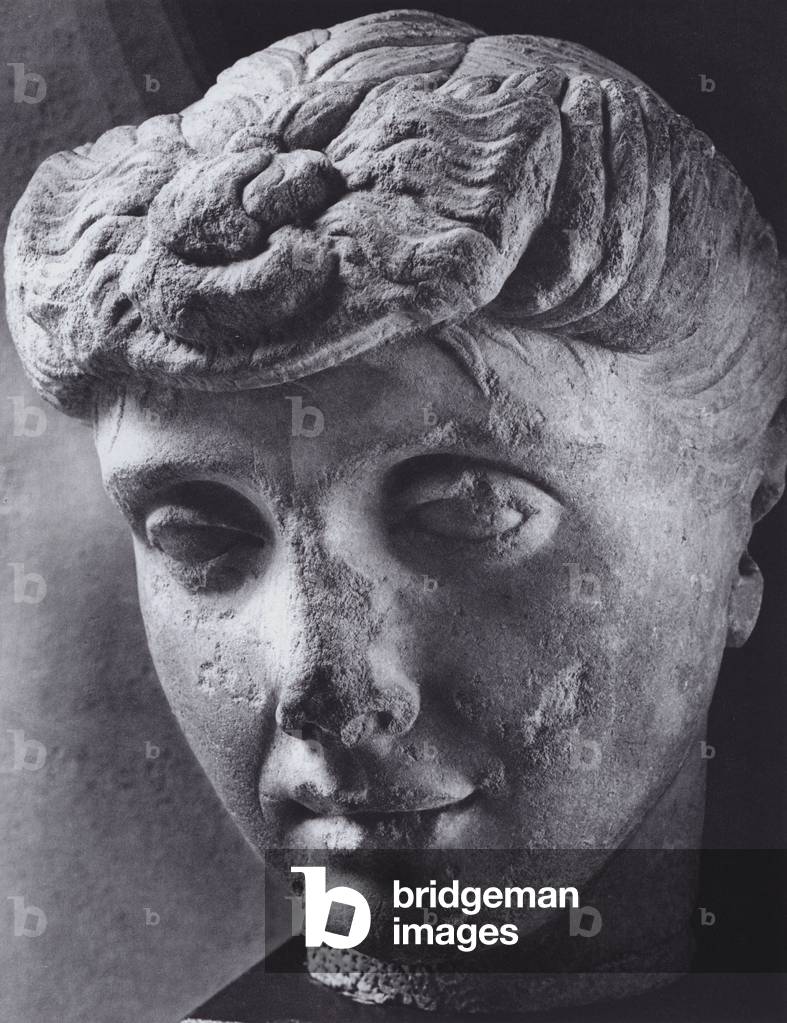
LLM6018504: Roman Portraits: Portrait of a Girl (b/w photo), Schneider-Lengyel, Ilse (1903-72) / Bridgeman Images
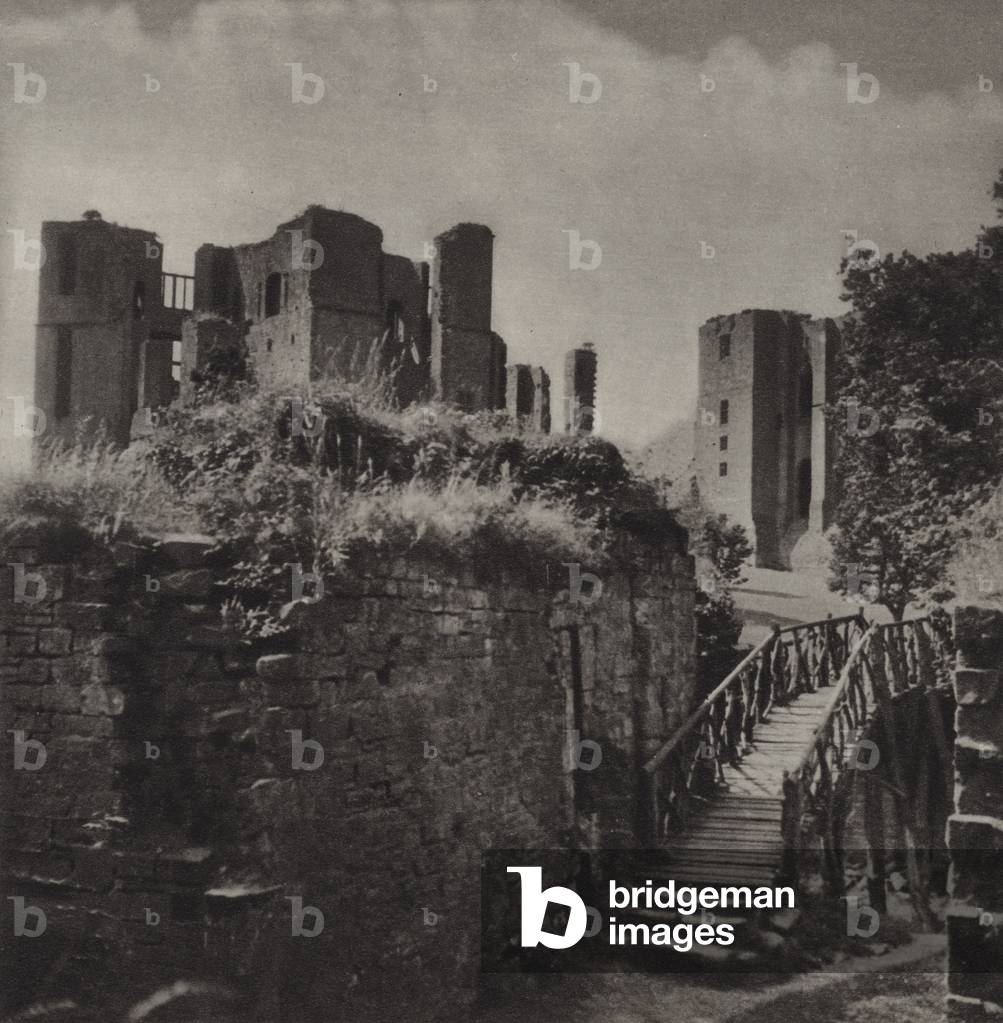
LLM6018711: Kenilworth (b/w photo), Colyer, Sydney William (1913-96) / Bridgeman Images
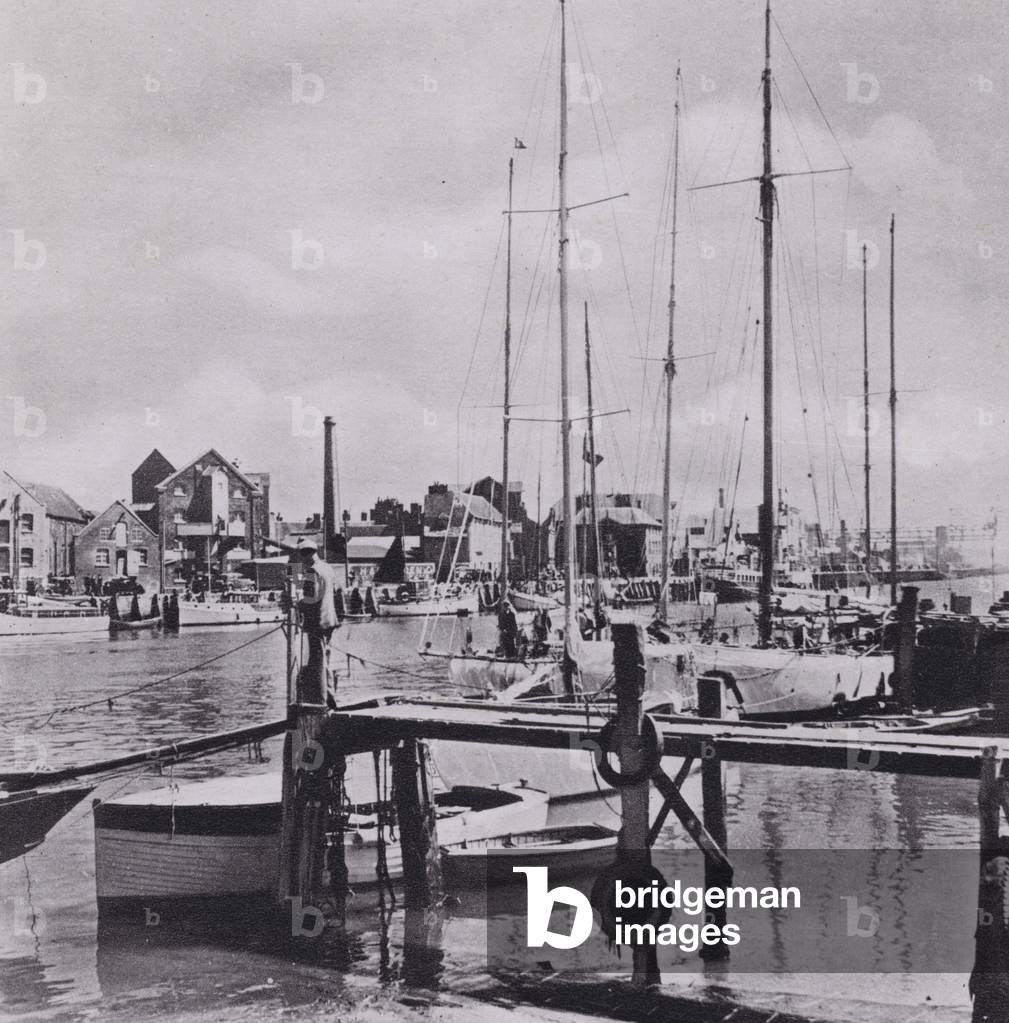
LLM6019197: Dorset: Poole Harbour (b/w photo), Colyer, Sydney William (1913-96) / Bridgeman Images

LLM6016800: Antwerpen (Anvers), Waterhuis of Brouwers-Gildehuis, Trap (b/w photo), Sigling, G. (fl.c.1913) / Bridgeman Images

LLM6016806: Antwerpen (Anvers), Museum Plantijn Moretus, Kamer van Justus Lipsius (b/w photo), Sigling, G. (fl.c.1913) / Bridgeman Images

LLM6016818: Anderlecht, Kasteel van Anderlecht, Groote Bibliotheek (b/w photo), Sigling, G. (fl.c.1913) / Bridgeman Images

LLM6016821: Audenaerde, Stadhuis, Raadzaal (b/w photo), Sigling, G. (fl.c.1913) / Bridgeman Images

LLM6016851: Lessen (Lessines), Hospitaal "Notre-Dame a la Rose," Refter (b/w photo), Sigling, G. (fl.c.1913) / Bridgeman Images
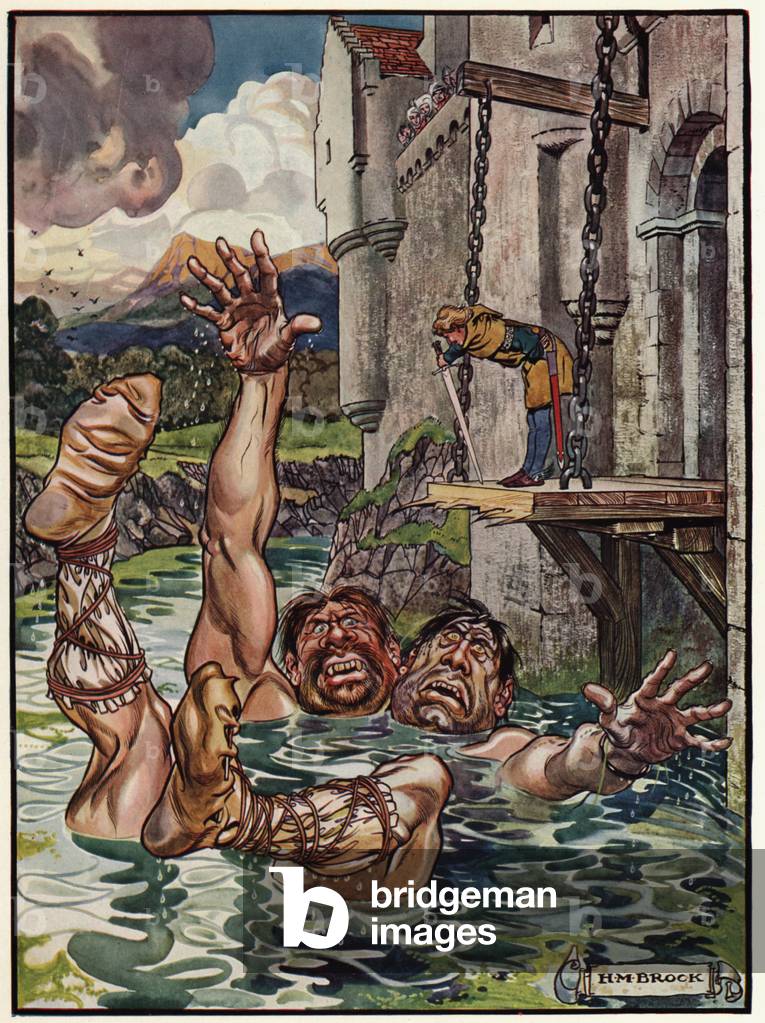
LLH6030271: Illustration for Jack the Giant Killer (colour litho), Brock, Henry Matthew (1875-1960) / Bridgeman Images

LLM6016158: Cotswolds: Coln St Dennis (b/w photo), Colyer, Sydney William (1913-96) / Bridgeman Images

LLM6016284: English Lake District: Wrynose Bottom, From Hardknott (b/w photo), Colyer, Sydney William (1913-96) / Bridgeman Images
