2491516 Search Results
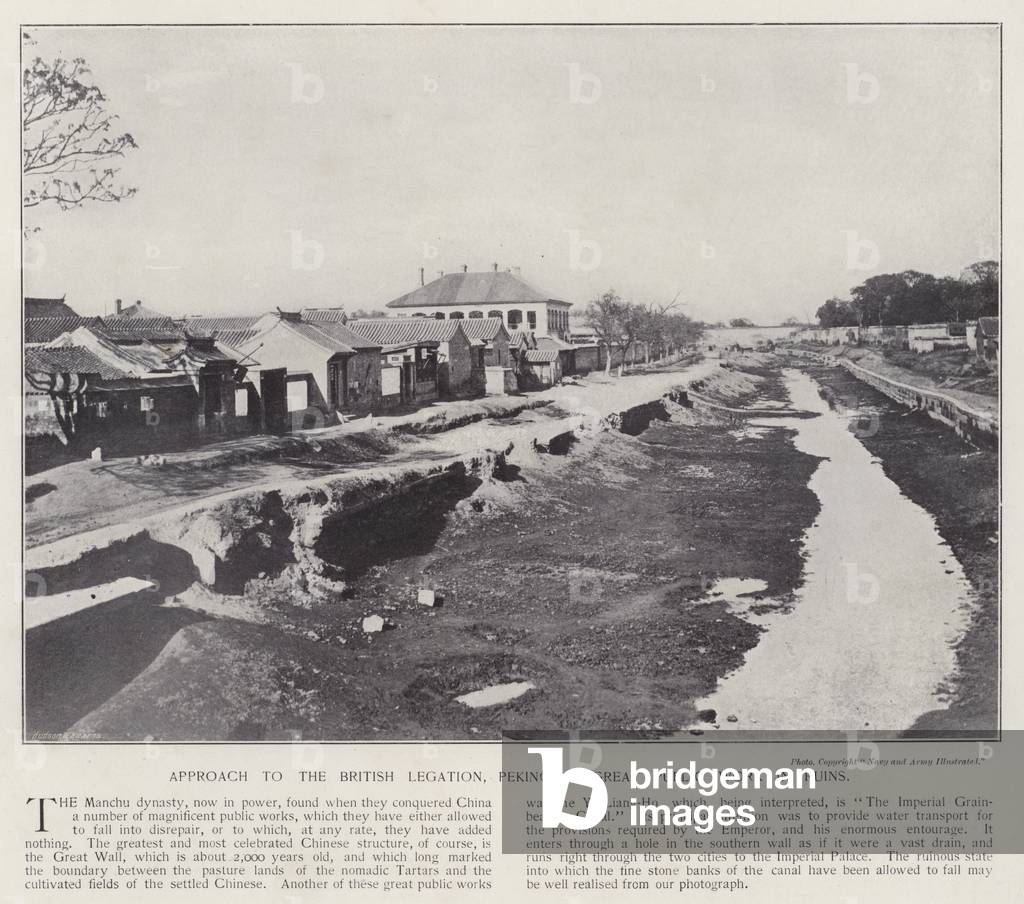
LLM6003740: Approach to the British Legation, Peking, a great public work in ruins (b/w photo), European Photographer, (19th century) / Bridgeman Images

LLM6021543: The Lych-Gate, Harrow (litho), Moul, Duncan (fl.1904-24) / Bridgeman Images

LLM6003760: Coaching: The Post-Boys (litho), English School, (20th century) / Bridgeman Images

LLM6021626: Staward Pele (colour litho), Southgate, Frank (1872-1916) / Bridgeman Images

LLM6021717: Samson carries away the gates of Gaza, Judges XVI, ver 3 (engraving), English School, (19th century) / Bridgeman Images

LLM6021730: Isaac discovering that he had blessed Jacob instead of Esau, Genesis XXVII, ver 34 (engraving), English School, (19th century) / Bridgeman Images

LLM5995426: Central Avenue, looking East, Panama City (coloured photo), American Photographer, (20th century) / Bridgeman Images

LLM5995434: Miraflores Locks by Moonlight, Panama Canal (coloured photo), American Photographer, (20th century) / Bridgeman Images

LLM5995458: Paris: La Porte Saint-Denis (b/w photo), French Photographer, (20th century) / Bridgeman Images

LLM5995469: Paris: Le Jardin du Luxembourg (b/w photo), French Photographer, (20th century) / Bridgeman Images

LLM5995478: Luccombe Village (colour litho), Cooper, Alfred Heaton (1864-1929) / Bridgeman Images

LLM5995488: Crowcombe, in the Quantocks (colour litho), Cooper, Alfred Heaton (1864-1929) / Bridgeman Images

LLM5995510: Wells Cathedral, from the Tor (colour litho), Cooper, Alfred Heaton (1864-1929) / Bridgeman Images

LLM5995516: Stockholm: The south side of the Palace (b/w photo), Swedish Photographer, (20th Century) / Bridgeman Images

LLM5995549: Winchester College Chapel, AD 1393 (b/w photo), English Photographer, (19th century) / Bridgeman Images

LLM5995574: Science saves babies' lives (b/w photo), English Photographer, (20th century) / Bridgeman Images

LLM5995592: Three types of rubber cap used to cover the vaginal entrance of the uterus (litho), English School, (20th century) / Bridgeman Images

LLM5995629: Brontosaurus (colour litho), Stokoe, W. J.(fl.1910-40) / Bridgeman Images

LLM5995673: La Colonna Trajana, Trajans Column (engraving), Italian School, (19th century) / Bridgeman Images

LLM5995686: La Colonna Trajana, Trajans Column (engraving), Italian School, (19th century) / Bridgeman Images

LLM5995698: La Colonna Trajana, Trajans Column (engraving), Italian School, (19th century) / Bridgeman Images

LLM6003786: The Harbour of Victoria, Hong-Kong, and Kau-lung, the Gibraltar and Liverpool of the Far East (b/w photo), European Photographer, (19th century) / Bridgeman Images

LLM6003789: English Coins, Mary, Elizabeth (b/w photo), English Photographer, (19th century) / Bridgeman Images

LLM6003801: English Coins, Siege Pieces, Charles I and II (b/w photo), English Photographer, (19th century) / Bridgeman Images

LLM6003804: English Coins, George III (b/w photo), English Photographer, (19th century) / Bridgeman Images

LLM6003819: Scottish Coins, Charles I (b/w photo), English Photographer, (19th century) / Bridgeman Images

LLM6003825: Irish Coins, James I, Charles I (b/w photo), English Photographer, (19th century) / Bridgeman Images
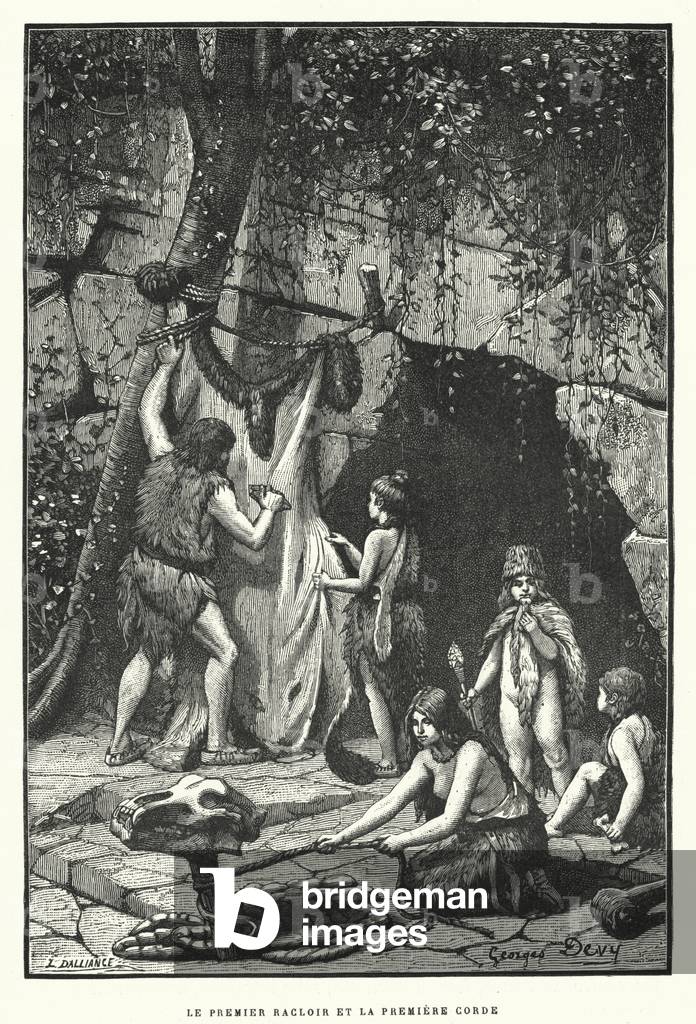
LLM6003903: Le Premier Racloir Et La Premiere Corde (engraving), French School, (19th century) / Bridgeman Images
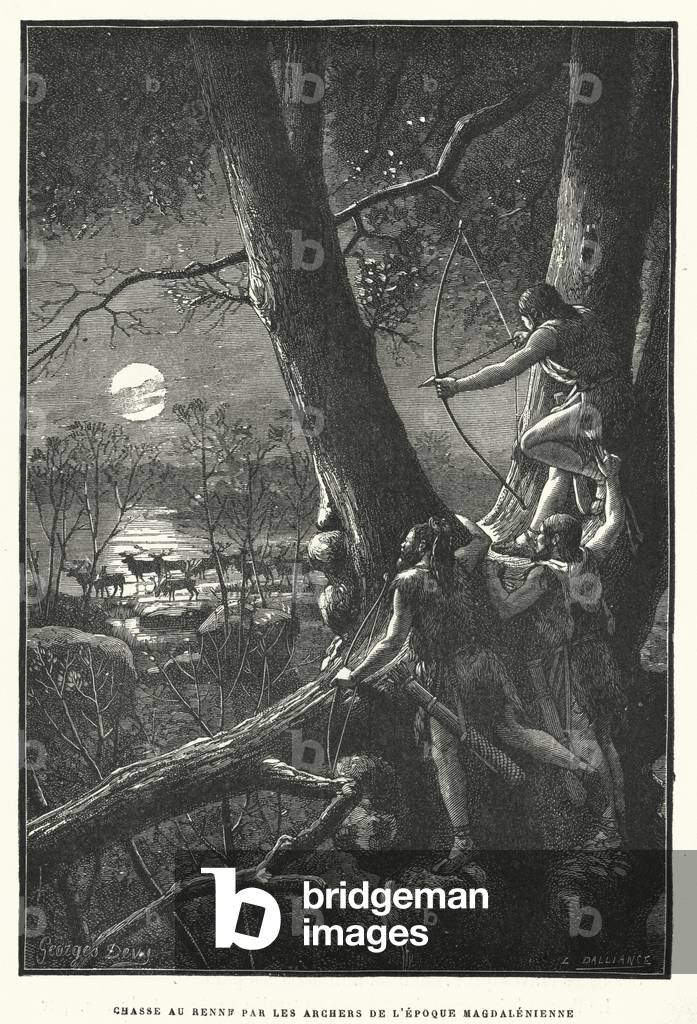
LLM6003908: Chasse Au Renne Par Les Archers De L'Epoque Magdalenienne (engraving), French School, (19th century) / Bridgeman Images
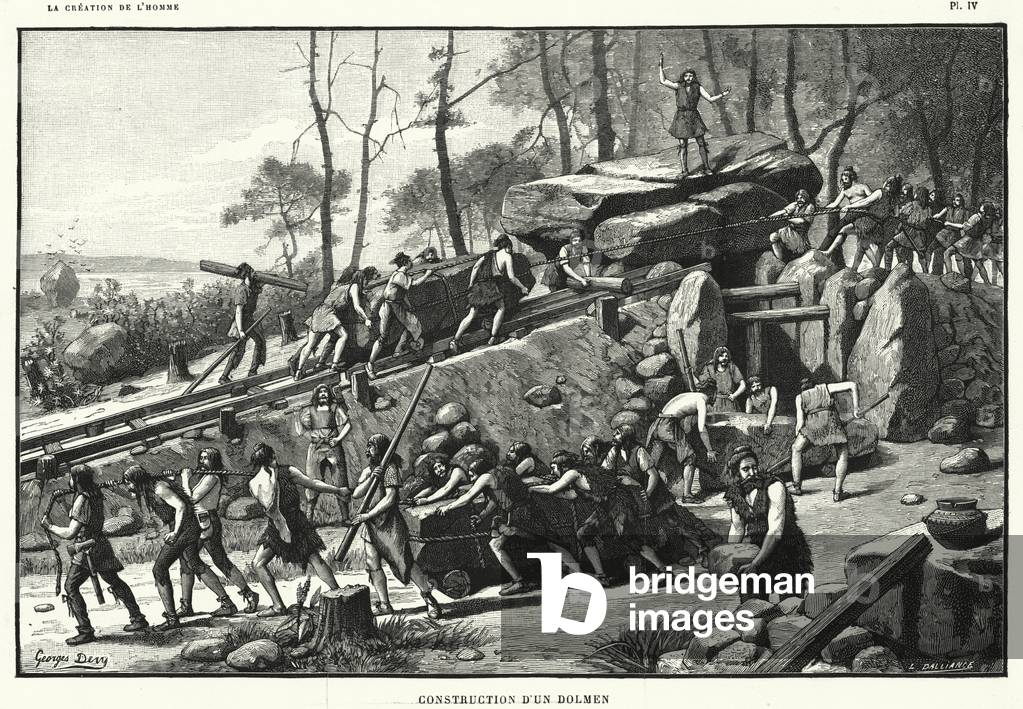
LLM6003977: Construction D'Un Dolmen (engraving), French School, (19th century) / Bridgeman Images
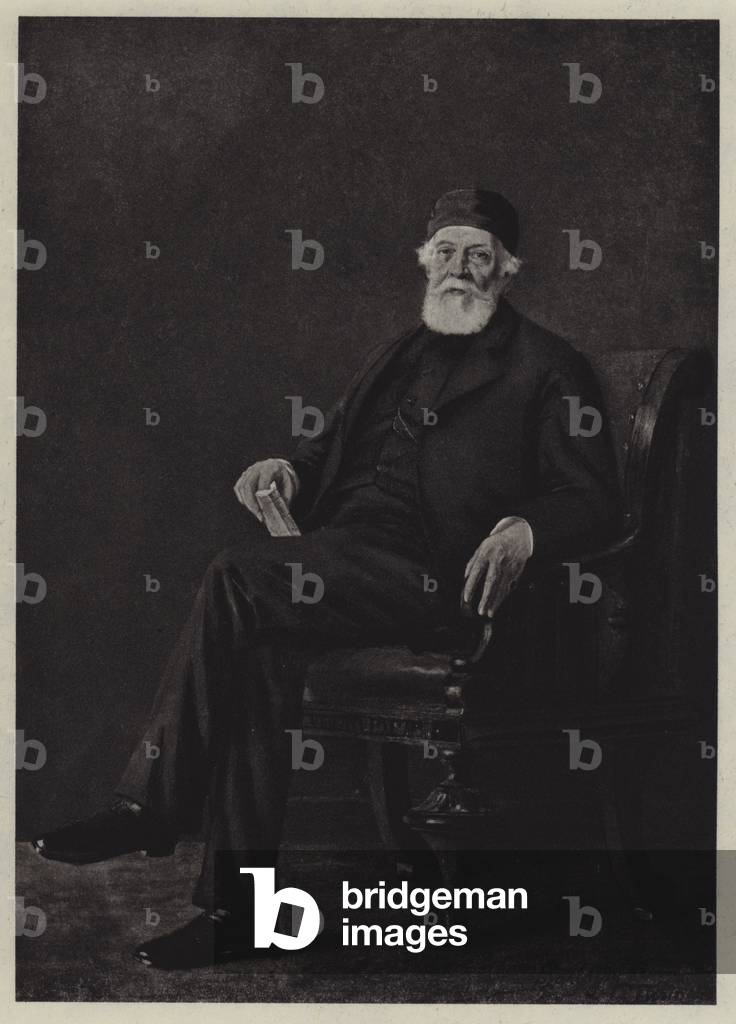
LLM6004005: Louis Kossuth (litho), Lwoff-Parlaghy, Vilma (1863-1923) / Bridgeman Images

LLM6004040: Visit to Baghdad: Top Flat Ironmongery Department (colour litho), Greiffenhagen, Maurice (1862-1931) (after) / Bridgeman Images

LLM6004050: Illustration for Don Juan by Lord Byron: But Juan was quite "A Broth of a Boy" (litho), Austen, John (1886-1948) / Bridgeman Images

LLM6004054: Illustration for Don Juan by Lord Byron: The Duchess of Fitz-Fulke (litho), Austen, John (1886-1948) / Bridgeman Images

LLM6004066: Illustration for Don Juan by Lord Byron: Haidee and Juan were not married, the fault was theirs, not mine (litho), Austen, John (1886-1948) / Bridgeman Images

LLM6004082: Illustration for Don Juan by Lord Byron (litho), Austen, John (1886-1948) / Bridgeman Images
