2491557 Search Results

LLM5992049: Illustration for The Cloister and The Hearth by Charles Reade (litho), Shaw, Byam (1872-1919) (after) / Bridgeman Images

LLM5992051: Illustration for The Cloister and The Hearth by Charles Reade (litho), Shaw, Byam (1872-1919) (after) / Bridgeman Images

LLM6011739: Italy: Costume di S Giovanni in Fiore, Calabria (b/w photo), Hielscher, Kurt (1881-1948) / Bridgeman Images

LLM6011744: Italy: Diamante, Calabria, Erosioni (b/w photo), Hielscher, Kurt (1881-1948) / Bridgeman Images

LLM6011761: Italy: Monreale, Colonne del Chiostro de Monastero (b/w photo), Hielscher, Kurt (1881-1948) / Bridgeman Images
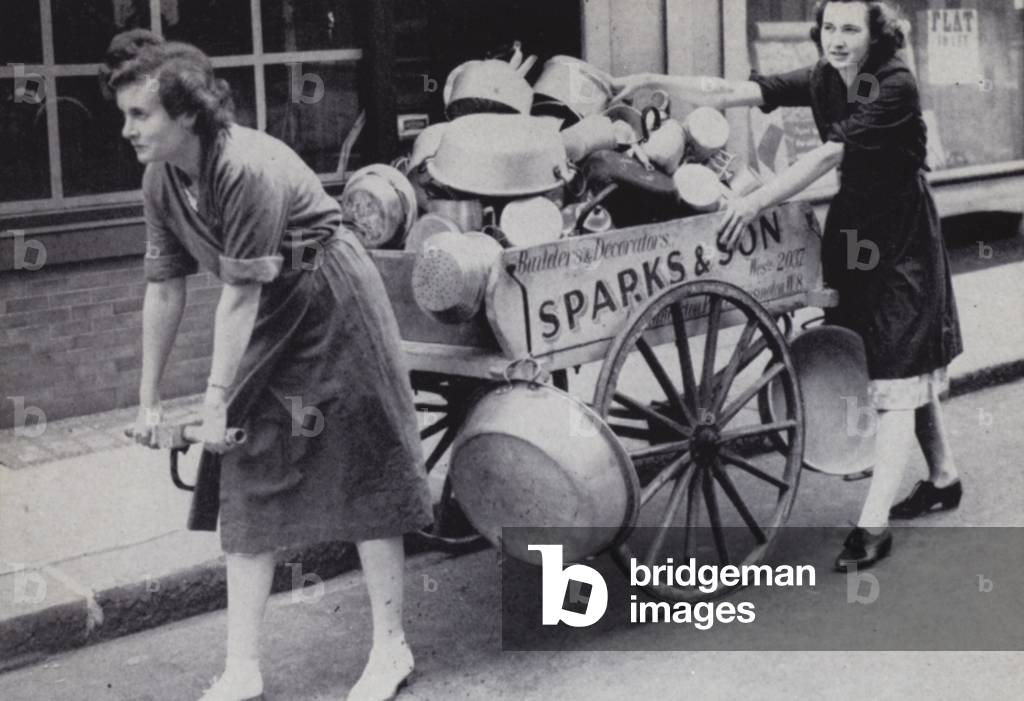
LLM6011775: The WVS collect aluminum in their salvage campaign (b/w photo), English Photographer, (20th century) / Bridgeman Images
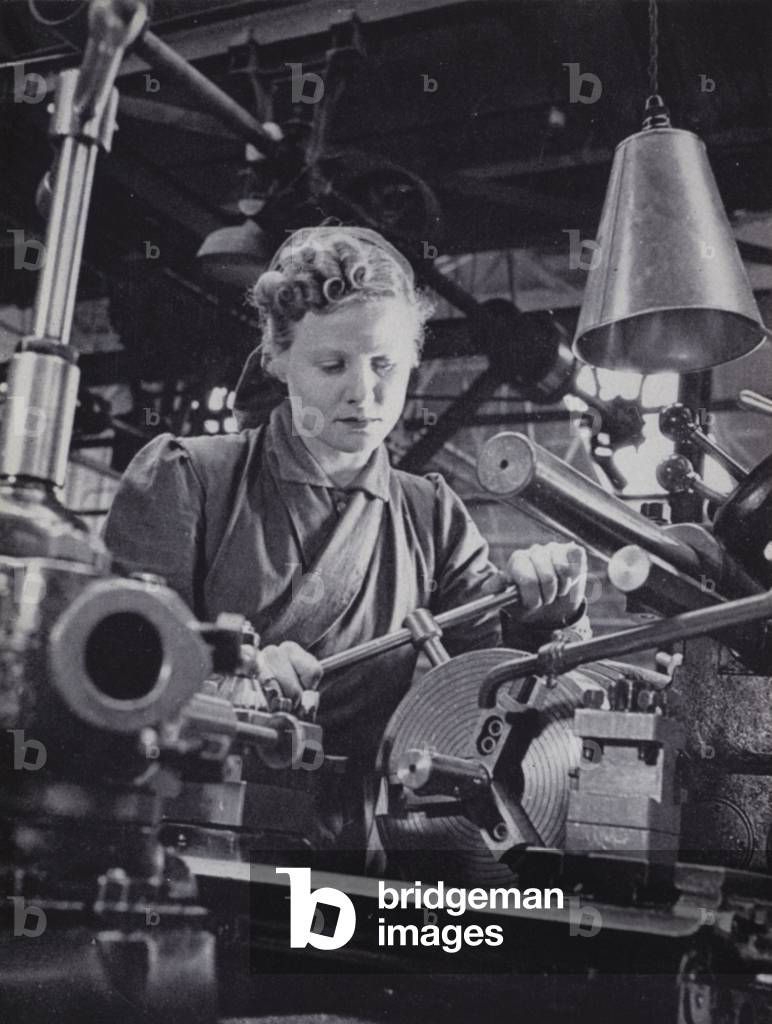
LLM6011779: A factory worker (b/w photo), English Photographer, (20th century) / Bridgeman Images
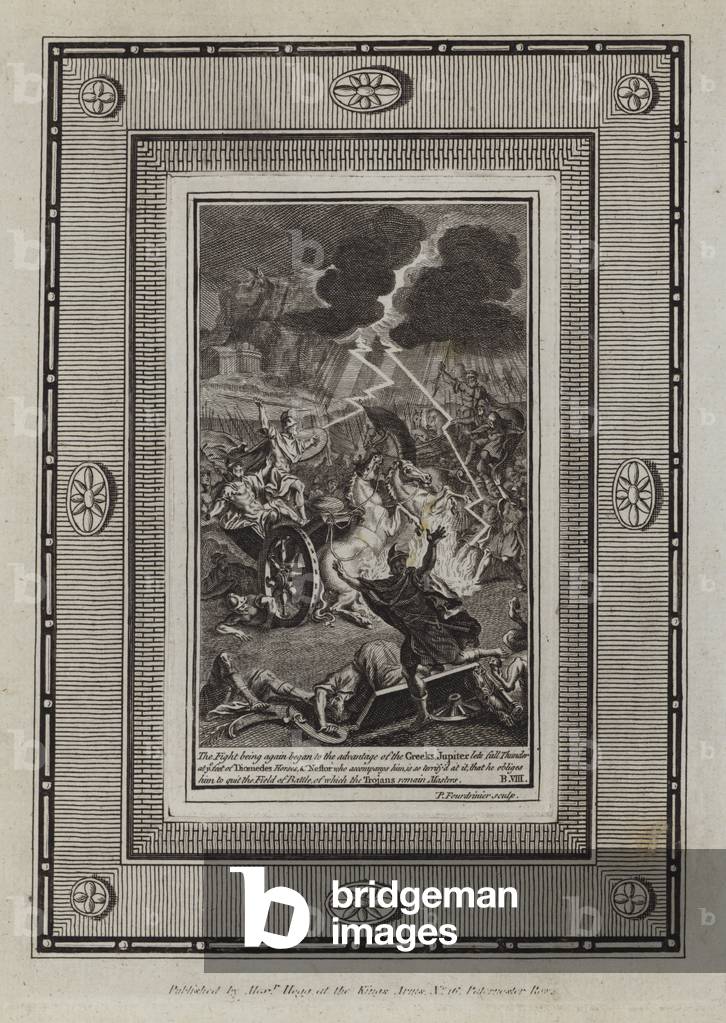
LLM6011792: Illustration for Homer's Iliad (engraving), English School, (18th century) / Bridgeman Images
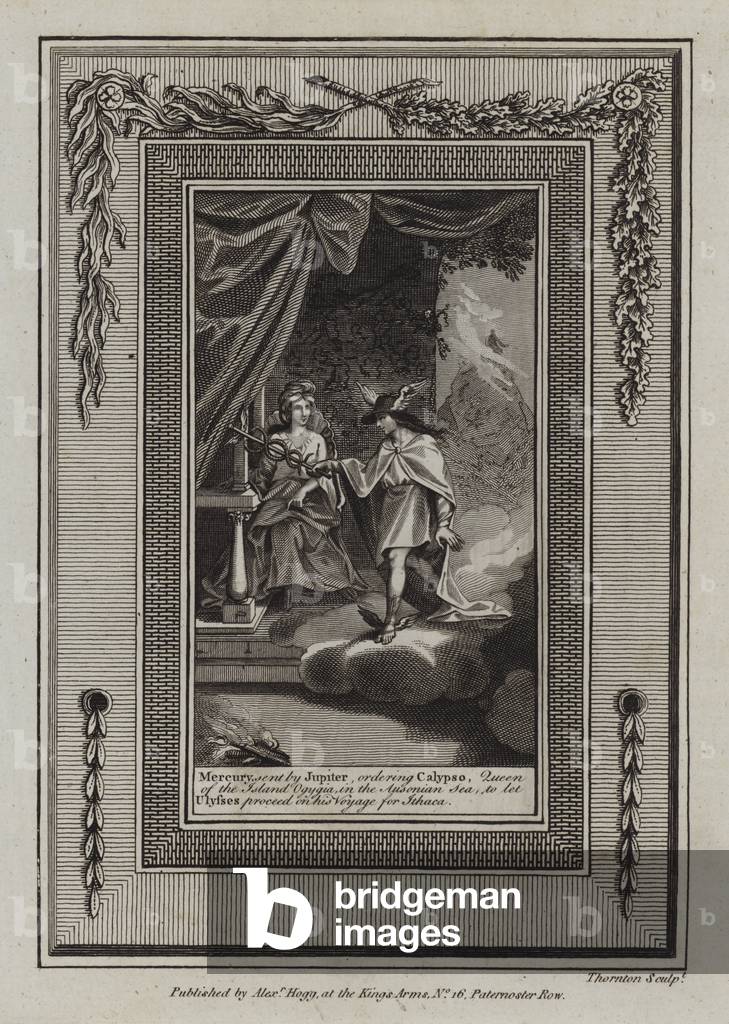
LLM6011808: Illustration for Homer's Odyssey (engraving), English School, (18th century) / Bridgeman Images

LLM6011819: The Twelve Ages of Man: July (litho), French School, (16th century) / Bridgeman Images
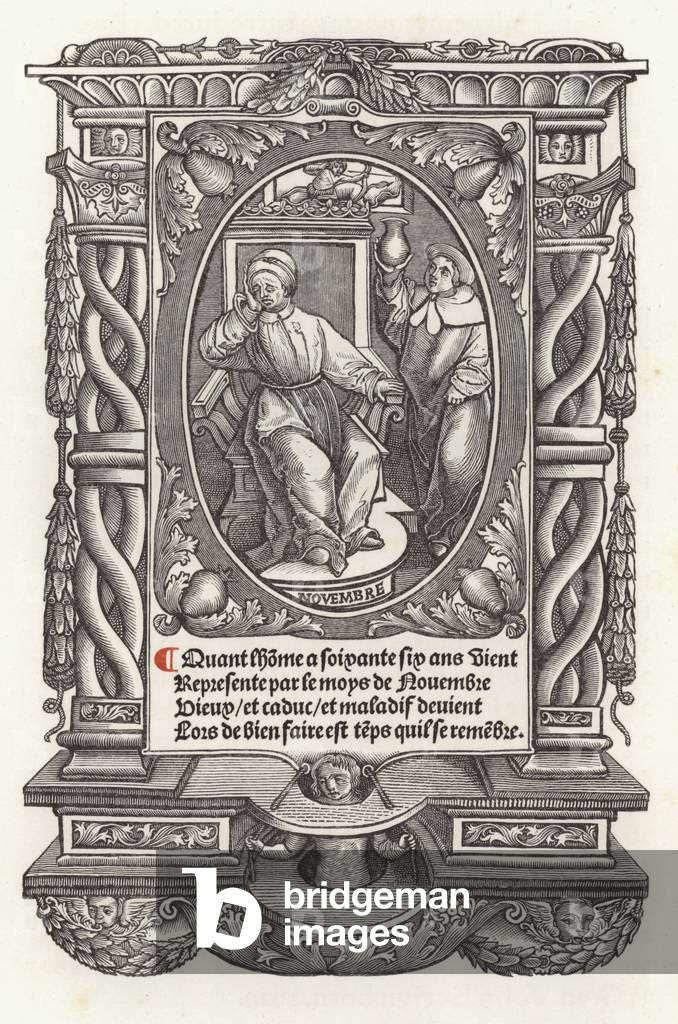
LLM6011832: The Twelve Ages of Man: November (litho), French School, (16th century) / Bridgeman Images

LLM6011844: The hare (colour litho), Hassall, John (1868-1948) / Bridgeman Images

LLM6011900: Sketches Humorous and Grotesque by Gustave Dore (engraving), Dore, Gustave (1832-83) / Bridgeman Images

LLM6011911: Sketches Humorous and Grotesque by Gustave Dore (engraving), Dore, Gustave (1832-83) / Bridgeman Images

LLM6011915: Sketches Humorous and Grotesque by Gustave Dore (engraving), Dore, Gustave (1832-83) / Bridgeman Images

LLM6011918: Sketches Humorous and Grotesque by Gustave Dore (engraving), Dore, Gustave (1832-83) / Bridgeman Images

LLM6011925: Sketches Humorous and Grotesque by Gustave Dore (engraving), Dore, Gustave (1832-83) / Bridgeman Images

LLM6011991: Roma / Rome: Via Appia, Avanzi dell'Acquedotto di Claudio (b/w photo), Italian Photographer, (20th century) / Bridgeman Images

LLM6011999: Roma / Rome: Piazza Colonna e Colonna Antonina (b/w photo), Italian Photographer, (20th century) / Bridgeman Images
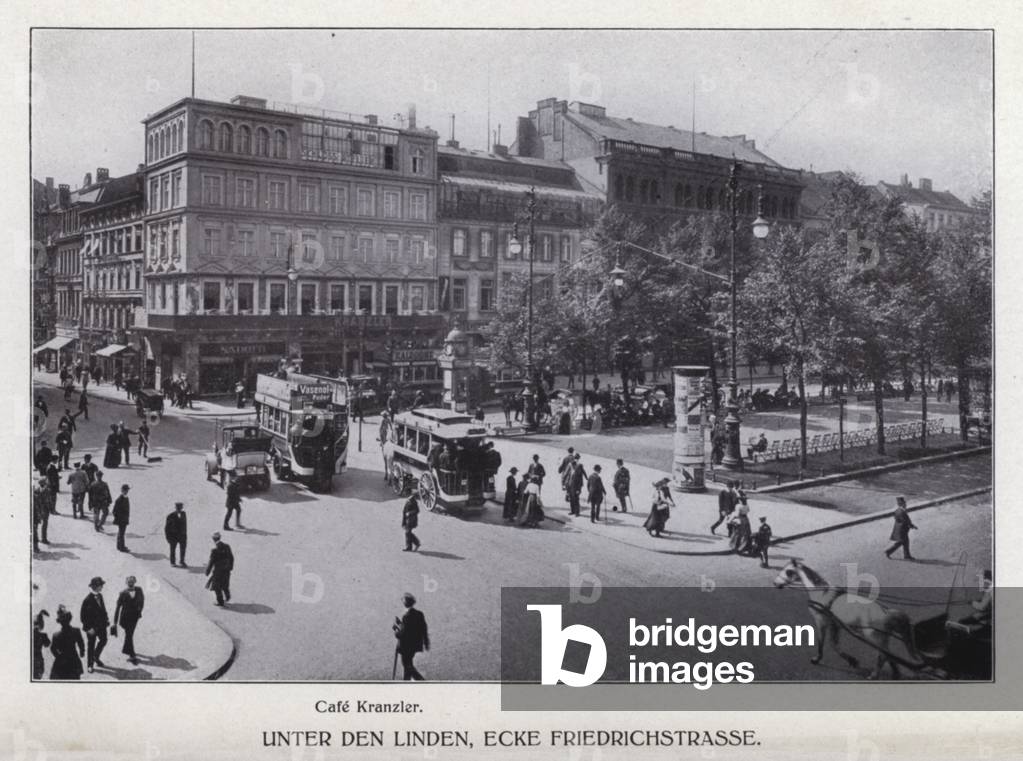
LLM6012020: Berlin: Unter den Linden, Ecke Friedrichstrasse (b/w photo), German Photographer, (20th Century) / Bridgeman Images
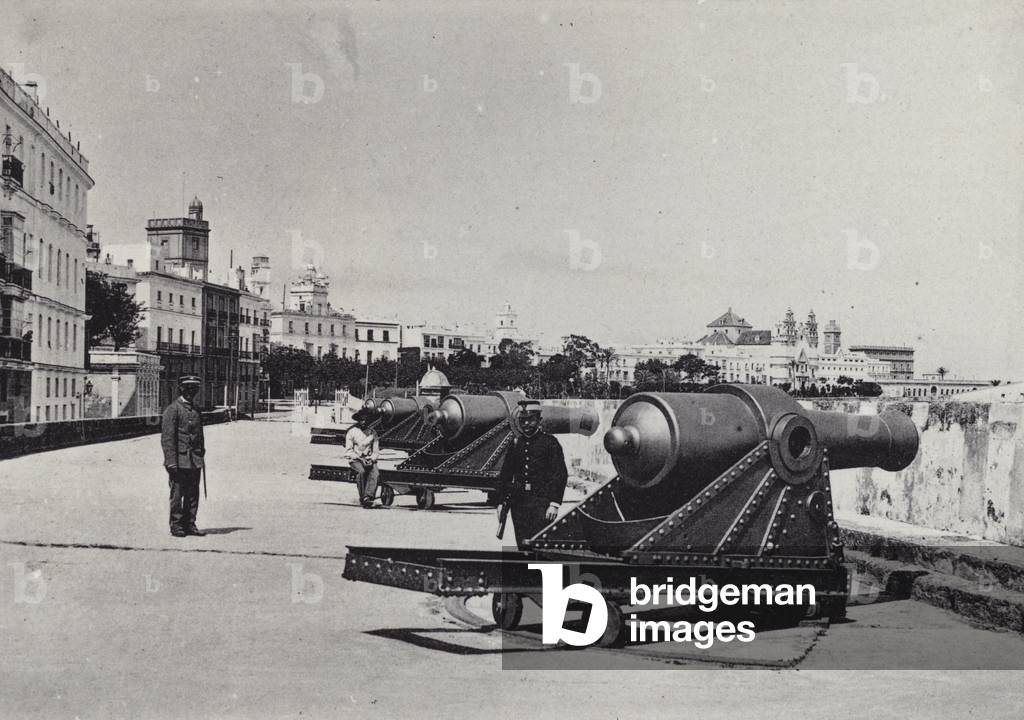
LLM6012025: Cadiz: Bateria de San Carlos (b/w photo), Spanish Photographer, (19th century) / Bridgeman Images
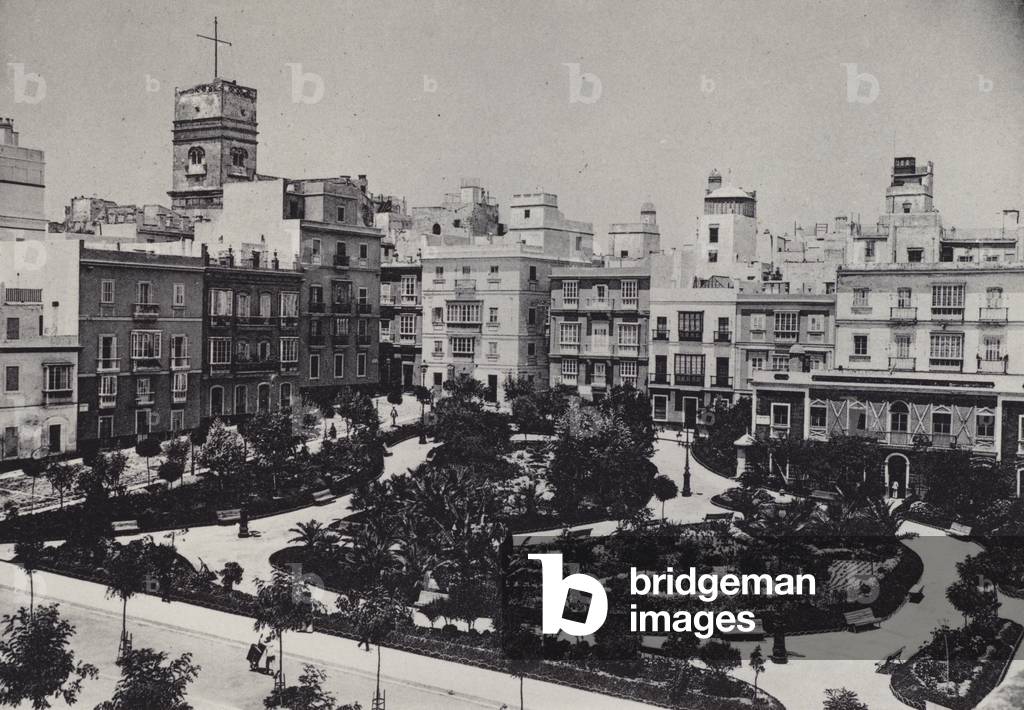
LLM6012029: Cadiz: Plaza de Guerra Jimenez (b/w photo), Spanish Photographer, (19th century) / Bridgeman Images
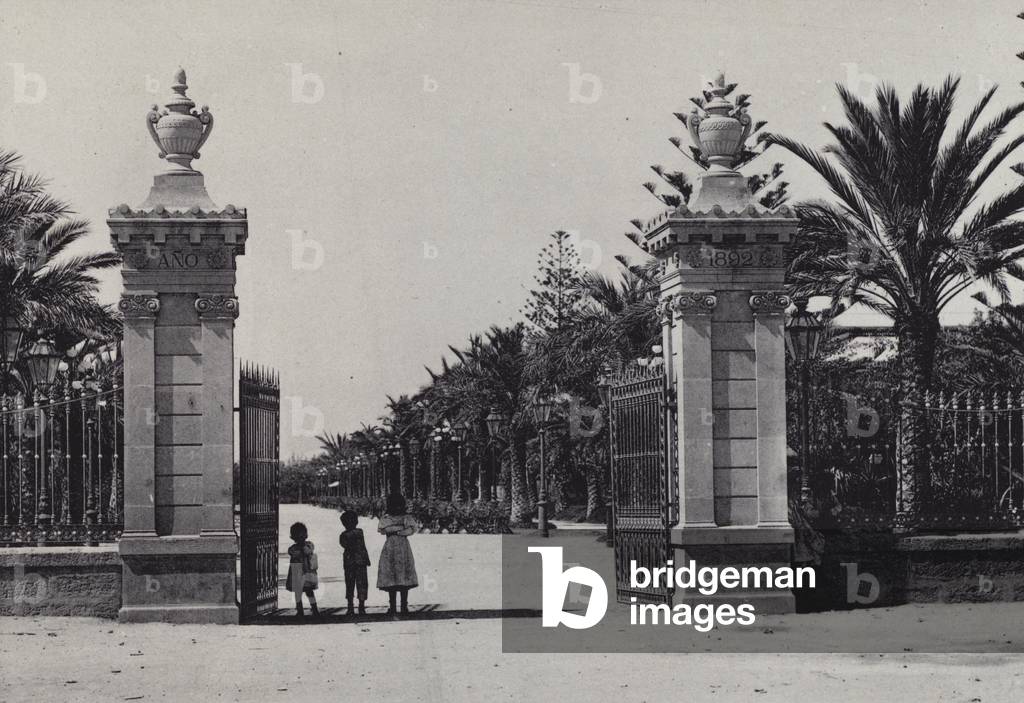
LLM6012033: Cadiz: Entrada al Parque Genoves (b/w photo), Spanish Photographer, (19th century) / Bridgeman Images

LLM5992065: Illustration for The Cloister and The Hearth by Charles Reade (colour litho), Shaw, Byam (1872-1919) (after) / Bridgeman Images

LLM5992139: Illustration for The Courtin' by James Russell Lowell (litho), Homer, Winslow (1836-1910) (after) / Bridgeman Images

LLM5992147: Illustration for The Deserted Village by Oliver Goldsmith (colour litho), Hankey, William Lee (1869-1952) / Bridgeman Images

LLM5992151: Illustration for The Deserted Village by Oliver Goldsmith (colour litho), Hankey, William Lee (1869-1952) / Bridgeman Images

LLM5992185: English Flower Garden: Escallonia macrantha, Salvia bicolar, Lilium colchicum, Cantua dependens (colour litho), English School, (19th century) / Bridgeman Images

LLM5992209: Bonchurch (engraving), English School, (19th century) / Bridgeman Images

LLM5992240: "I would that thou wert such as I, except these bonds" (engraving), English School, (19th century) / Bridgeman Images

LLM5992249: "And there a leper kneels at His feet" (engraving), English School, (19th century) / Bridgeman Images

LLM5992306: The lay-out of the billiard table in detail (litho), English School, (20th century) / Bridgeman Images

LLM5992347: The Duel (colour litho), Owen, Will (fl.1918) / Bridgeman Images
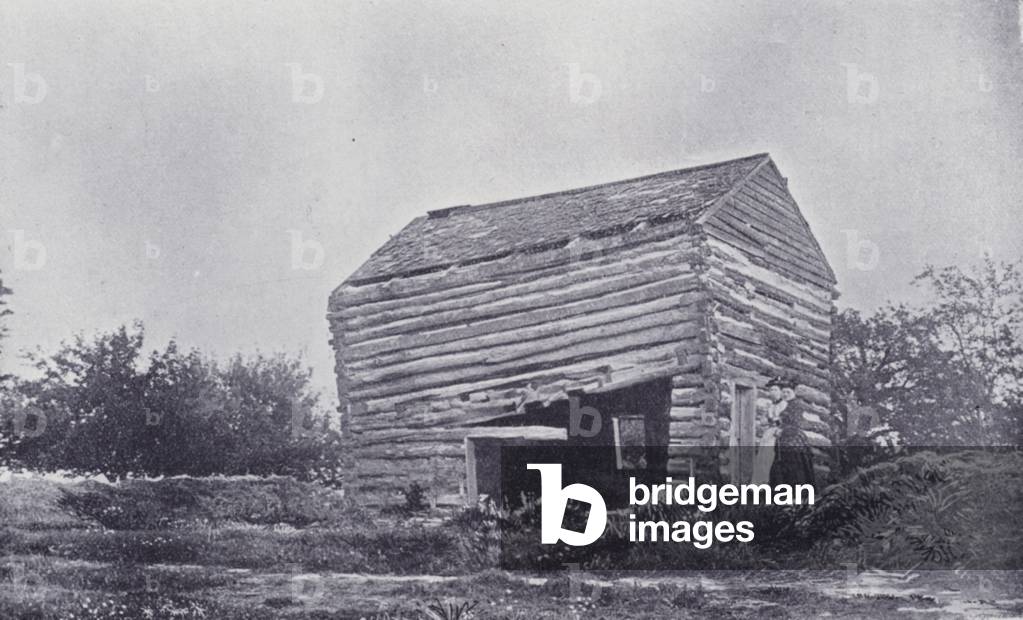
LLM6012040: Canada: First Council House of Six Nations Indians, Brantford (b/w photo), Canadian Photographer (19th Century) / Bridgeman Images
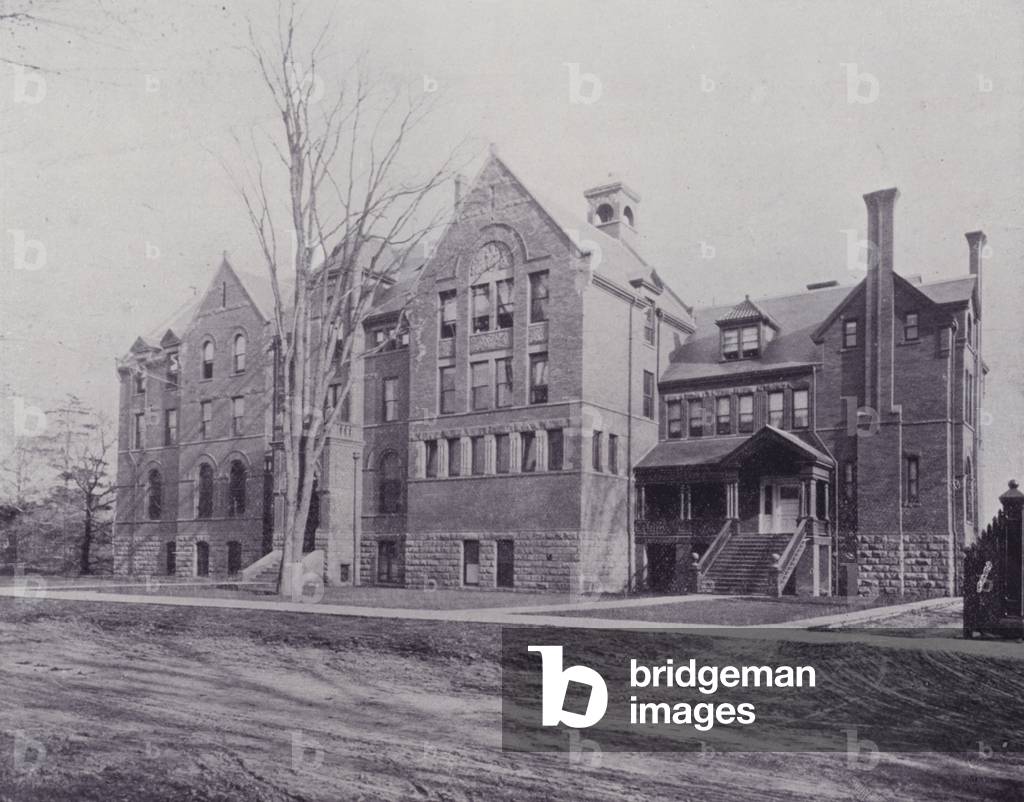
LLM6012049: Canada: Wycliffe College, Toronto (b/w photo), Canadian Photographer (19th Century) / Bridgeman Images
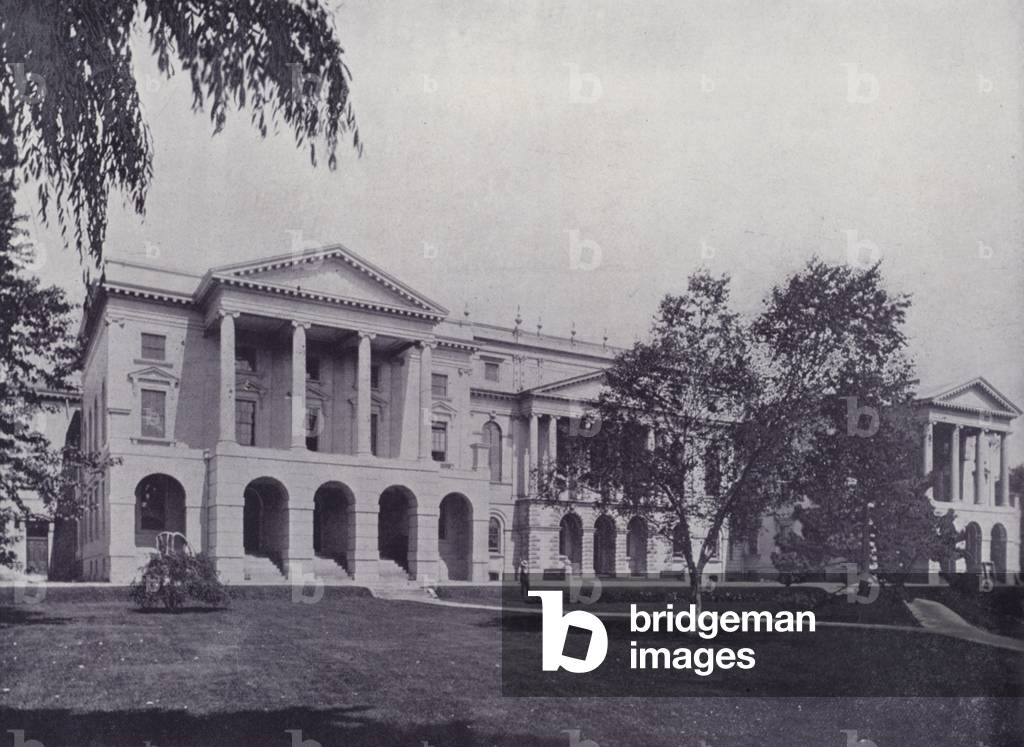
LLM6012055: Canada: Osgoode Hall, Toronto (b/w photo), Canadian Photographer (19th Century) / Bridgeman Images
