18503 Search Results for literary

DIL7210108: I racconti di Canterbury by Pier Paolo Pasolini, 1972 / Bridgeman Images

DIL7210109: I racconti di Canterbury by Pier Paolo Pasolini, 1972 / Bridgeman Images
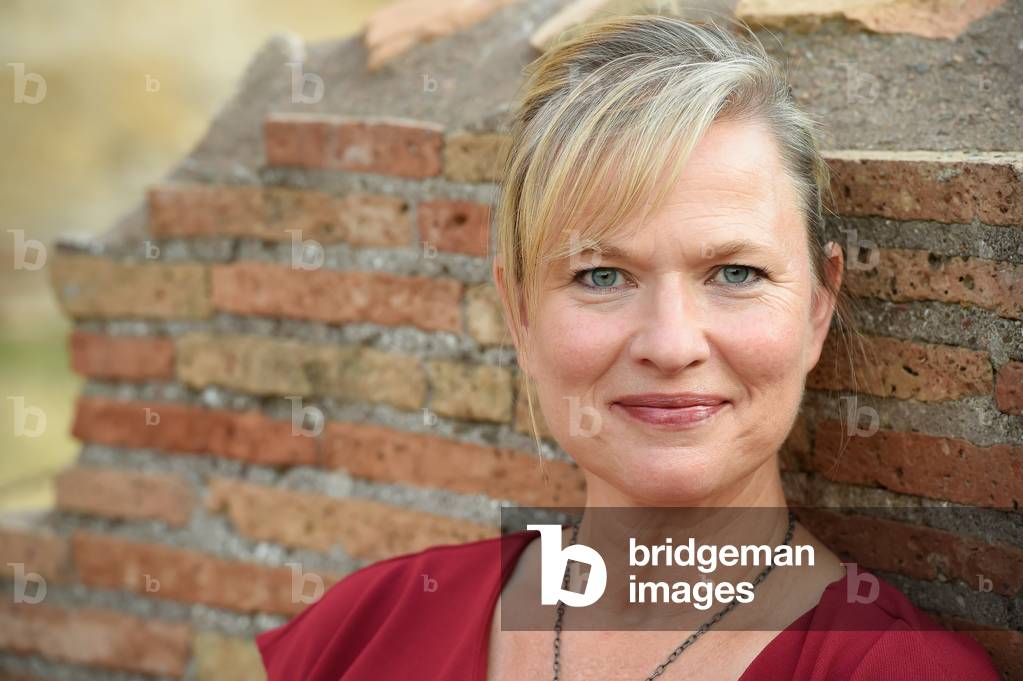
MEP7127466: American writer Amity Gaige at the XX edition of the International Literature Festival of Rome entitled 'Reading the world', in the new setting of the Palatine Stadium, Rome (Italy), July 21st, 2021 (photo) / Bridgeman Images
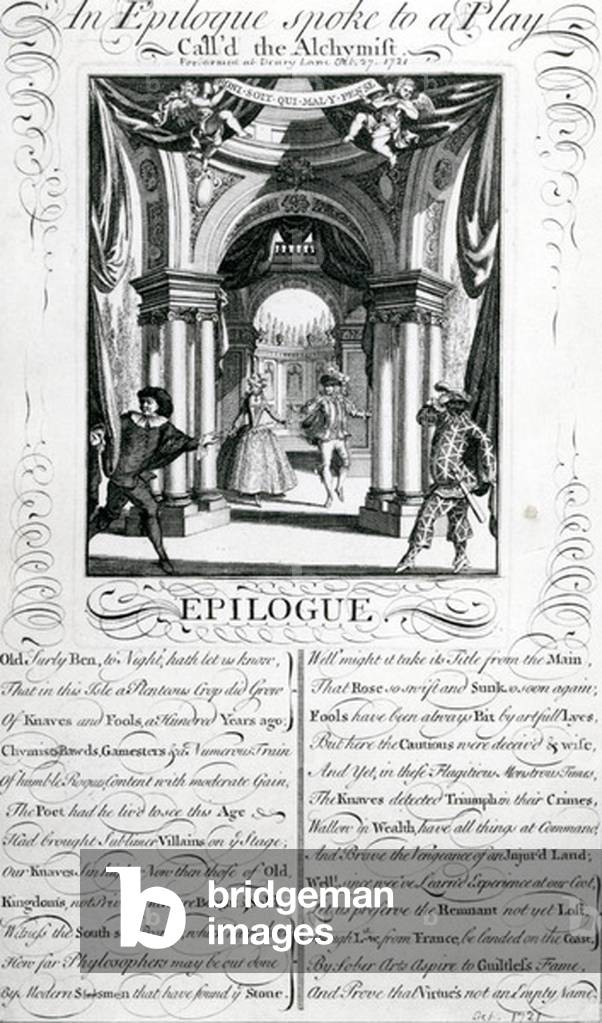
XJF437545: Epilogue to the play 'The Alchemist', 1721 (engraving), English School, (18th century) / Bridgeman Images
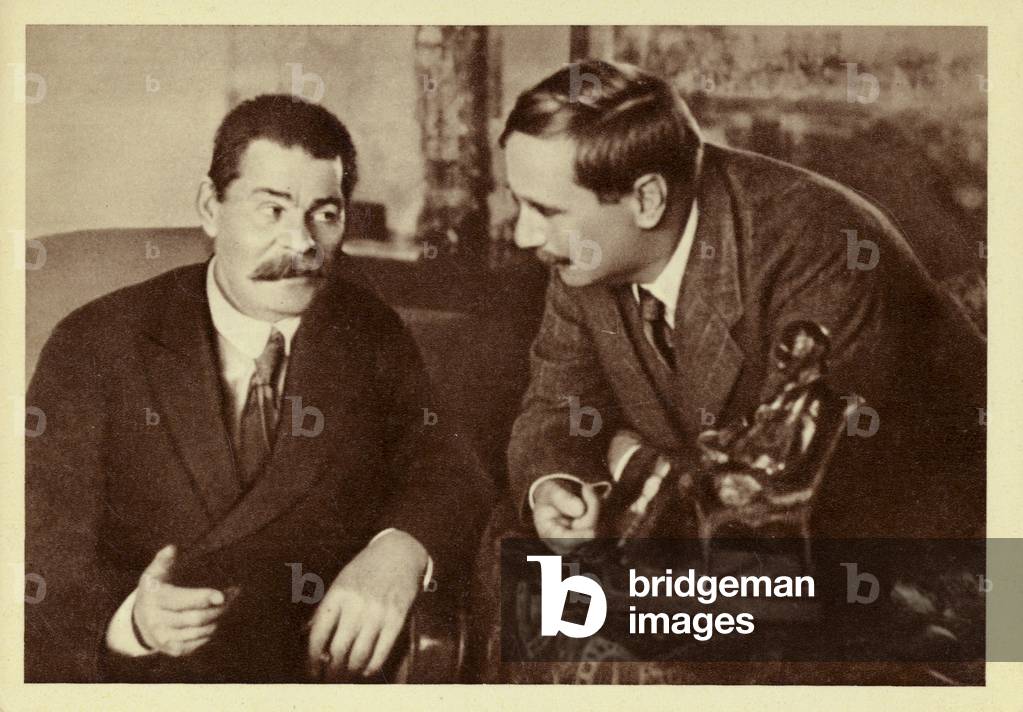
LLE817799: H G Wells and Maxim Gorky, 1920 (b/w photo), Russian Photographer, (20th century) / Bridgeman Images
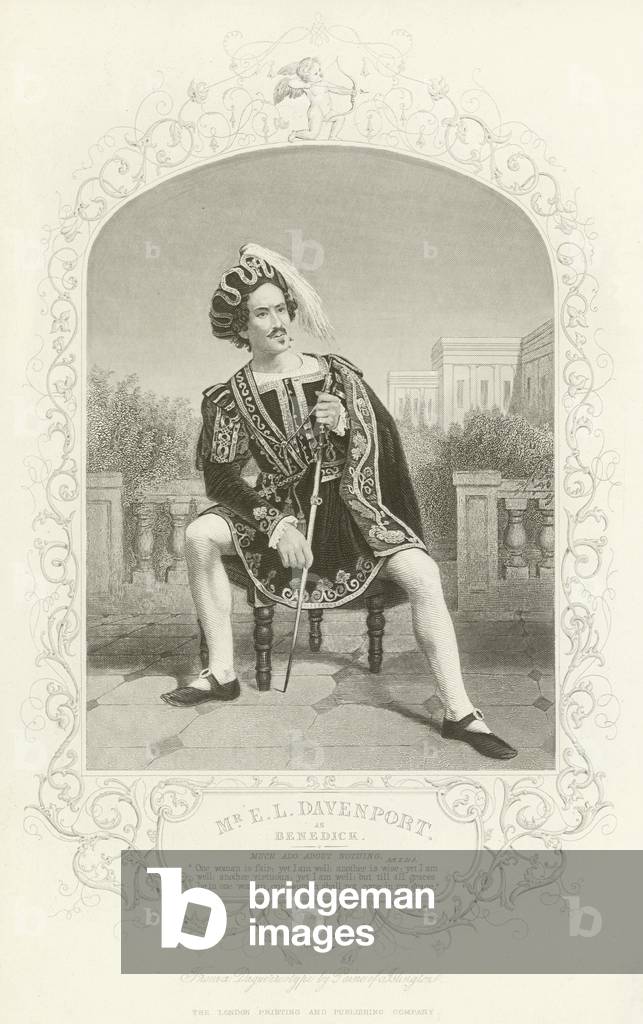
LLM971627: Mr E L Davenport as Benedick, Much Ado About Nothing, Act II, scene iii (engraving), English School, (19th century) / Bridgeman Images
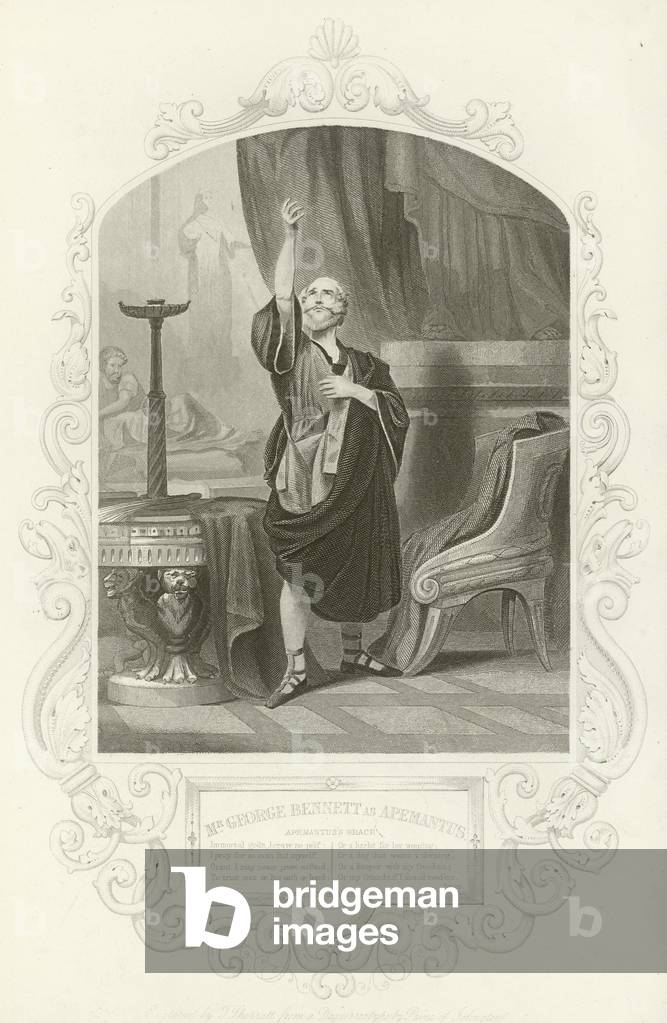
LLM971656: Mr George Bennett as Apemantus, Apemantus' grace, Timon of Athens, Act I, scene ii (engraving), English School, (19th century) / Bridgeman Images
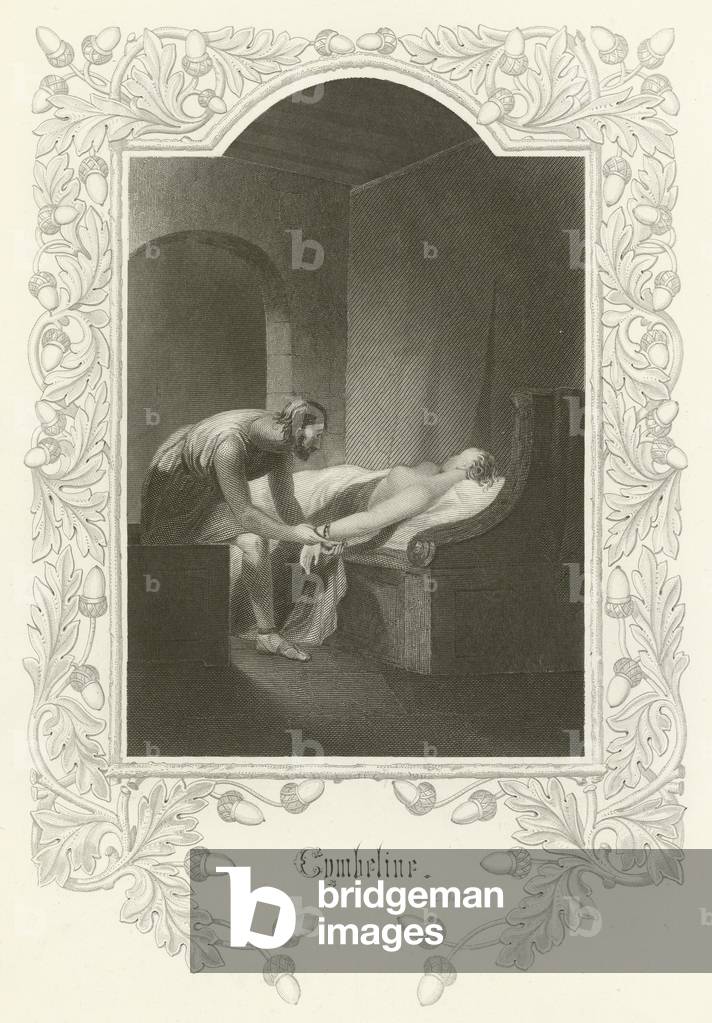
LLM971666: Cymbeline, Act II, Scene II (engraving), Meadows, Joseph Kenny (1770-1874) (after) / Bridgeman Images
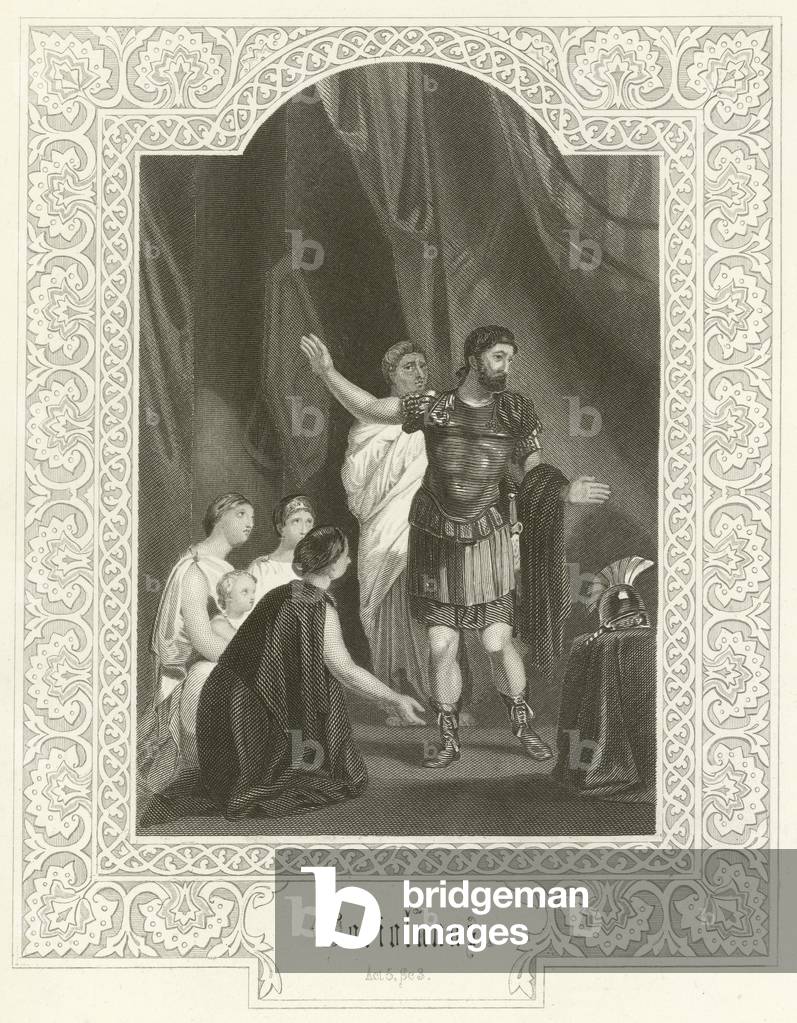
LLM971679: Coriolanus, Act V, Scene III (engraving), Meadows, Joseph Kenny (1770-1874) (after) / Bridgeman Images
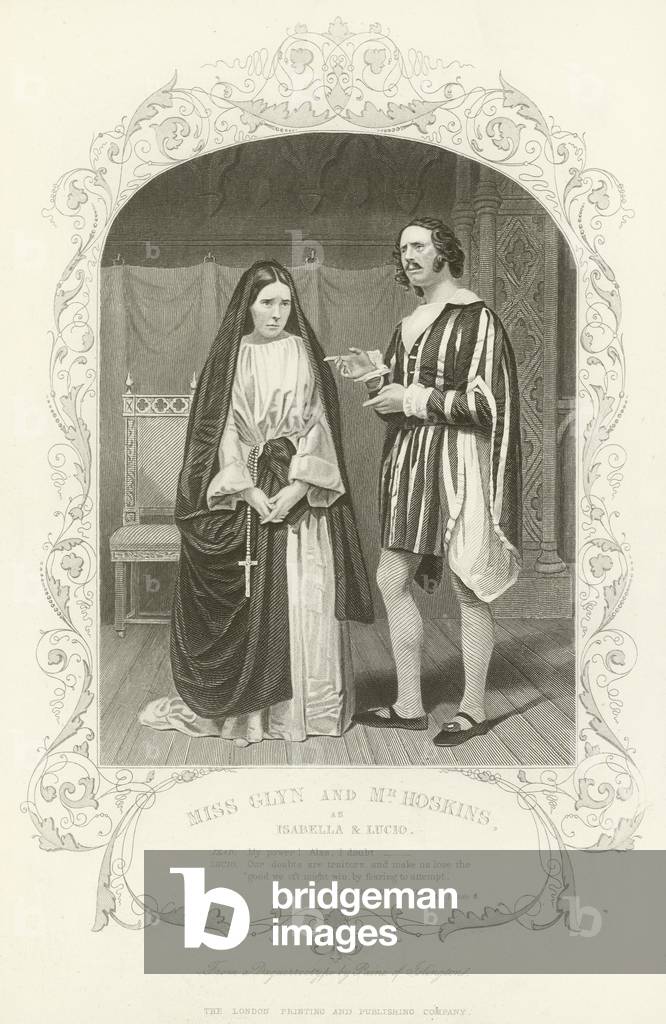
LLM971624: Miss Glyn and Mr Hoskins as Isabella and Lucio, Measure for Measure (engraving), English School, (19th century) / Bridgeman Images
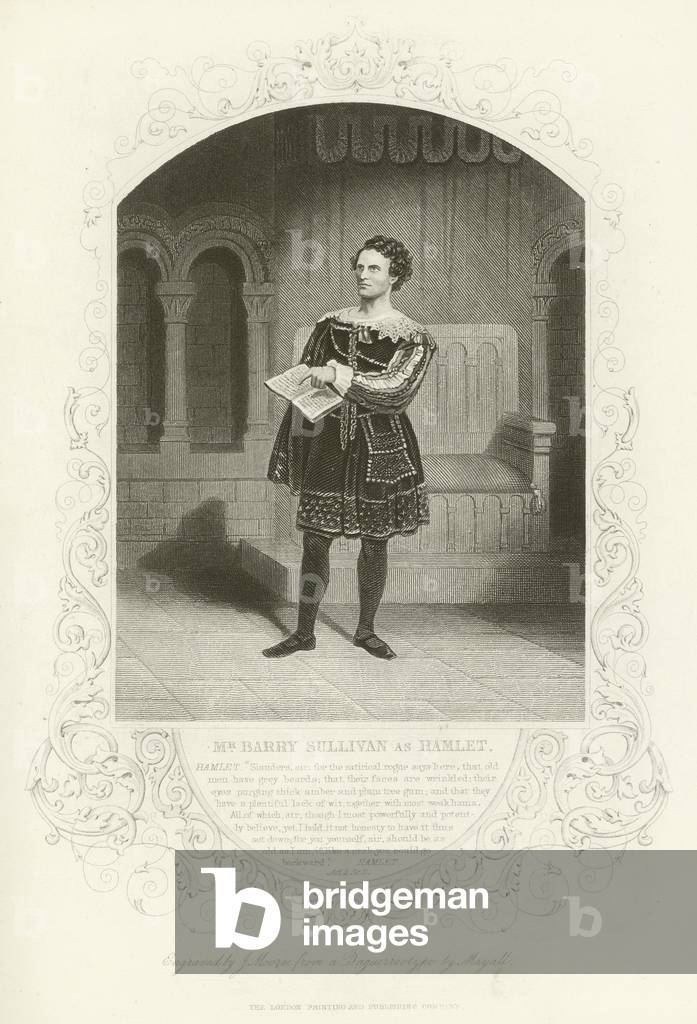
LLM971659: Mr Barry Sullivan as Hamlet, Act II, scene ii (engraving), English School, (19th century) / Bridgeman Images

LLM971689: Richard II, Act V, Scene V (engraving), Meadows, Joseph Kenny (1770-1874) (after) / Bridgeman Images

LLM725649: Fagin from Oliver Twist (engraving), English School, (19th century) / Bridgeman Images

KWE1000772: Fledgeby and Mr. Riah in the Counting House. "Perched on the stool with his hat cocked on his head and one of his legs dangling, the youth of Fledgeby hardly contrasted to advantage with the age of the Jewish man, with his bare head bowed, and his eyes on the ground." Illustration by Harry Furniss for the Charles Dickens novel Our Mutual Friend, from The Testimonial Edition, published 1910., Furniss, Harry (1854-1925) / Bridgeman Images

KWE1000775: Mr. Wrayburn's Method of Ejection. "The fact that Mr. Dolls exhibited a tendency to fall asleep, thereby threatening a prolonged stay on the premises, necessitated vigorous measures. So Eugene picked up his worn out hat with the tongs, clapped it on his head, and conducted him downstairs." Illustration by Harry Furniss for the Charles Dickens novel Our Mutual Friend, from The Testimonial Edition, published 1910., Furniss, Harry (1854-1925) / Bridgeman Images
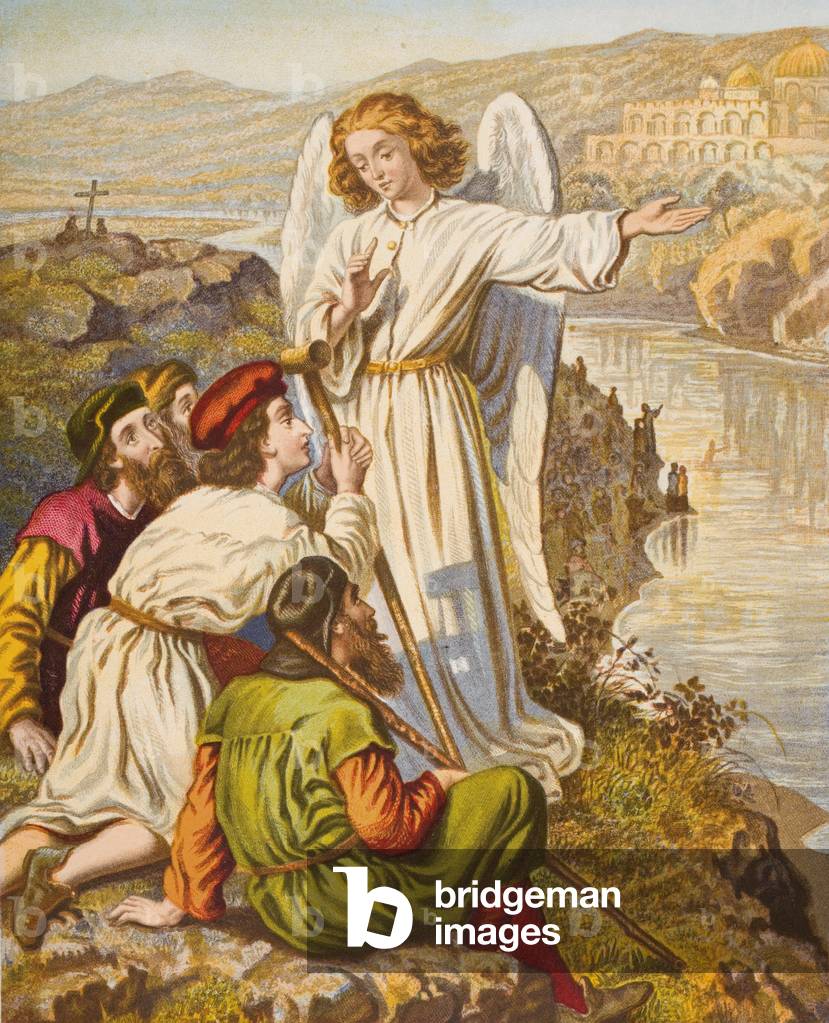
KWE265411: The King's message to Tender Conscience, illustration from 'The Pilgrim's Progress' by John Bunyan (1628-88) (colour litho), English School, (19th century) / Bridgeman Images

KWE320855: Alice shrinks and meets the puppy, from 'Alice's Adventures in Wonderland' by Lewis Carroll, published 1891 (litho), Tenniel, John (1820-1914) / Bridgeman Images

KDC397359: Design for the cover of 'The British Barbarians' 1896 (litho), Beardsley, Aubrey (1872-98) / Bridgeman Images

TRK562211: Defoe, Daniel (1660-1731). Robinson Crusoe rescuing of the boat all what could be before of its sinking. / Bridgeman Images

KWE2654801: A scene from William Shakespeare's 'King Richard II', Act IV, Scene 1, King Richard: "Here, cousin, seize the crown", from 'The Works of William Shakespeare', published 1896 (engraving), Browne, Gordon Frederick (1858-1932) / Bridgeman Images

KWE2654807: A scene from William Shakespeare's play 'Measure for Measure', Act II, Scene 1, Pompey Bum: "Doth your honour see any harm in his face?", from 'The Works of William Shakespeare', published 1896 (engraving), Browne, Gordon Frederick (1858-1932) / Bridgeman Images

KWE2654830: A scene from William Shakespeare's play 'Hamlet', Act I, Scene 5, Hamlet: "Remember thee! Ay, thou poor ghost, while memory holds a seat in this distracted globe", from 'The Works of William Shakespeare', published 1896 (engraving), Browne, Gordon Frederick (1858-1932) / Bridgeman Images

KWE2654838: A scene from William Shakespeare's play 'Titus Andronicus', Act V, Scene 2, Titus: "Come, come, Lavinia, look, thy foes are bound", from 'The Works of William Shakespeare', published 1896 (engraving), Browne, Gordon Frederick (1858-1932) / Bridgeman Images
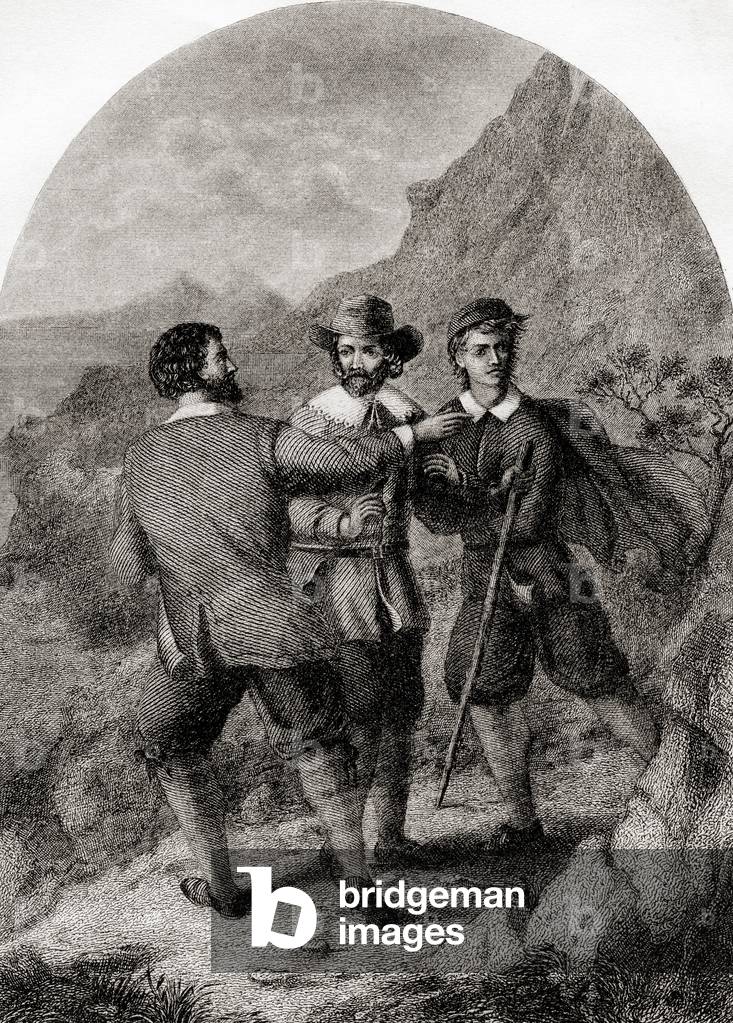
KWE2603540: Christian meeting Timorous and Mistrust. From The Pilgrim's Progress by John Bunyan. 19th century print. / Bridgeman Images
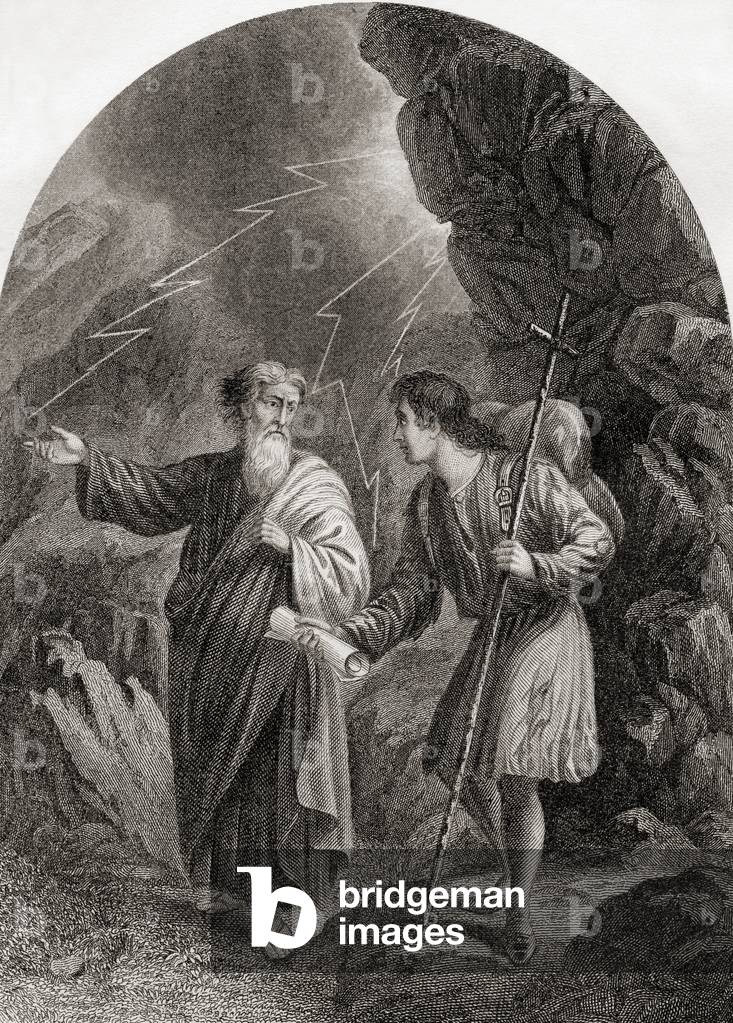
KWE2603531: Christian and Evangelist. From The Pilgrim's Progress by John Bunyan. 19th century print. / Bridgeman Images
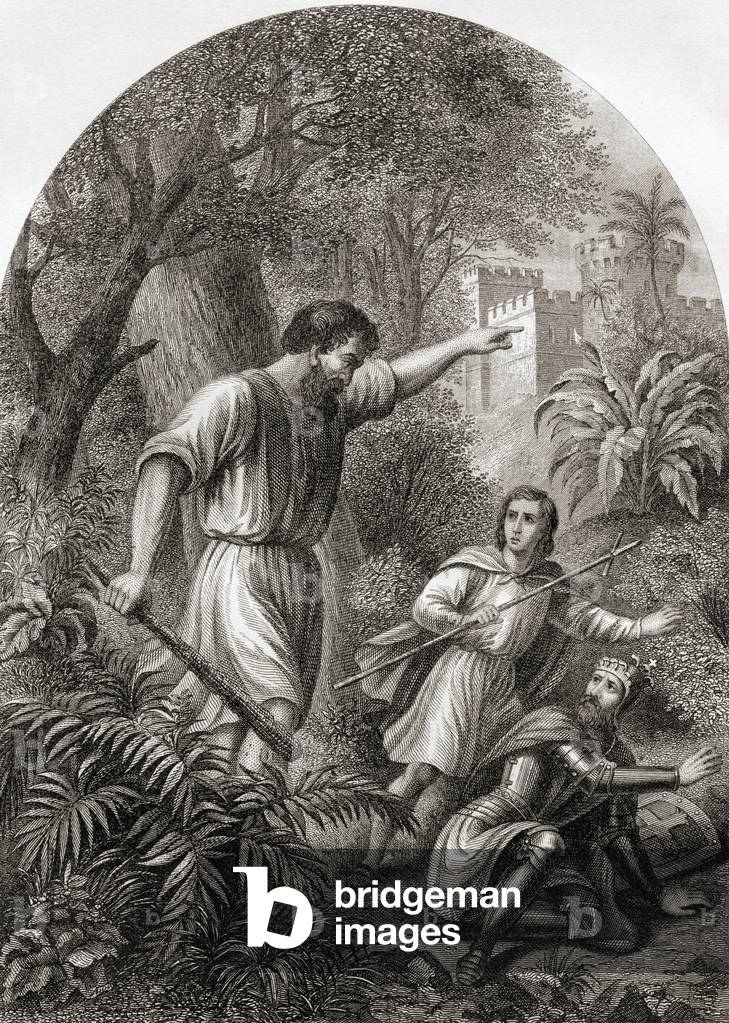
KWE2603553: Giant Despair discovers Christian and Hopeful on his grounds. 19th century (print) / Bridgeman Images

KWE2654799: A scene from William Shakespeare's play King Richard II, Act 1, Scene 3, Mar: "Stay, stay, the king hath thrown his warder down", from 'The Works of William Shakespeare', published 1896 (engraving), Browne, Gordon Frederick (1858-1932) / Bridgeman Images

KWE2654829: A scene from William Shakespeare's play 'Twelfth Night' Act IV, Scene 1, Sebastian (beating Sir Andrew): "Why, there's for thee, and there, and there!", from The Works of William Shakespeare, published 1896 (engraving), Browne, Gordon Frederick (1858-1932) / Bridgeman Images

KWE2654822: A scene from William Shakespeare's play 'King Henry IV', Part 1, Act IV, Scene 2, Falstaff's ragged regiment, from 'The Works of William Shakespeare', published 1896 (engraving), Browne, Gordon Frederick (1858-1932) / Bridgeman Images

KWE2654837: A scene from William Shakespeare's play 'Cymbeline', Act V, Scene 5, Posthumus Leonatus: "Kneel not to me. The power that I have on you is to spare you", from 'The Works of William Shakespeare', published 1896 (engraving), Browne, Gordon Frederick (1858-1932) / Bridgeman Images

STC2657662: Father William and the Young Man, illustration from 'Alice's Adventures Under Ground', pub. 1886 (facsimile), Dodgson, Charles Lutwidge (Lewis Carroll) (1832-98) / Bridgeman Images

STC2657663: Father William having eaten the goose, illustration from 'Alice's Adventures Under Ground', pub. 1886 (facsimile), Dodgson, Charles Lutwidge (Lewis Carroll) (1832-98) / Bridgeman Images

KWE2657646: A scene from William Shakespeare's play Love's Labour's Lost, Act V Scene 2, Mercade: "I am sorry, madam; for the news I bring is heavy in my tongue", from 'The Works of William Shakespeare', published 1896 (engraving), Browne, Gordon Frederick (1858-1932) / Bridgeman Images

LLM3106349: Illustration for Great Expectations (engraving), Brock, Henry Matthew (1875-1960) / Bridgeman Images

LLM3106351: Illustration for Great Expectations (engraving), Brock, Henry Matthew (1875-1960) / Bridgeman Images

LLM3649285: Torre and Lavaine bid farewell to the Body of Elaine, illustration from Tennyson's 'Idylls of the King', c.1878 (engraving), Dore, Gustave (1832-83) (after) / Bridgeman Images
